1.Preparation #
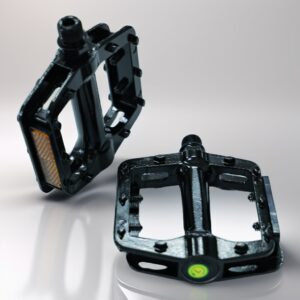
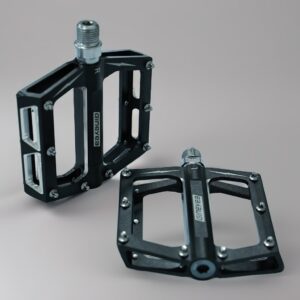
(1)The pedals you received are one of the types shown in the image below. The Assembly method for both types of pedals is the same.
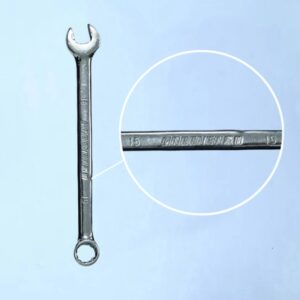
(2)You will need a 15mm open-end wrench.
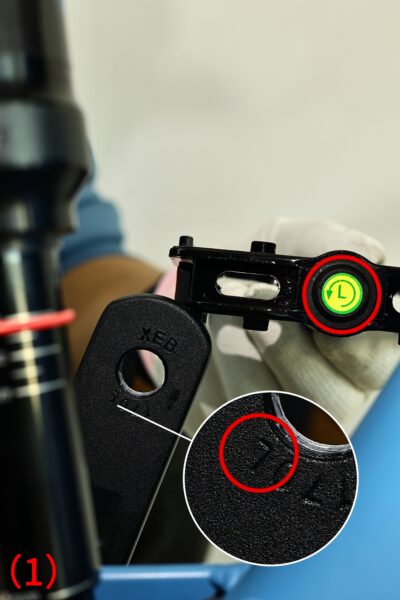
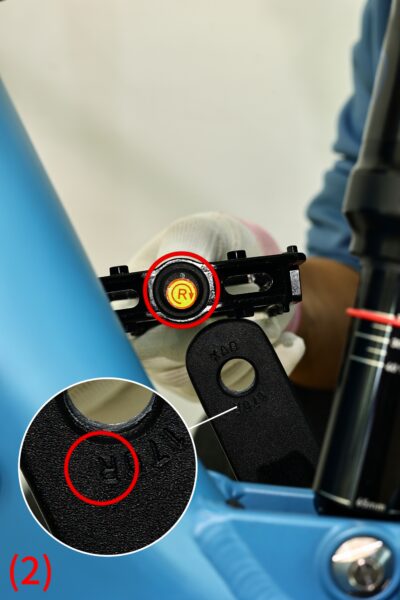
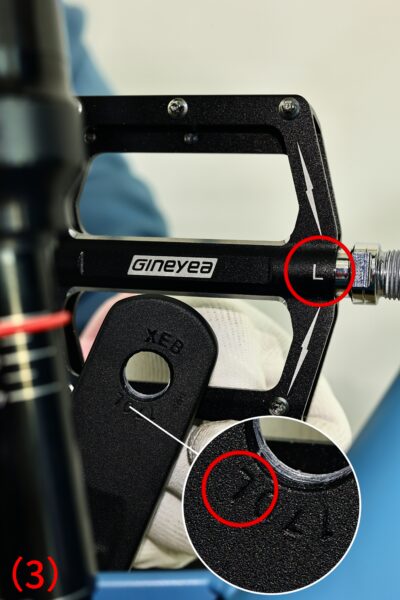
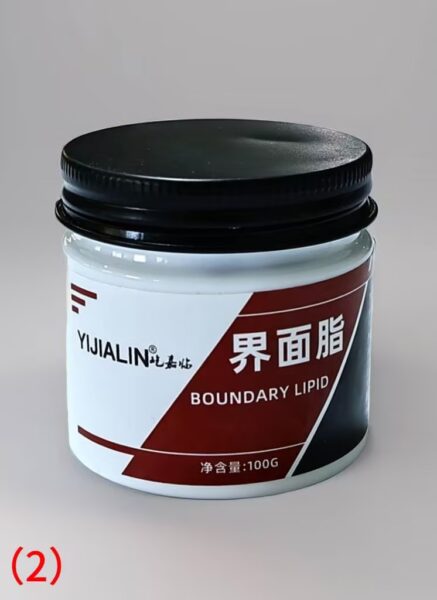
(4)Images 3 and 4 show pedals where the markings are located on the pedal’s surface, as illustrated.
2.Precautions #
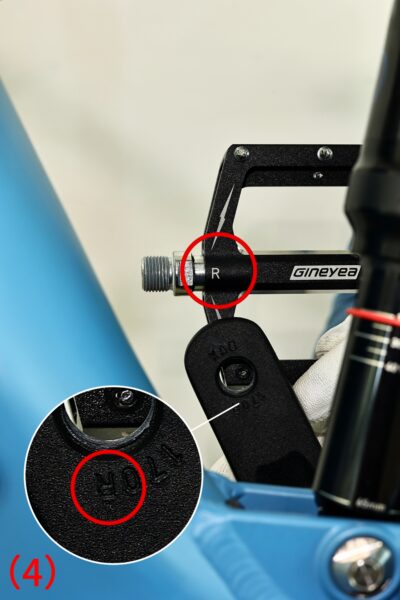
(1)Apply an appropriate amount of boundary lipidto the pedal threads to facilitate Assembly and removal:
For example, in image 1, a suitable amount of boundary lipid has been applied; image 2 shows reference for you.
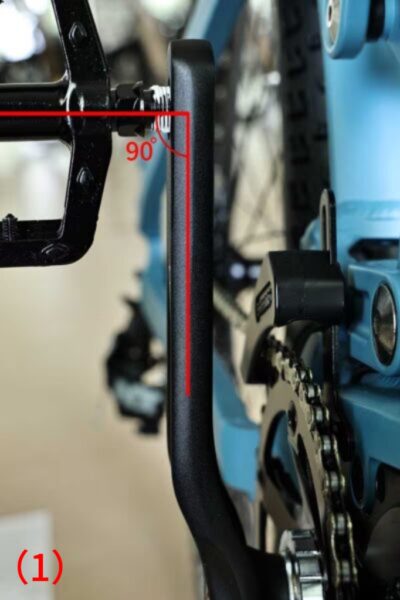
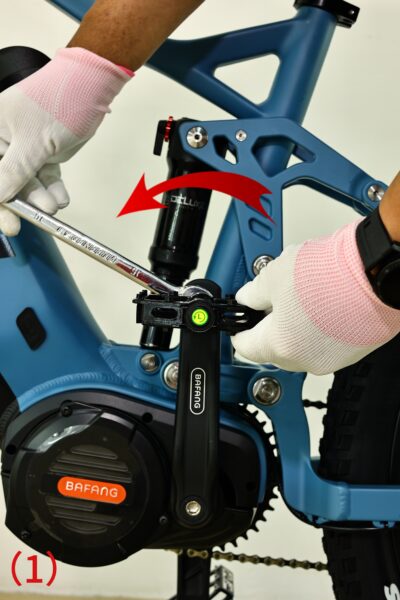
(2)When installing the pedals, ensure that the pedal and crank are at a 90° angle to allow for smooth Assembly, as shown in image 1.
3.Install the left pedal #
4.Install the right pedal #
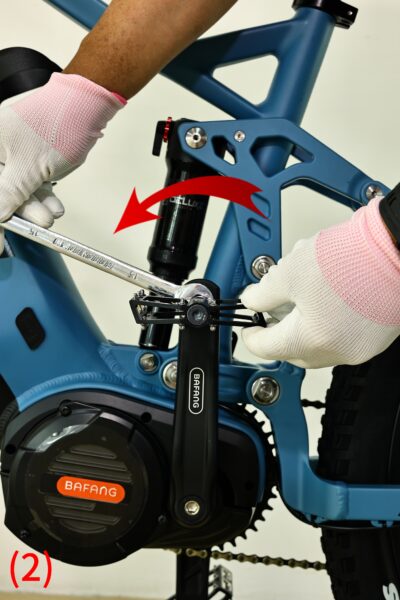
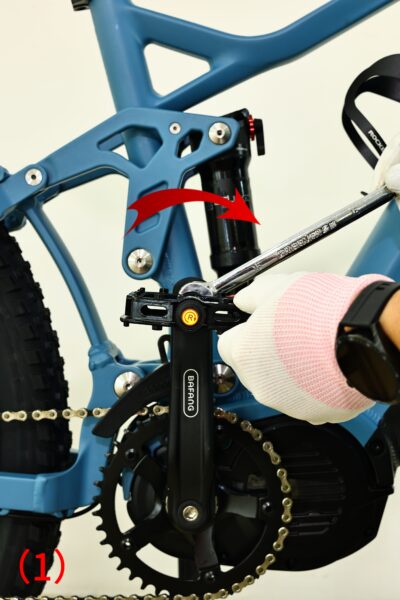
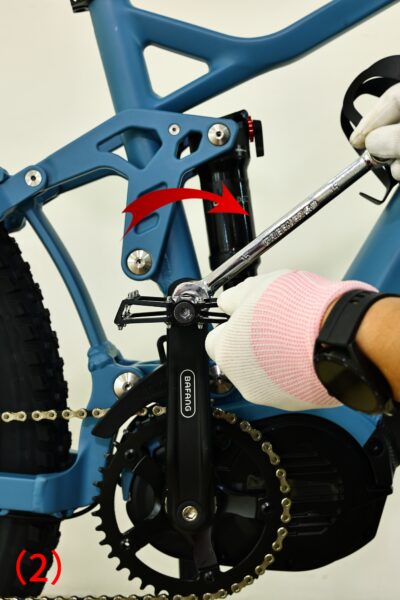
Using the 15mm open-end wrench, rotate in the direction of the arrow until the threads are fully engaged in the crank. The recommended locking torque is 10-15 N·m.
Images 1 and 2 show that the Assembly method for both types of pedals is the same.
5.Installation Completed #
