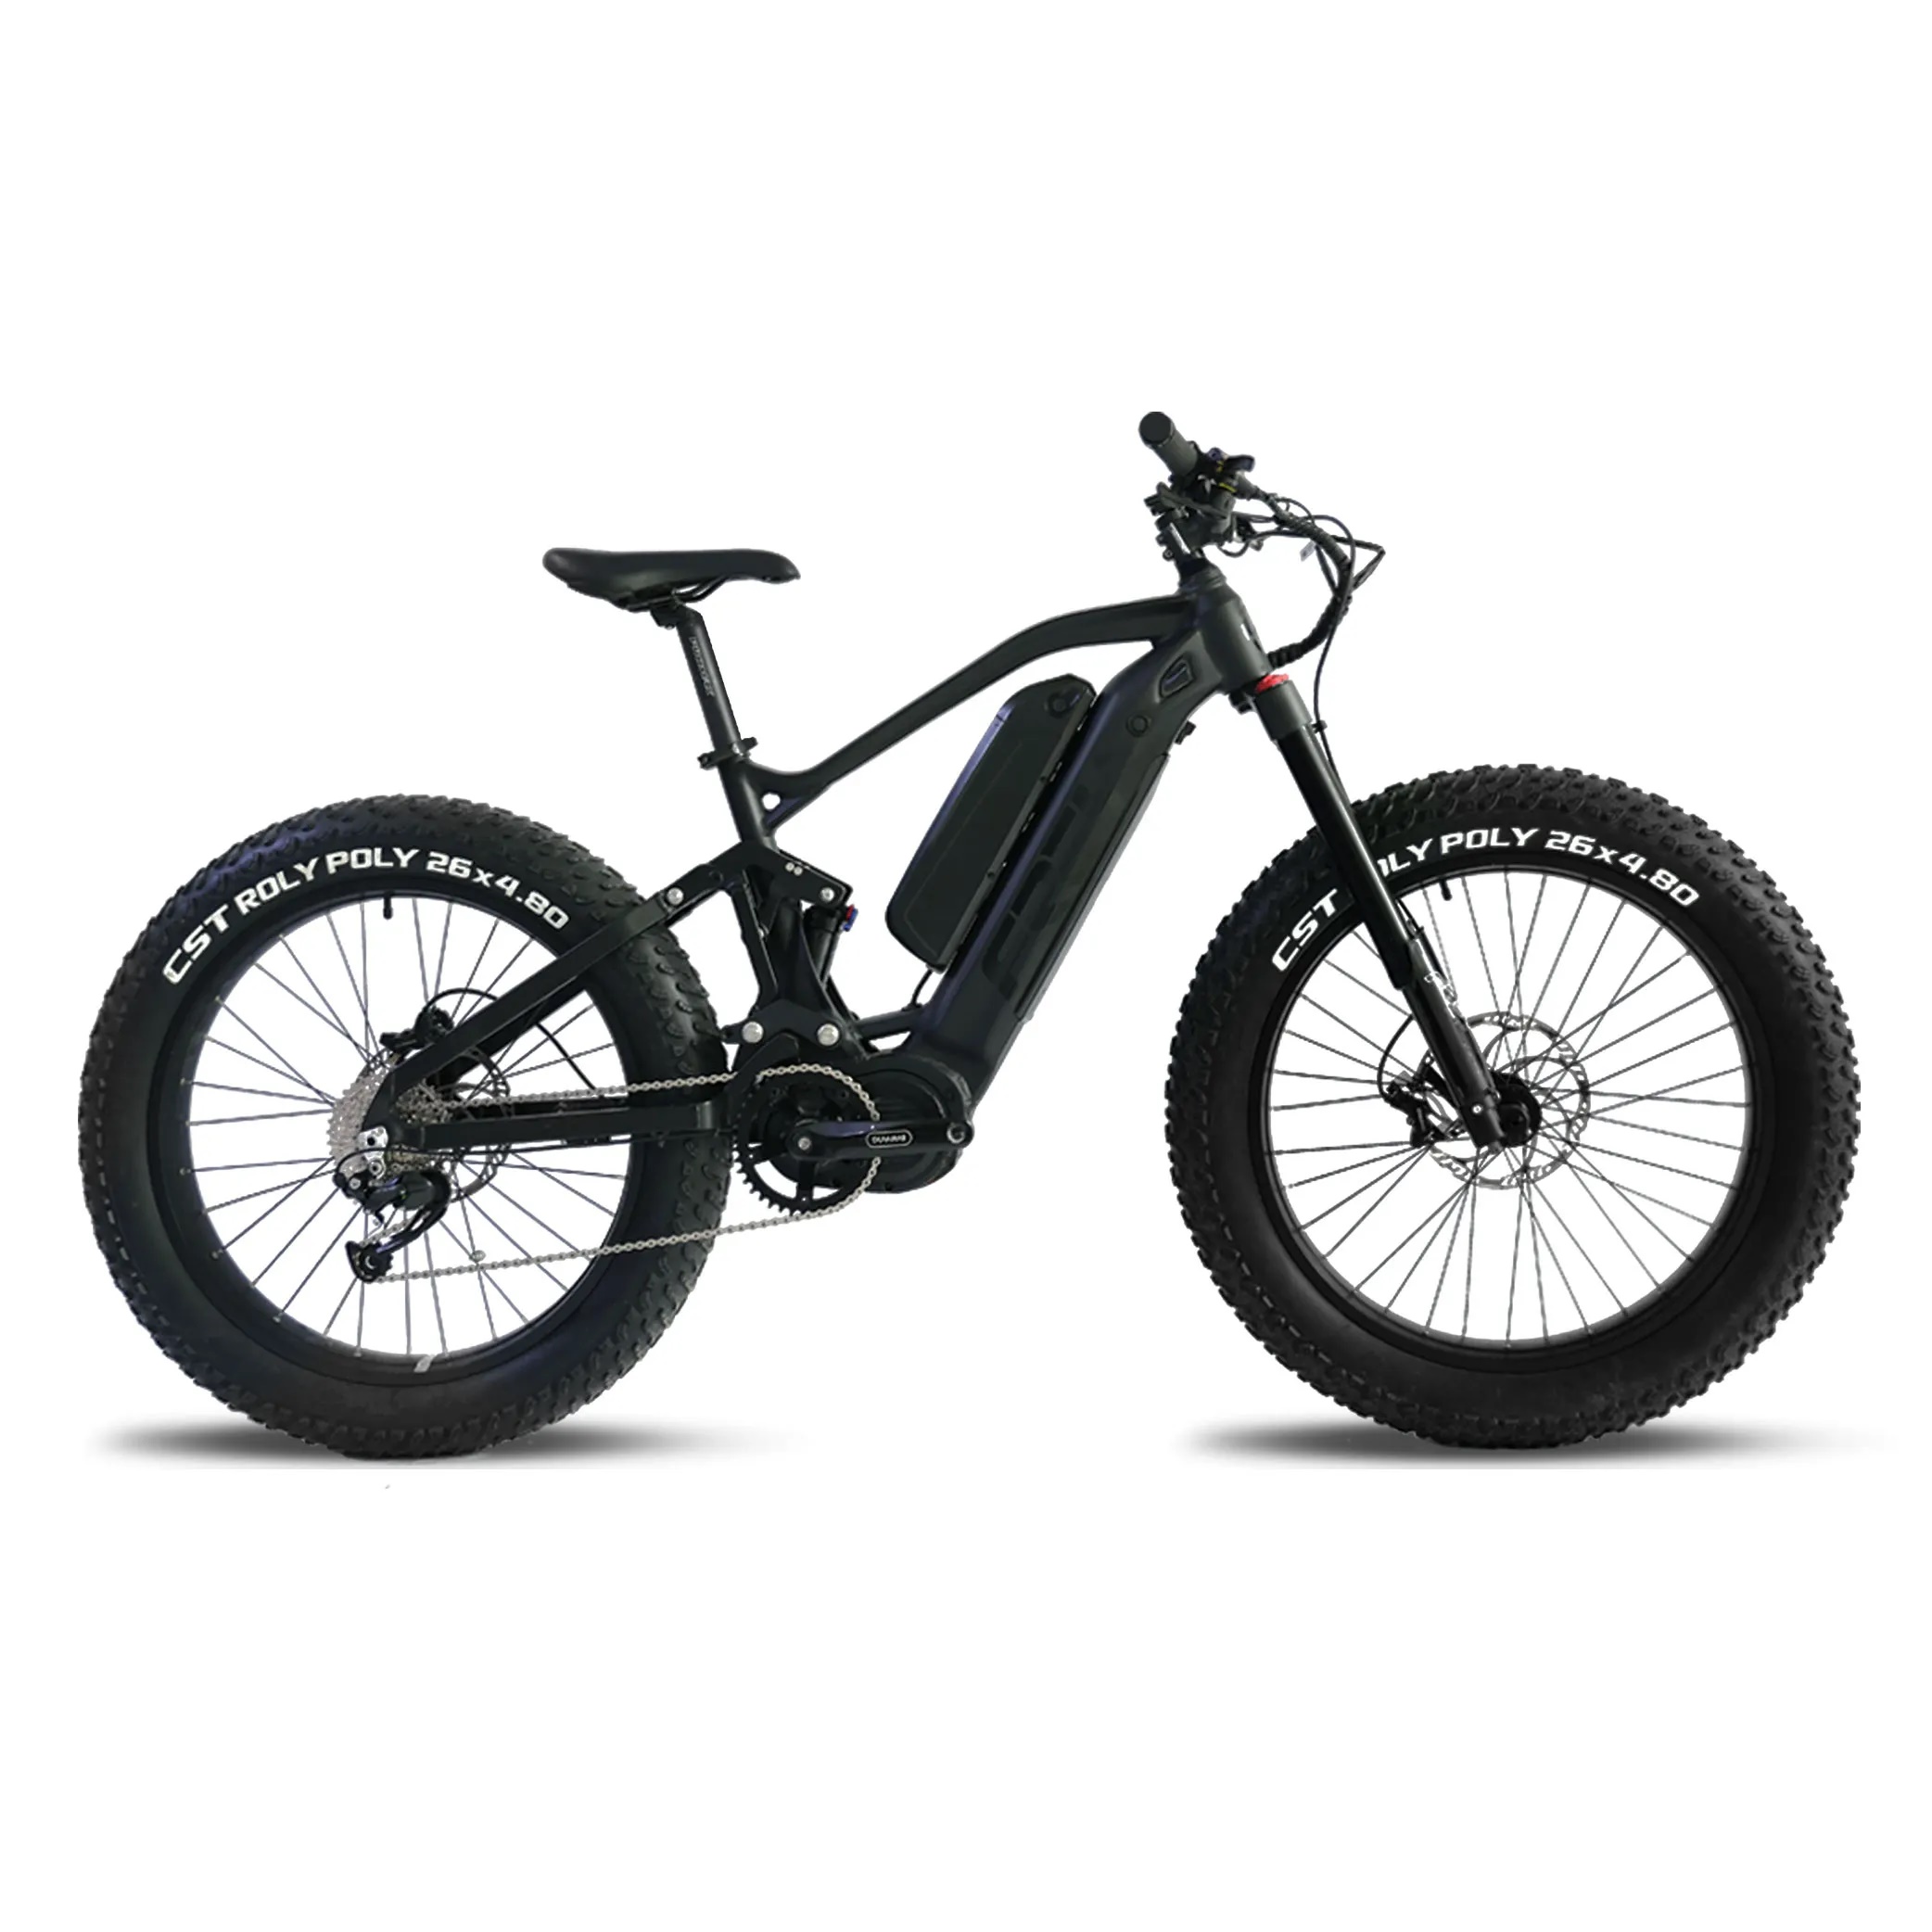
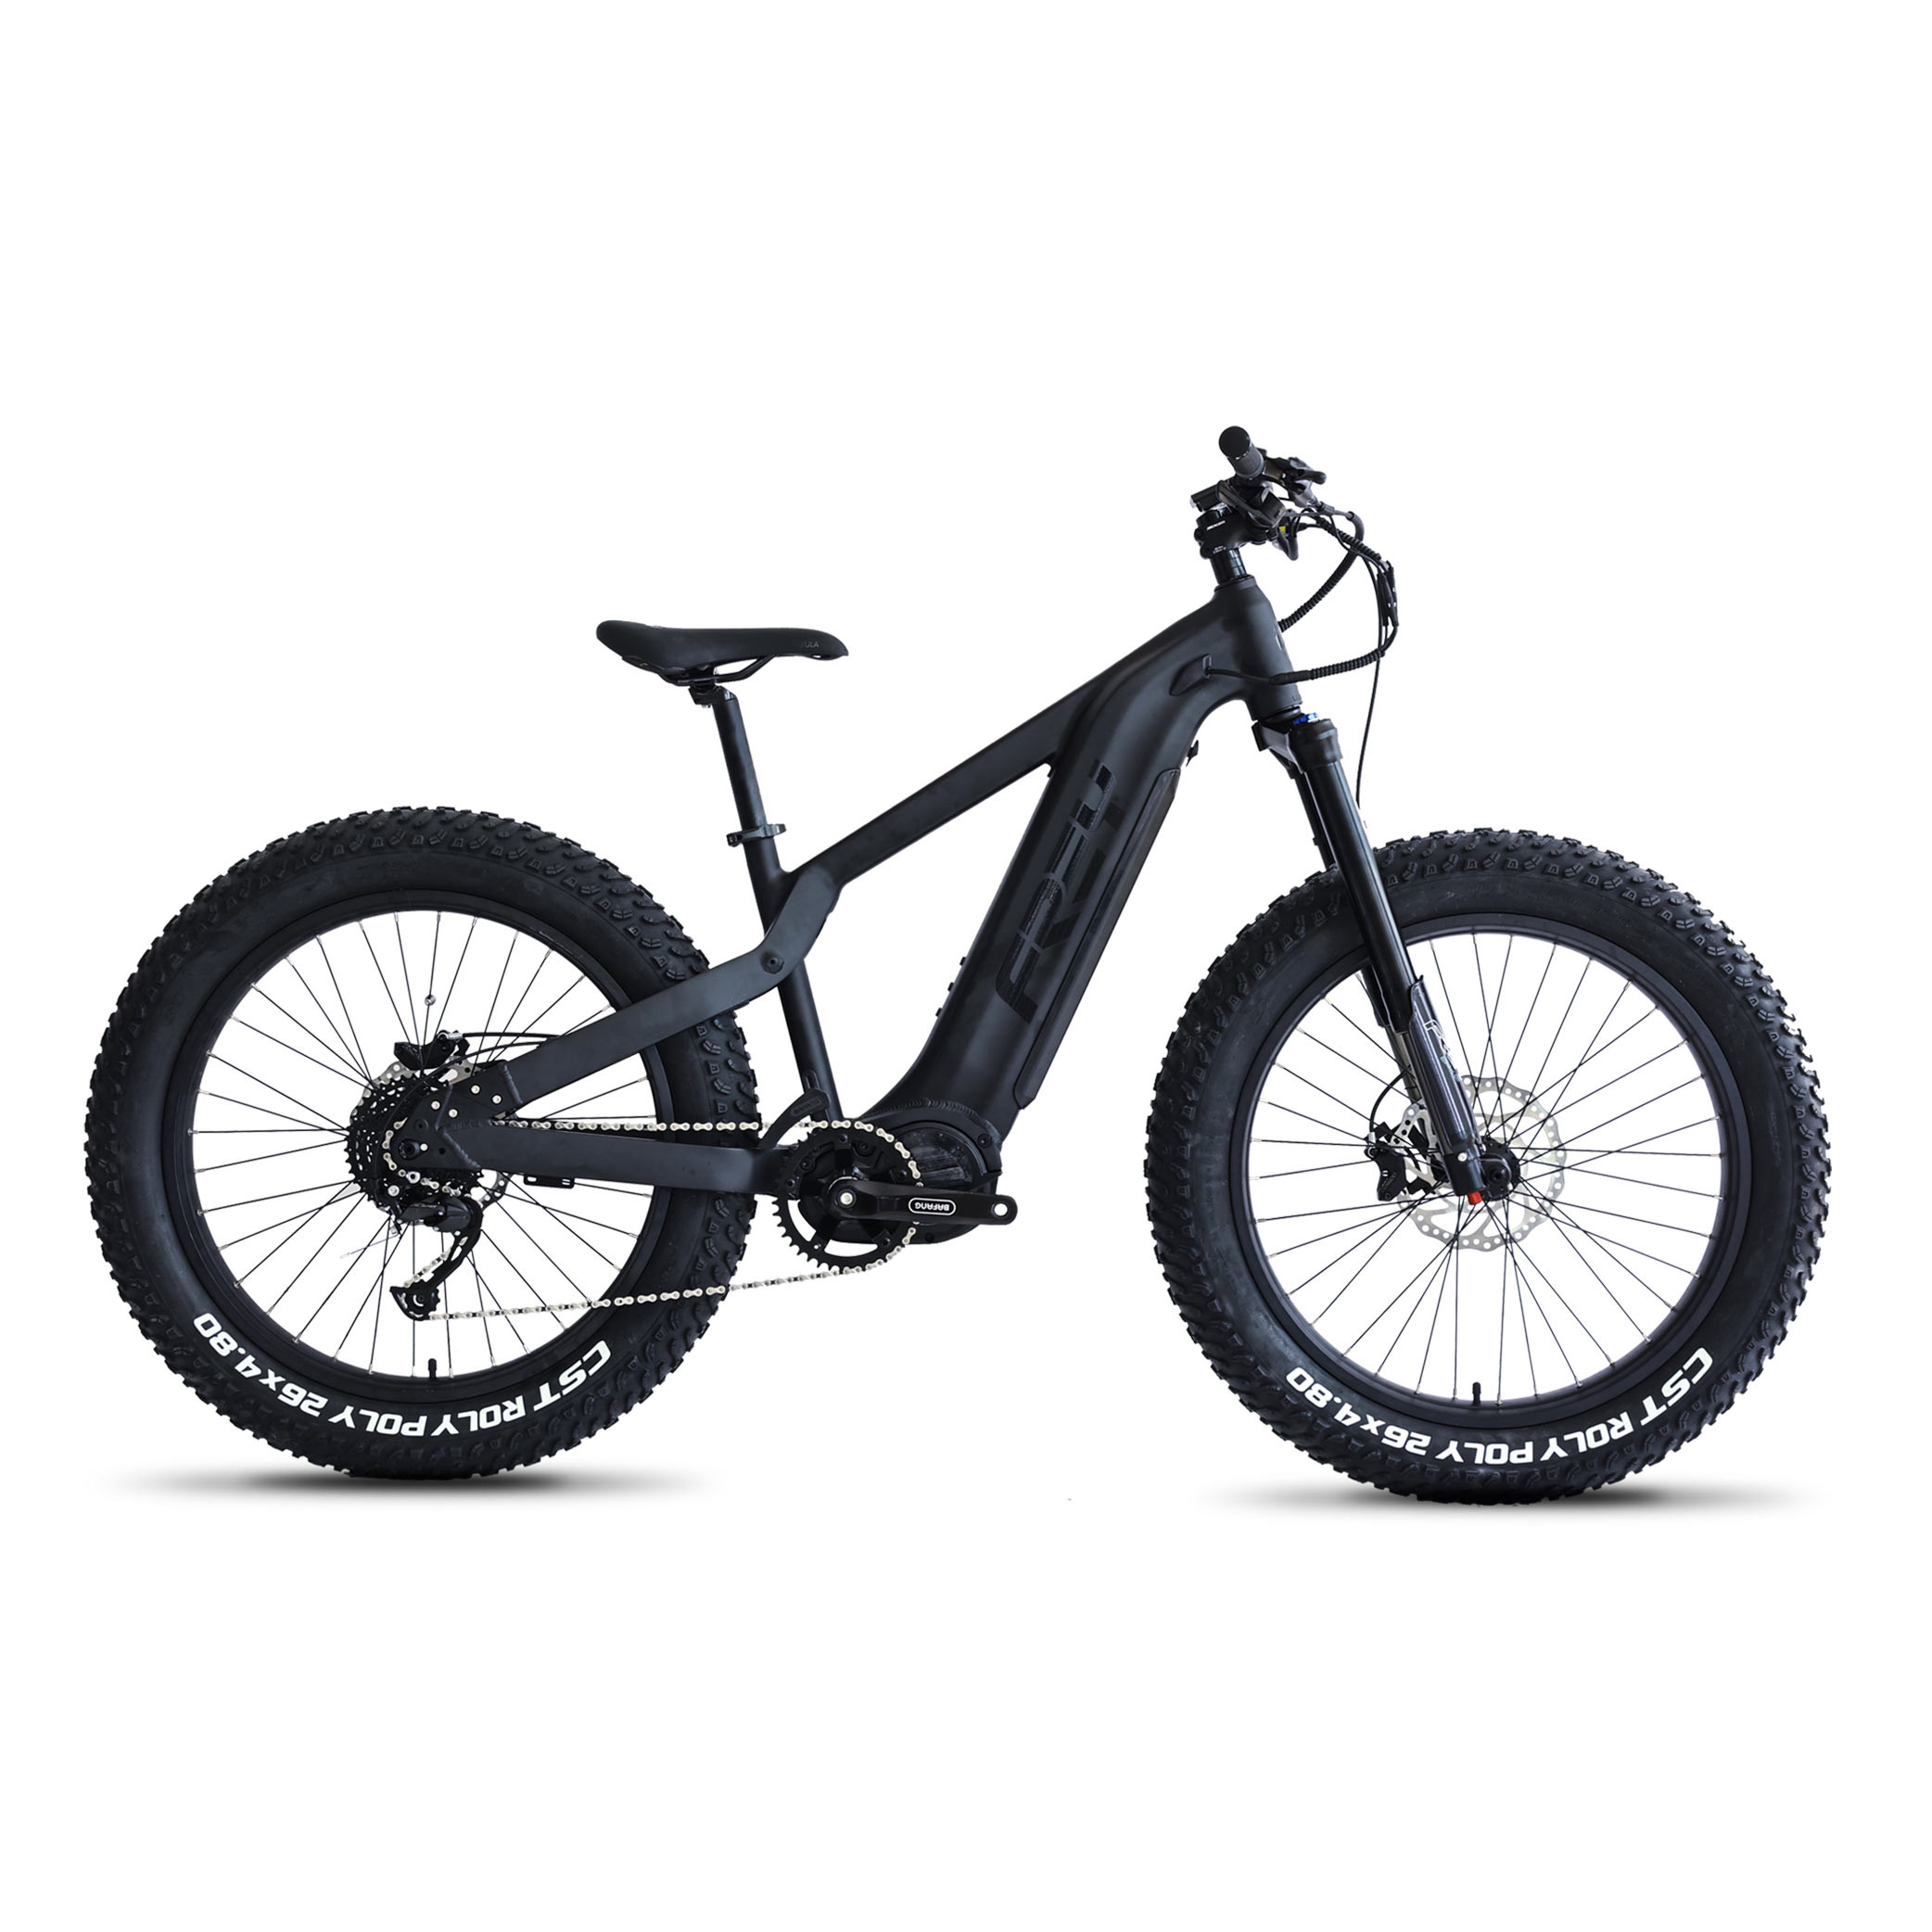
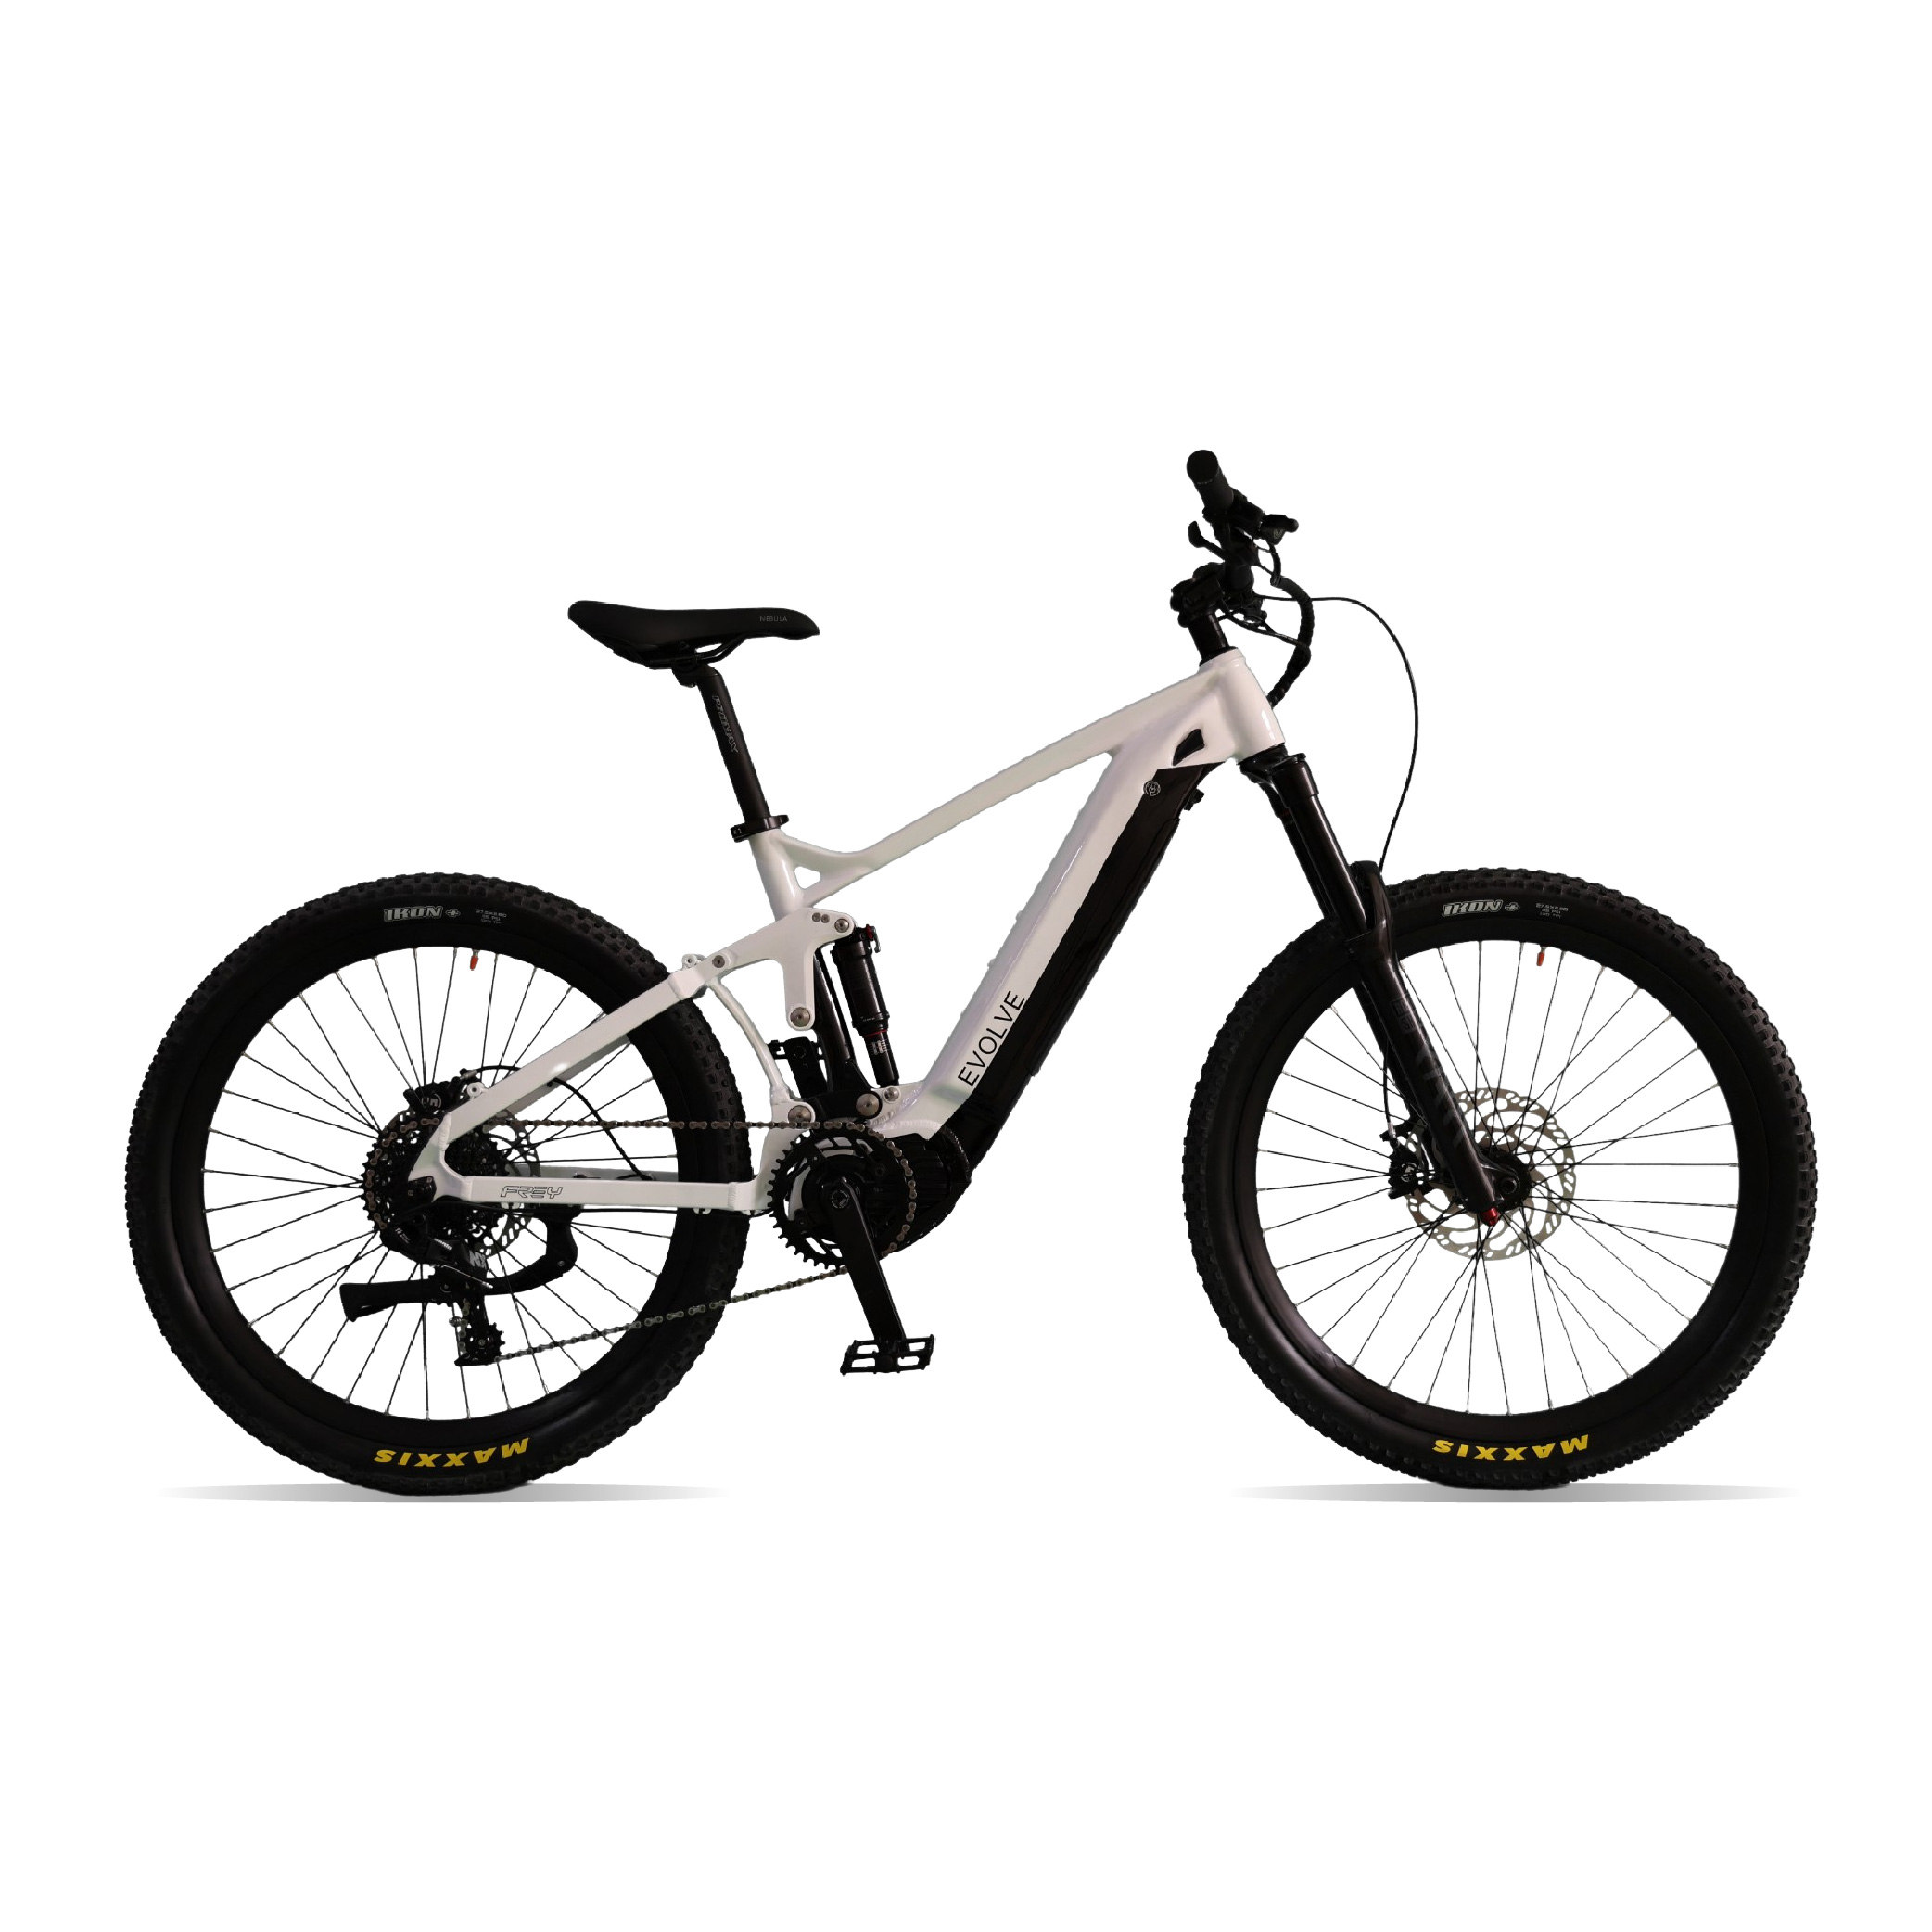
If your E-bike doesn’t respond when you press the power button and won’t turn on, you can follow these steps to troubleshoot and identify the cause of the issue.
I.Preparation #
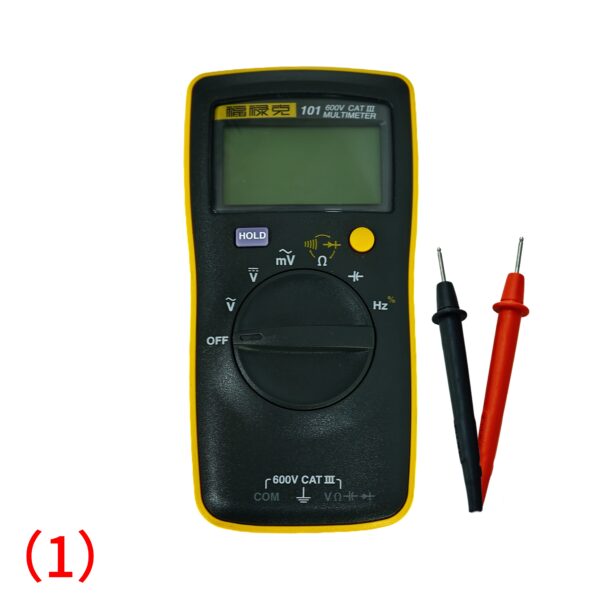
Prepare a Multimeter
A multimeter is essential for checking electrical components. (See Fig. 1)
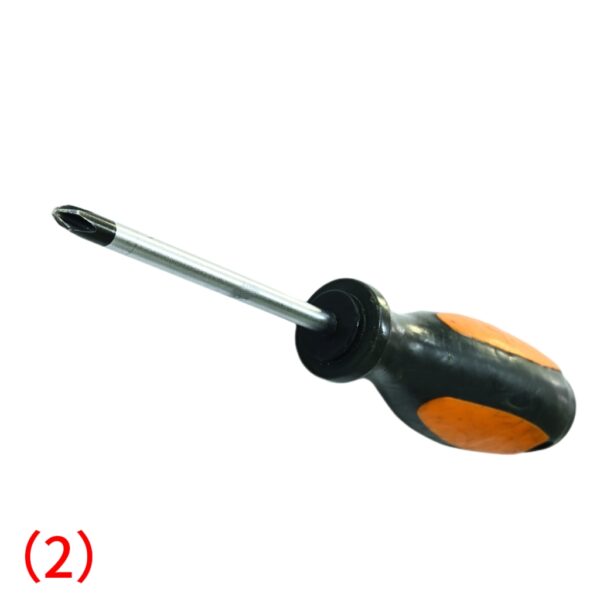
Prepare a Phillips Screwdriver
This will help you access various components for inspection. (See Fig. 2)
II.Precautions #
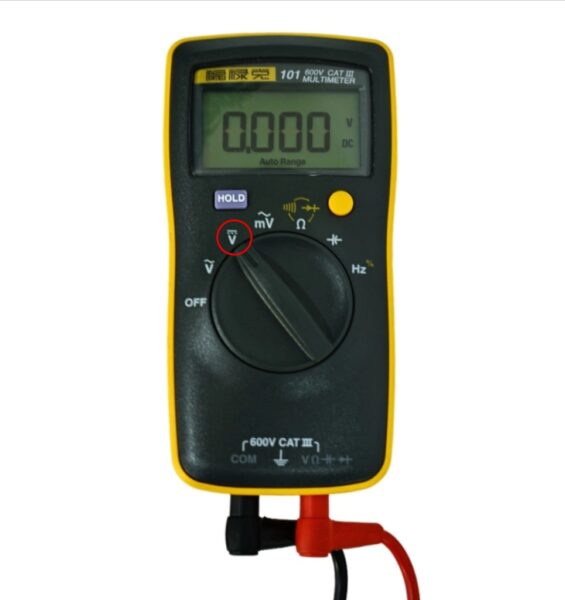
Before starting, set the multimeter to the voltage ![]() mode. (See Fig. below)
mode. (See Fig. below)
III.Troubleshooting Steps #
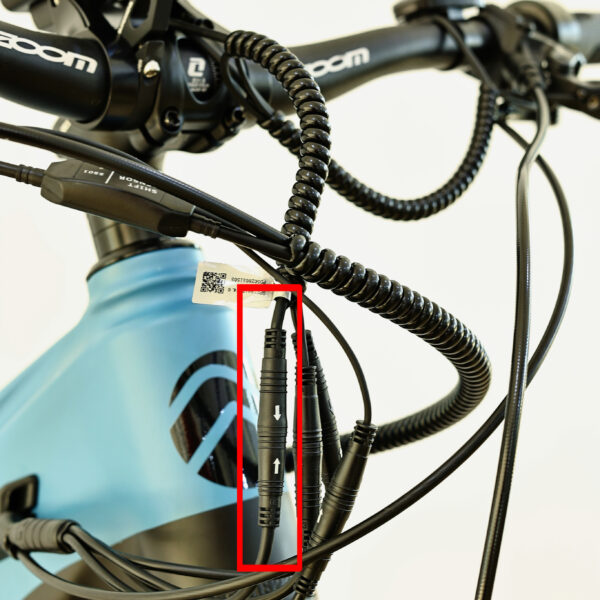
1、 Check the Display Cable #
Ensure the display cable is properly connected. (See Fig. below)
2、Inspect the Battery and Charger #
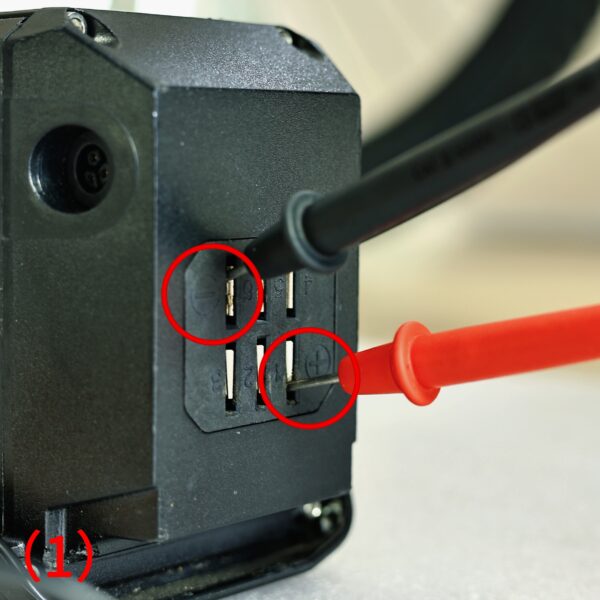
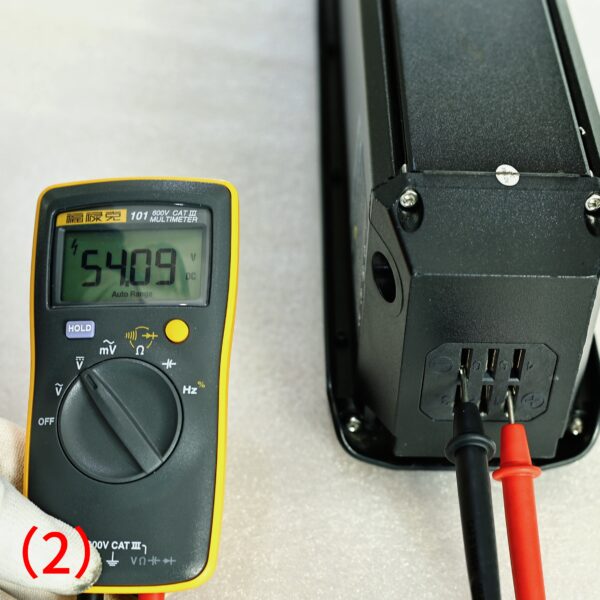
Insert the red probe of the multimeter into the positive terminal of the battery output port, and the black probe into the negative terminal. (See Fig. 1)
Ensure the battery voltage is above 38V for normal operation. (See Fig. 2)
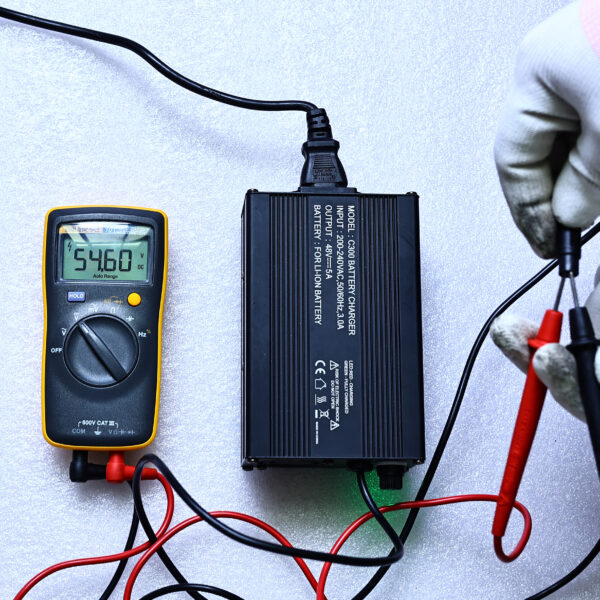
If the battery voltage remains below 38V even after a full charge, measure the output voltage of the charger. (See Fig.)
The voltage should be 54.6V. If it does not meet this standard, the charger is faulty. If the voltage is correct, the battery is faulty. If both the battery and charger are functioning properly, proceed to the next troubleshooting step.
3、Inspect the Power Cable #
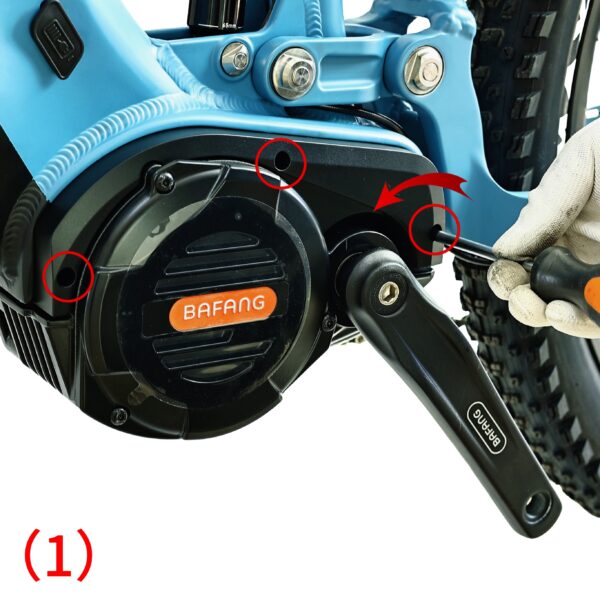
Use a Phillips screwdriver to remove the three screws on the motor cover by turning them in the direction indicated by the arrow, and then open the motor cover. (See Fig. 1)
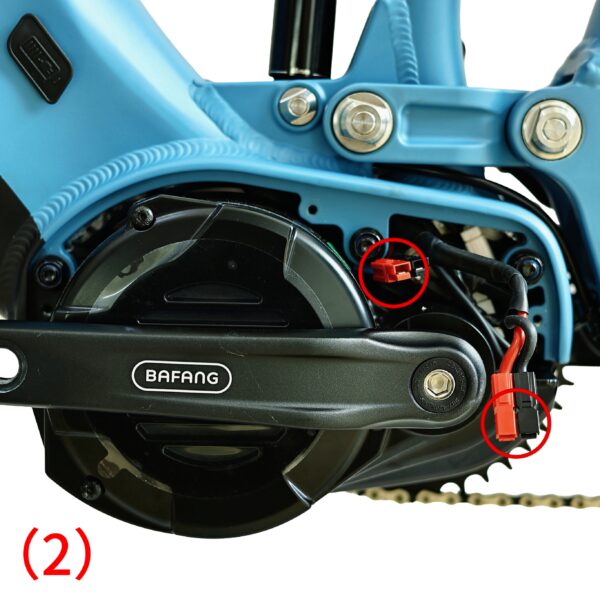
Unplug the power cable and disconnect all other cables, leaving only the 1T4 cable connected. (See Fig. 2)
(First, inspect the power cable and the 1T4 cable. If no issues are found with these, reconnect the other cables one by one to identify the fault.)
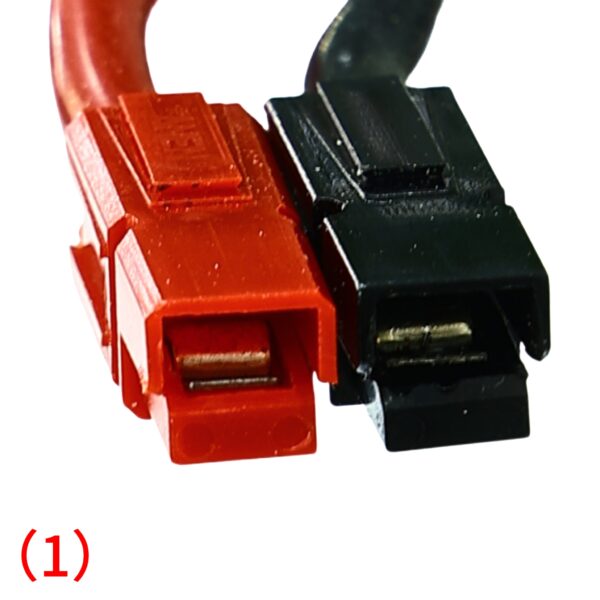
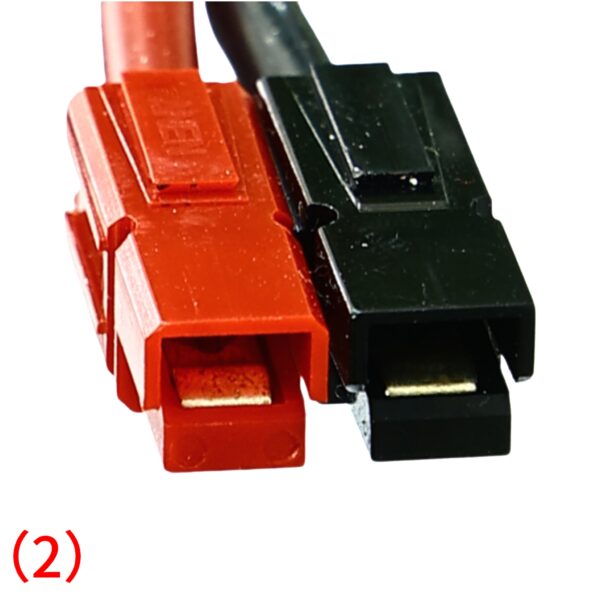
First, inspect the red and black power wires to check if the barbs have come loose. If they are loose, this can cause a circuit disconnection, preventing the system from turning on. (See Fig. 1 for loose barbs and Fig. 2 for intact barbs.)
If the barbs are not loose, proceed with further inspection.
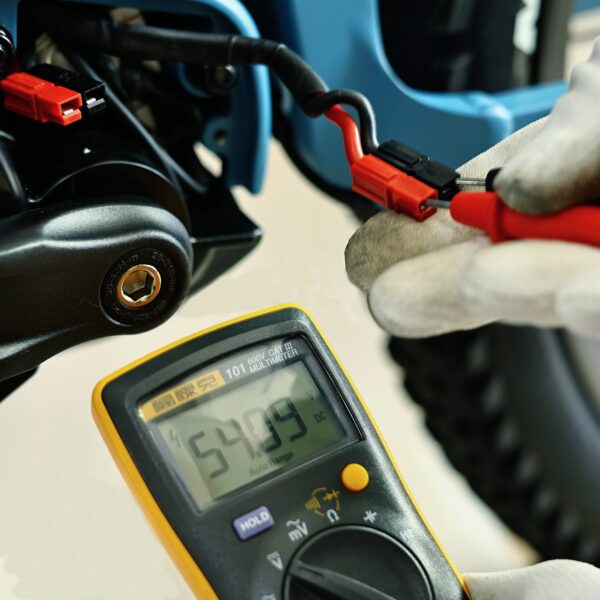
Install a charged battery and use the multimeter to insert the probes into the base-side power connector (the shorter one is for the motor-side connector, and the longer one is for the base-side connector). Insert the red probe into the red power wire connector to contact the barb inside, and the black probe into the black power wire connector to contact the barb inside. (See Fig. for reference).
Measure the voltage on the base-side power wire. The normal voltage reading should be 54.6V. If the reading is 0, it indicates the power wire is broken.
If both previous measurements are normal, continue troubleshooting further.
4、Troubleshoot the 1T4 wire and the display: #
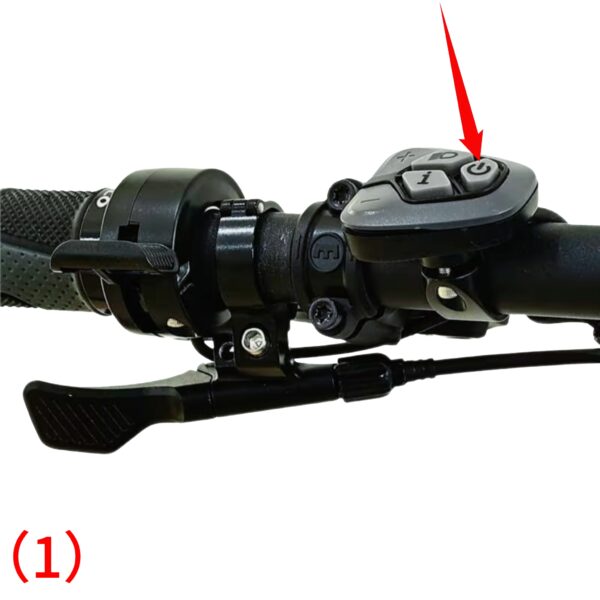
Press and hold the power button, as shown in Fig. (1).
If the shifting cutoff sensor light flashes, as shown in Fig. (2), but the display does not power on, it means the display is faulty.
However, if the shifting cutoff sensor does not flash, then the issue is with the 1T4 wire, indicating a connection failure.

IV.After-Sales Support #
If you have identified the issue and are unable to resolve it on your own, please contact our after-sales support at: [email protected]. We will respond as soon as possible and assist you in resolving the problem.


