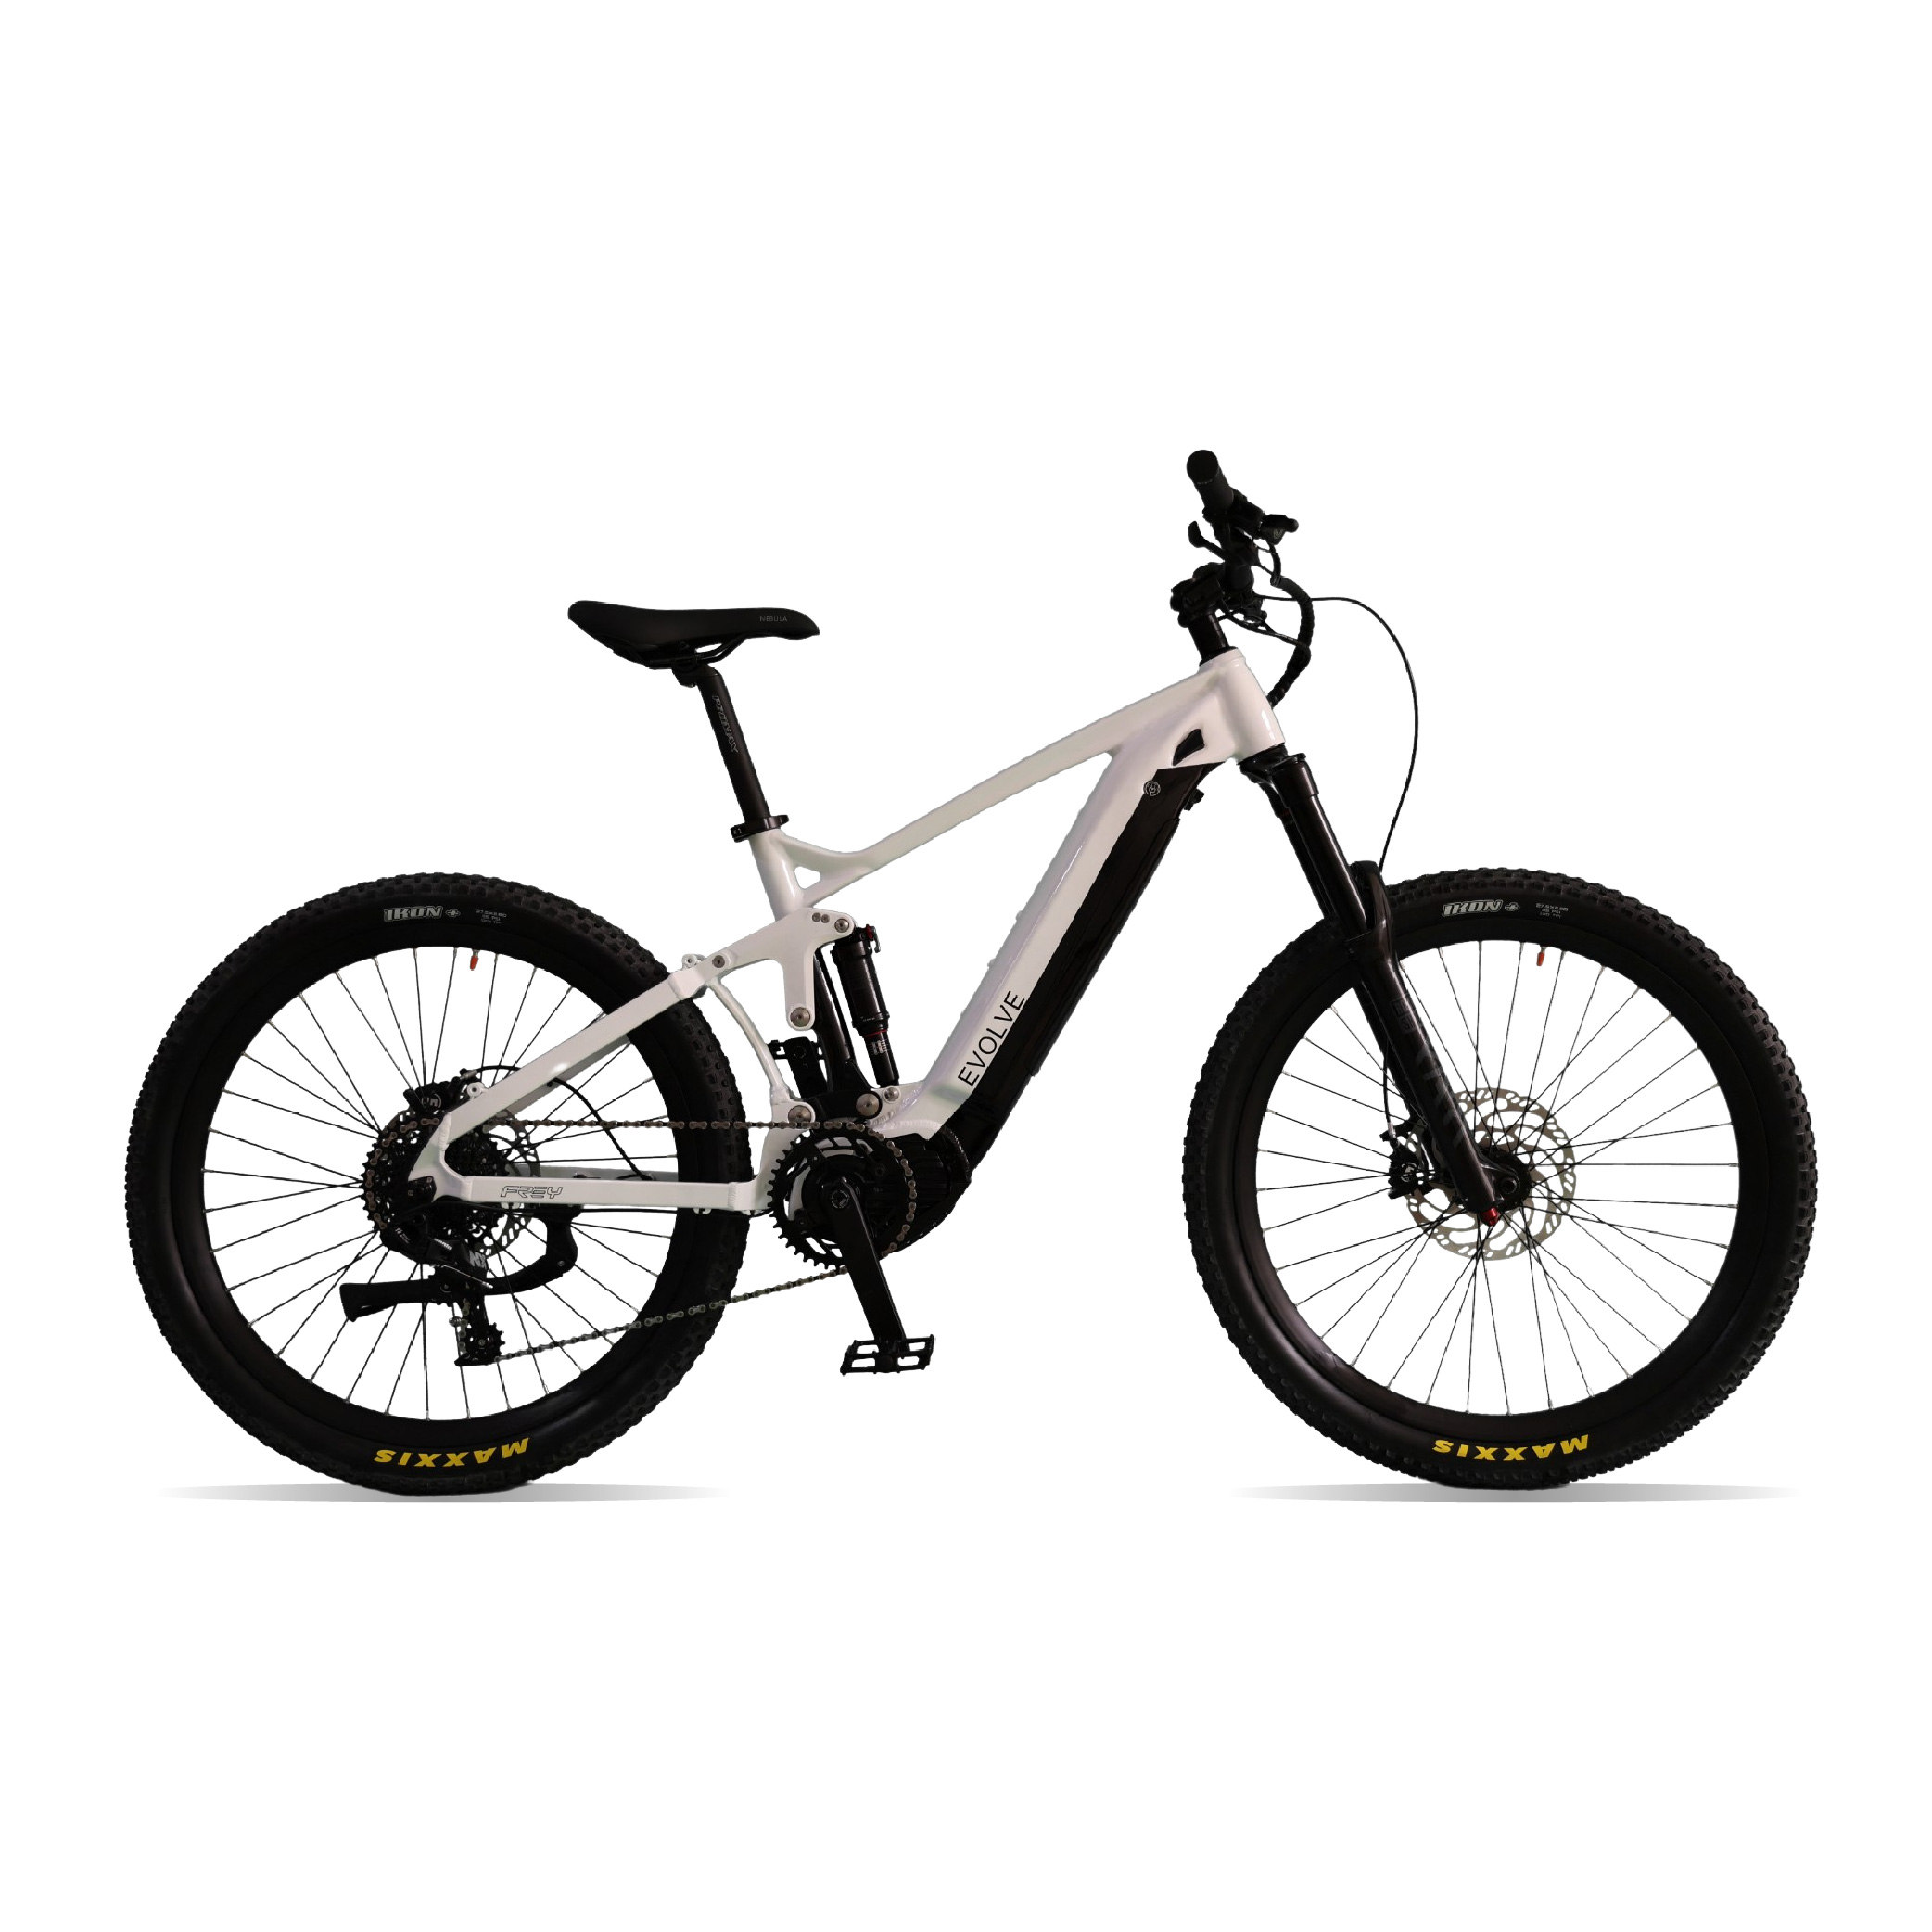
I.Preparation #
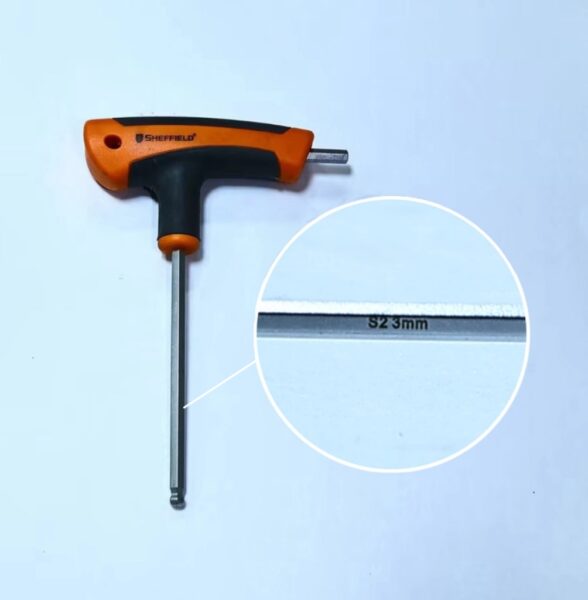
A 3mm Allen key tool is required, as shown in the image below.
II.Dropper Seatpost Lever Assembly Diagram #
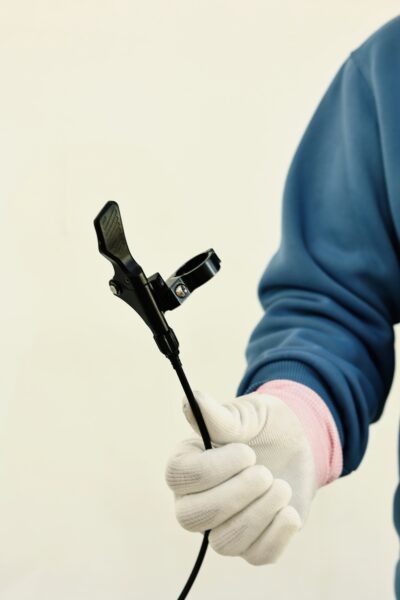
III.Assembly Steps #
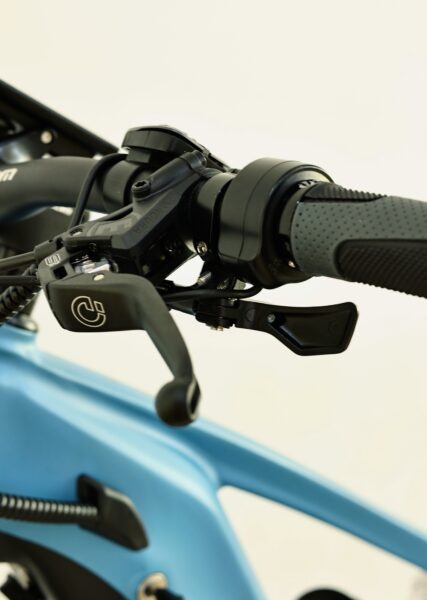
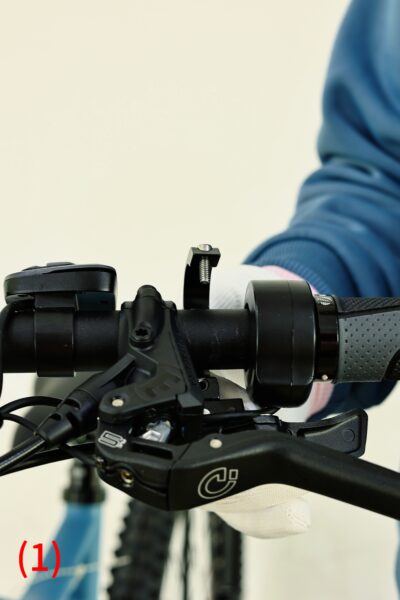
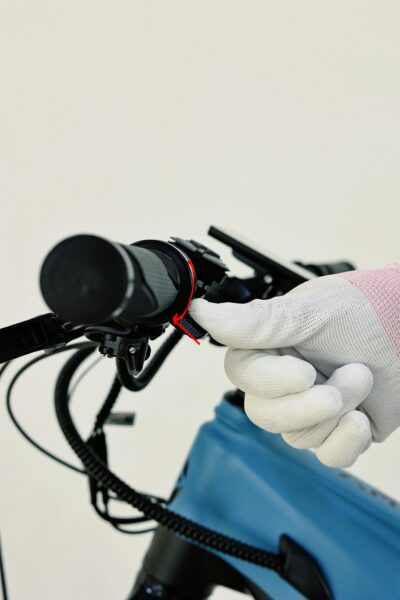
1、By default, the dropper seatpost lever is installed on the left side of the handlebar at the position indicated by the arrow in image (1). When installing, ensure the dropper lever cable is positioned behind the front brake cable, as shown in image (2). You may also install it in a location that best suits your riding preferences; refer to steps 2 and 3 below for further guidance.
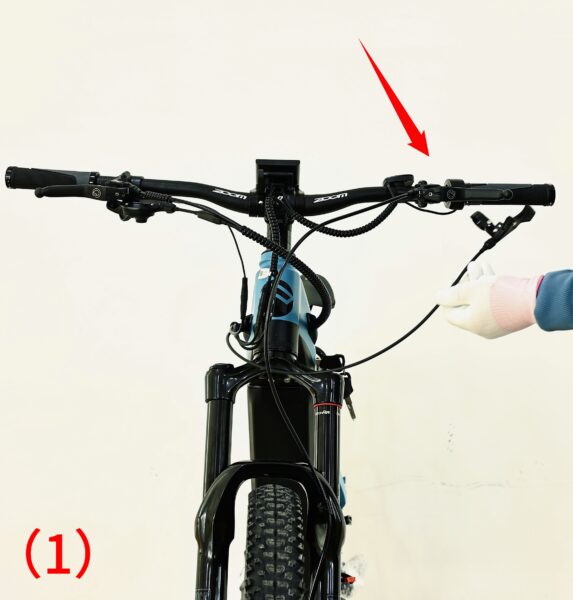
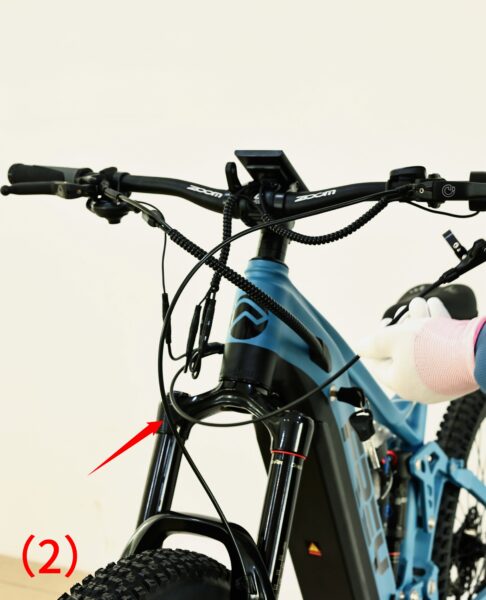
2、Loosen the dropper seatpost lever screw and place it in the mounting position, as shown in image (1). When installing on the left side of the handlebar, position the dropper lever behind the throttle cable, as shown in image (2).
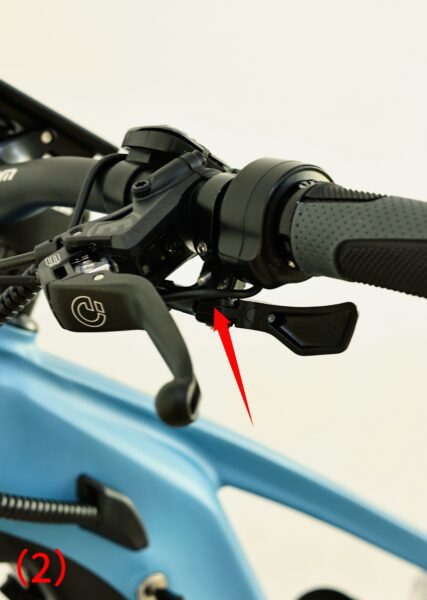
3、Tighten the dropper seatpost lever screw in the direction of the arrow, with a torque of 3 N·m.
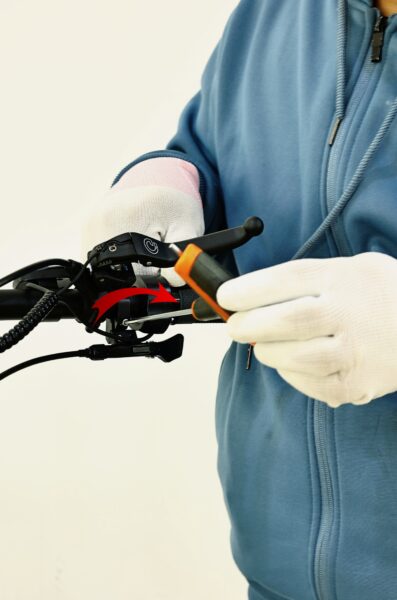
4、After Assembly, ensure there is no interference with the thumb throttle (pressing the thumb throttle should not touch the dropper seatpost lever). If there is any interference, adjust the angle again.
IV.Assembly Completed Diagram #
The correct usage method for the dropper seatpost lever can be found at: https://www.frey-bike.com/docs/dropper-seat-post-instructions/
