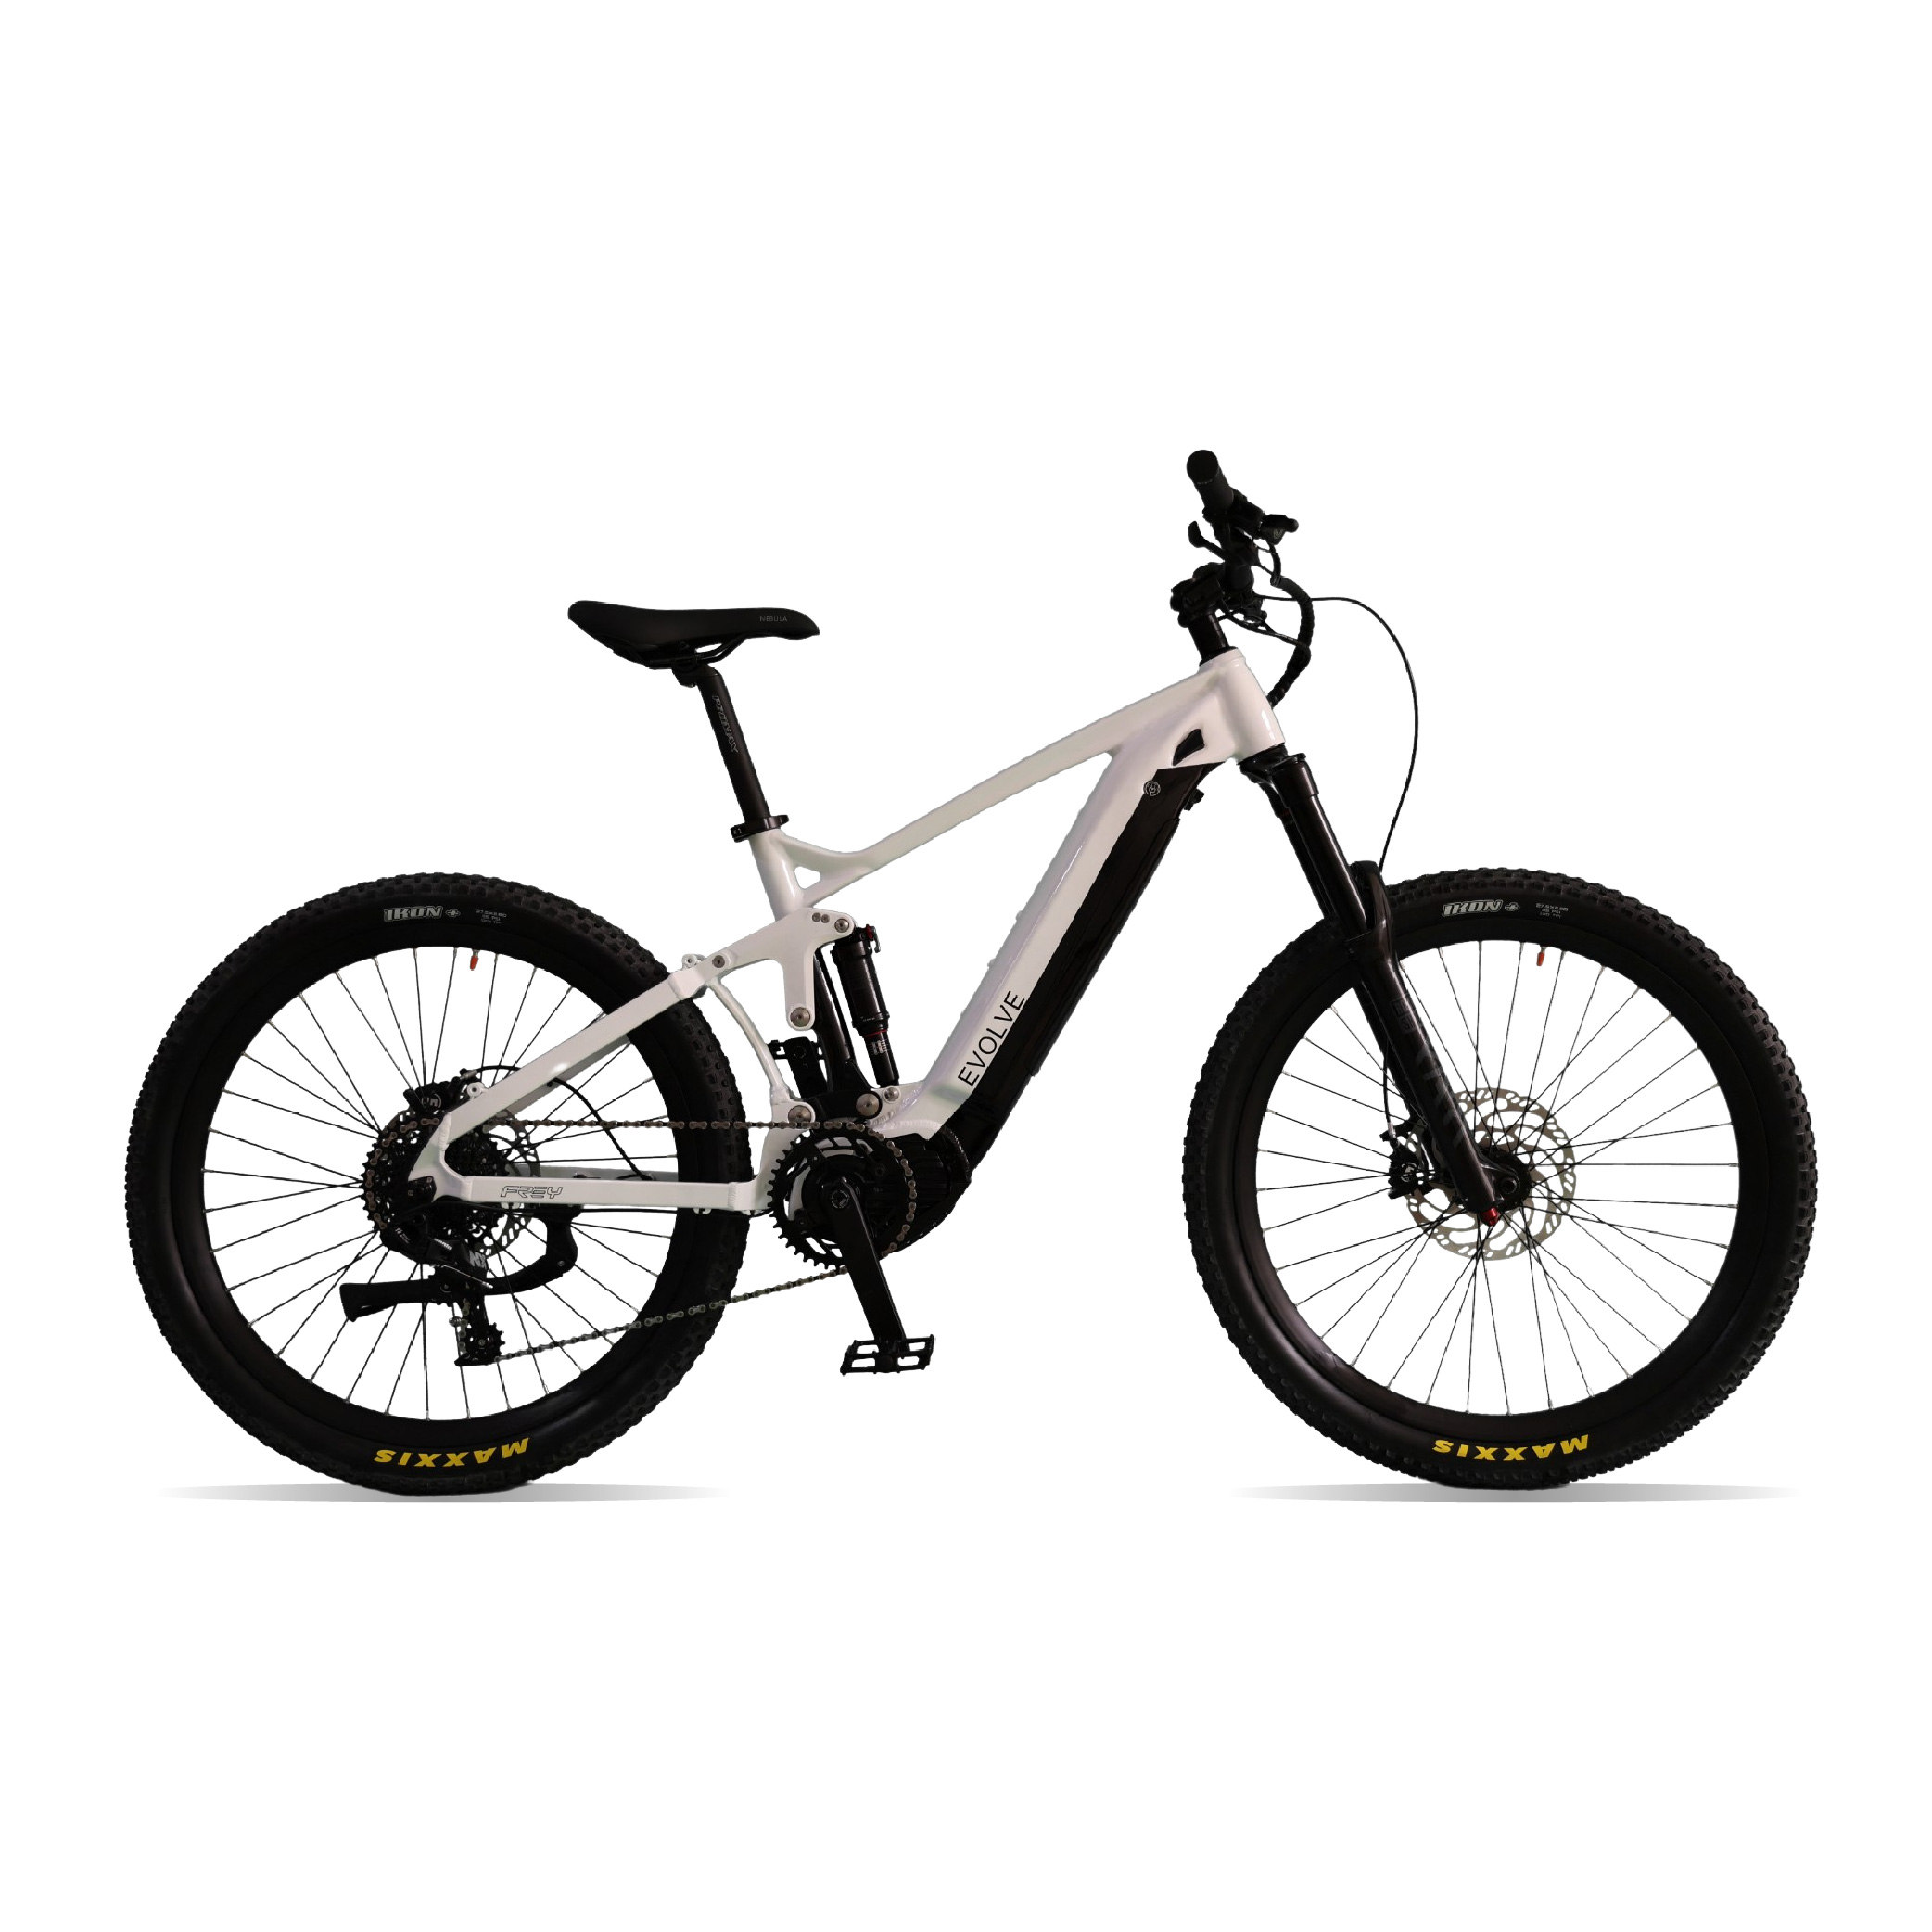
1.Preparation #
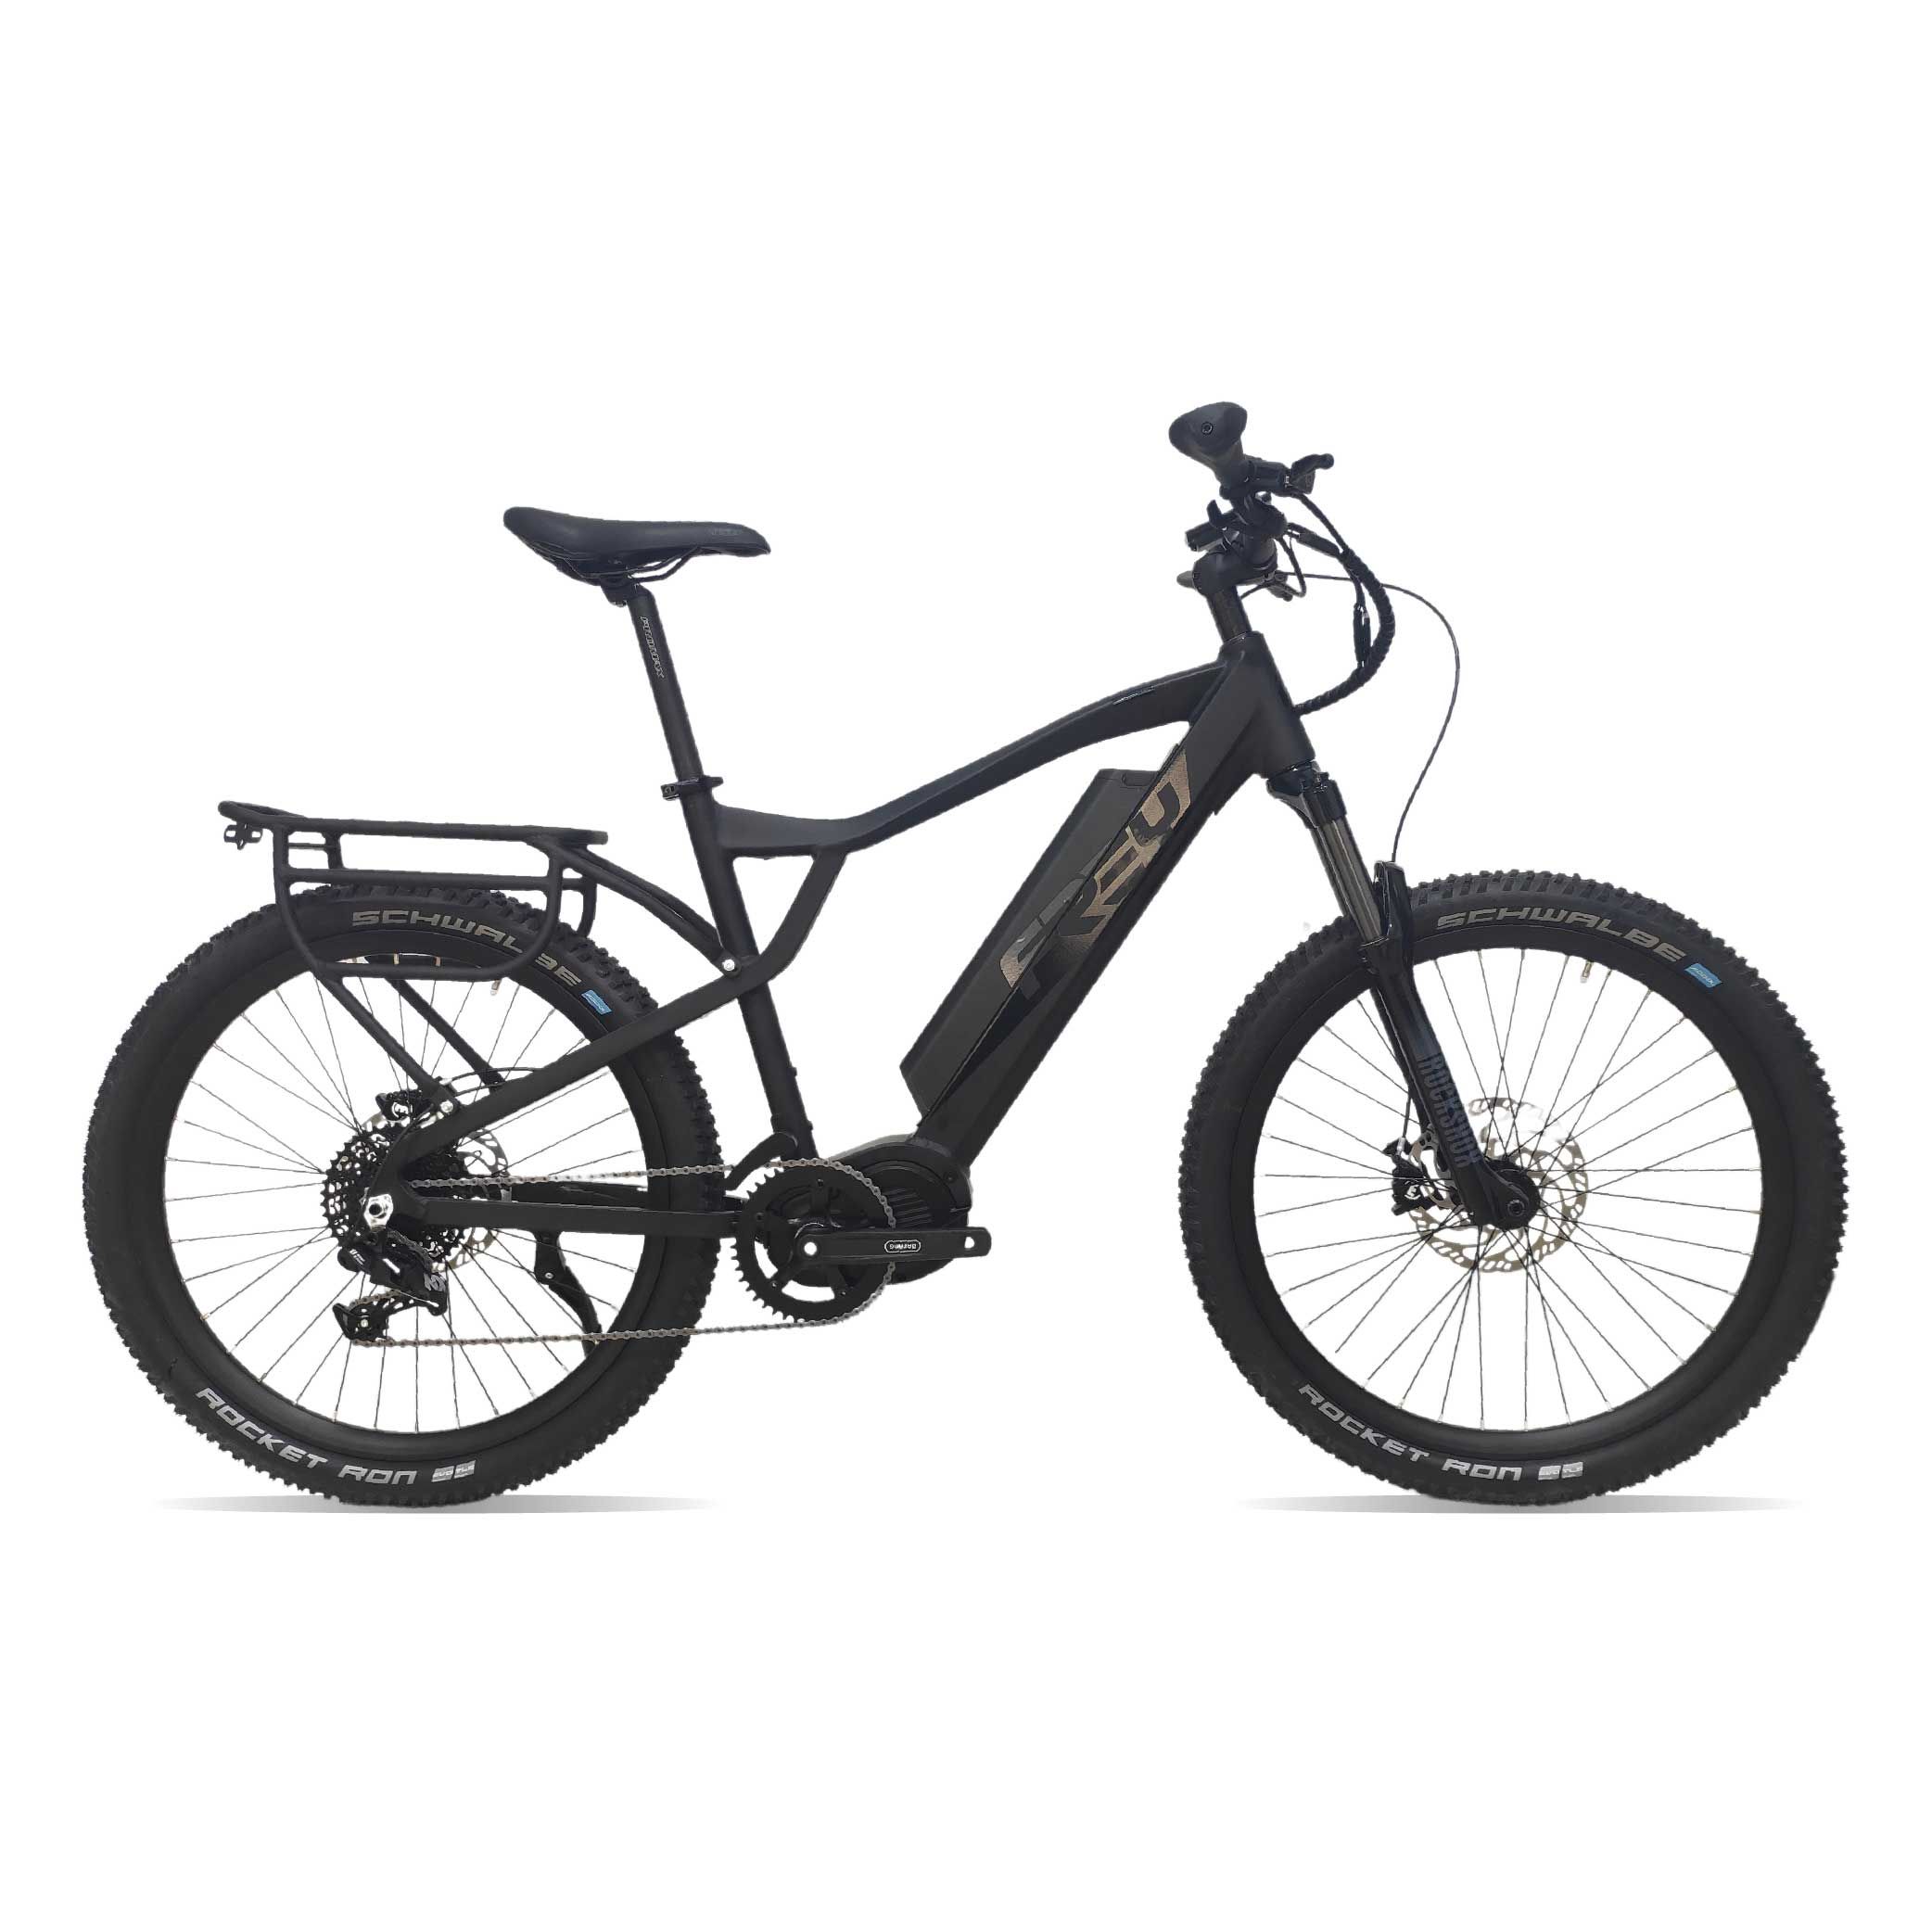
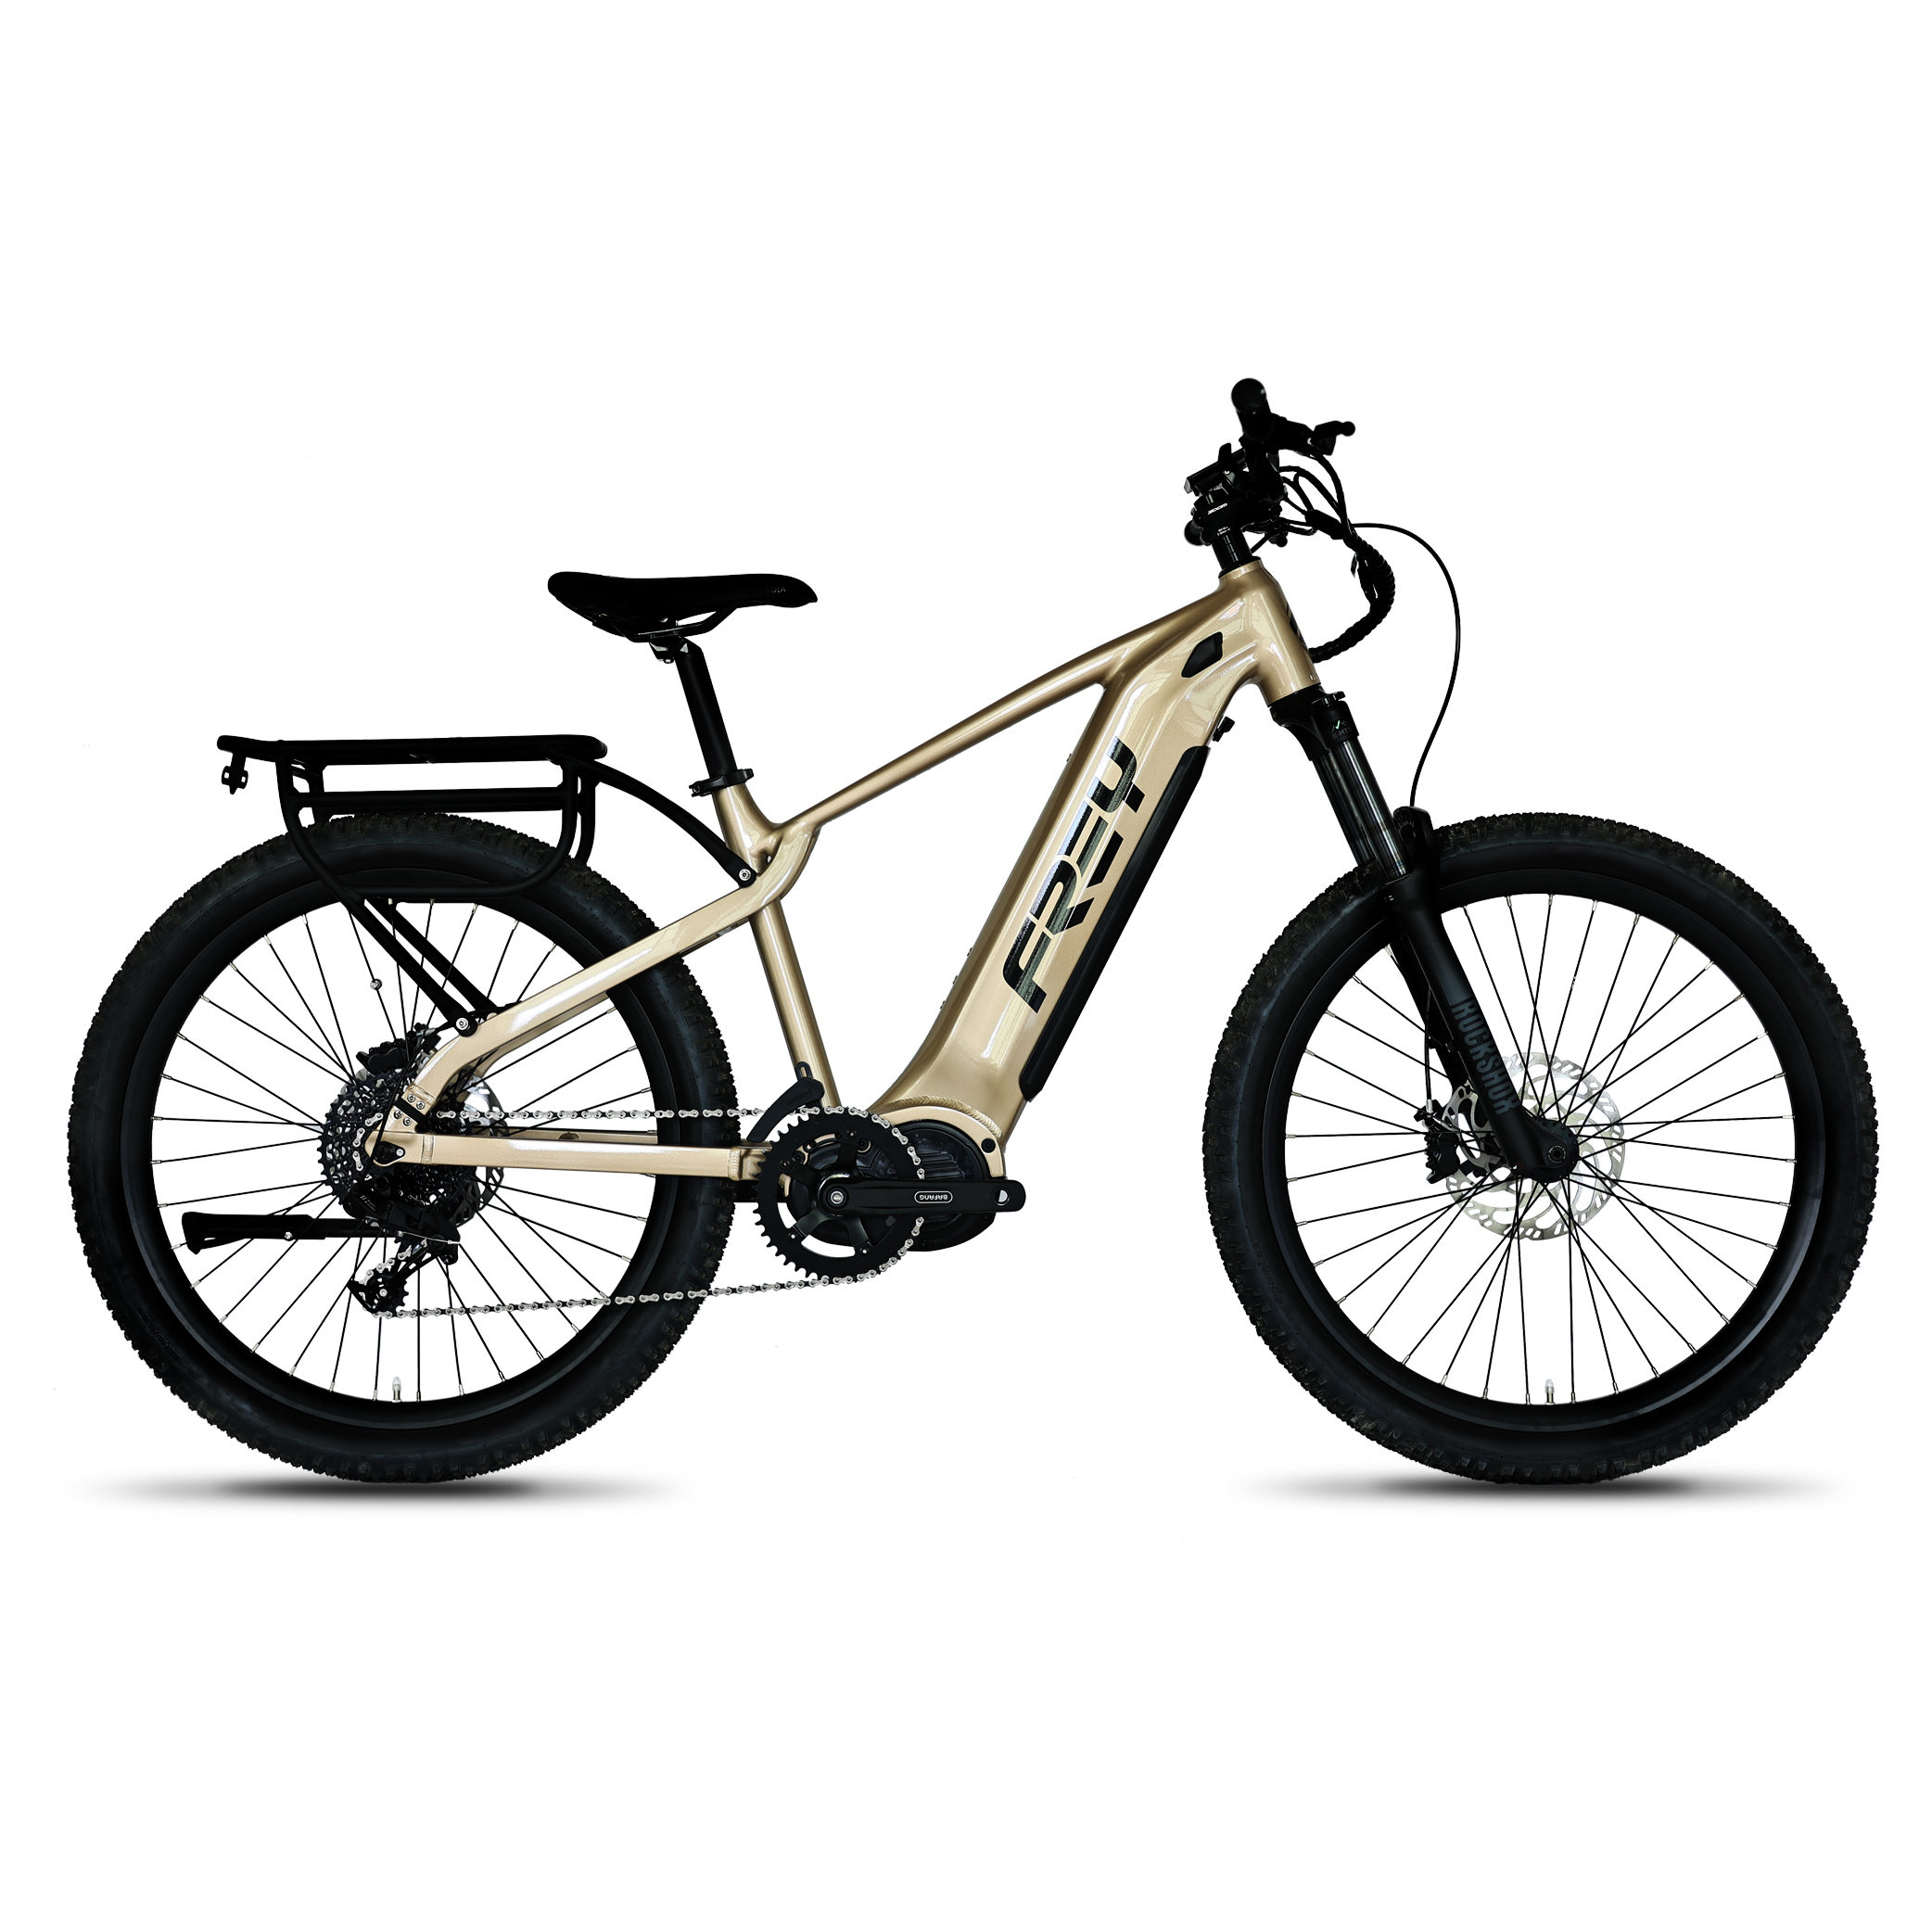
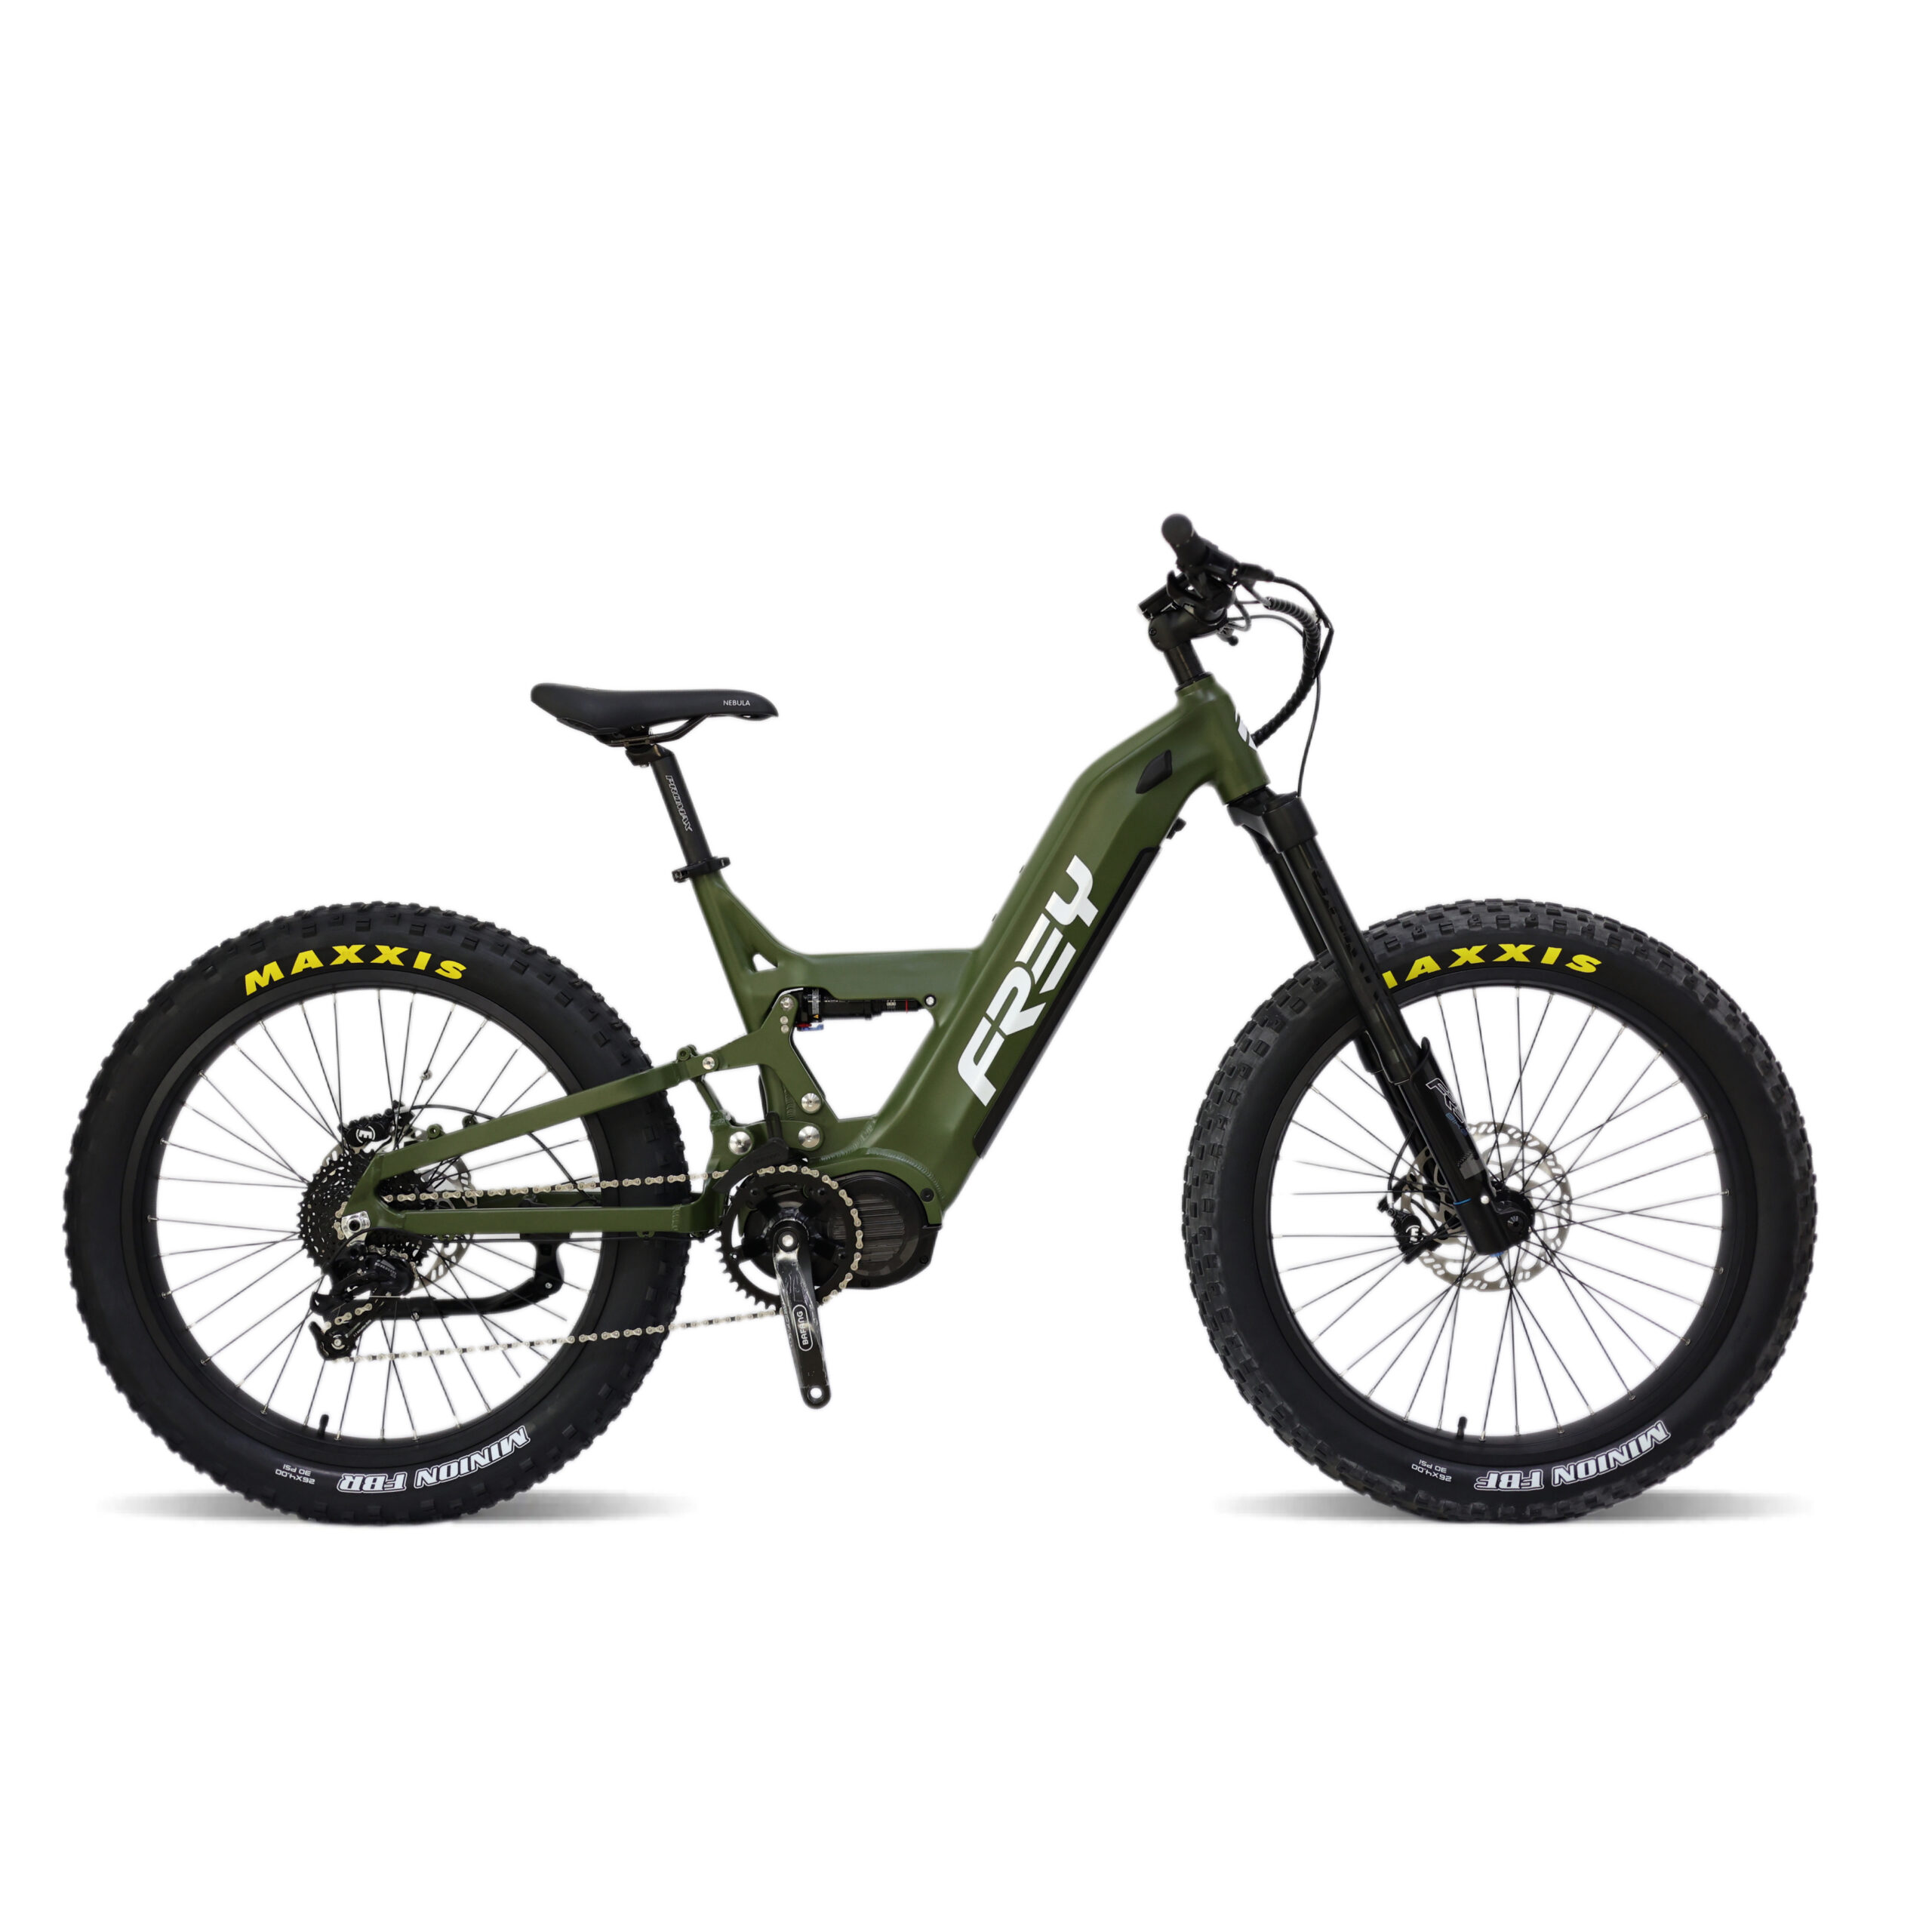
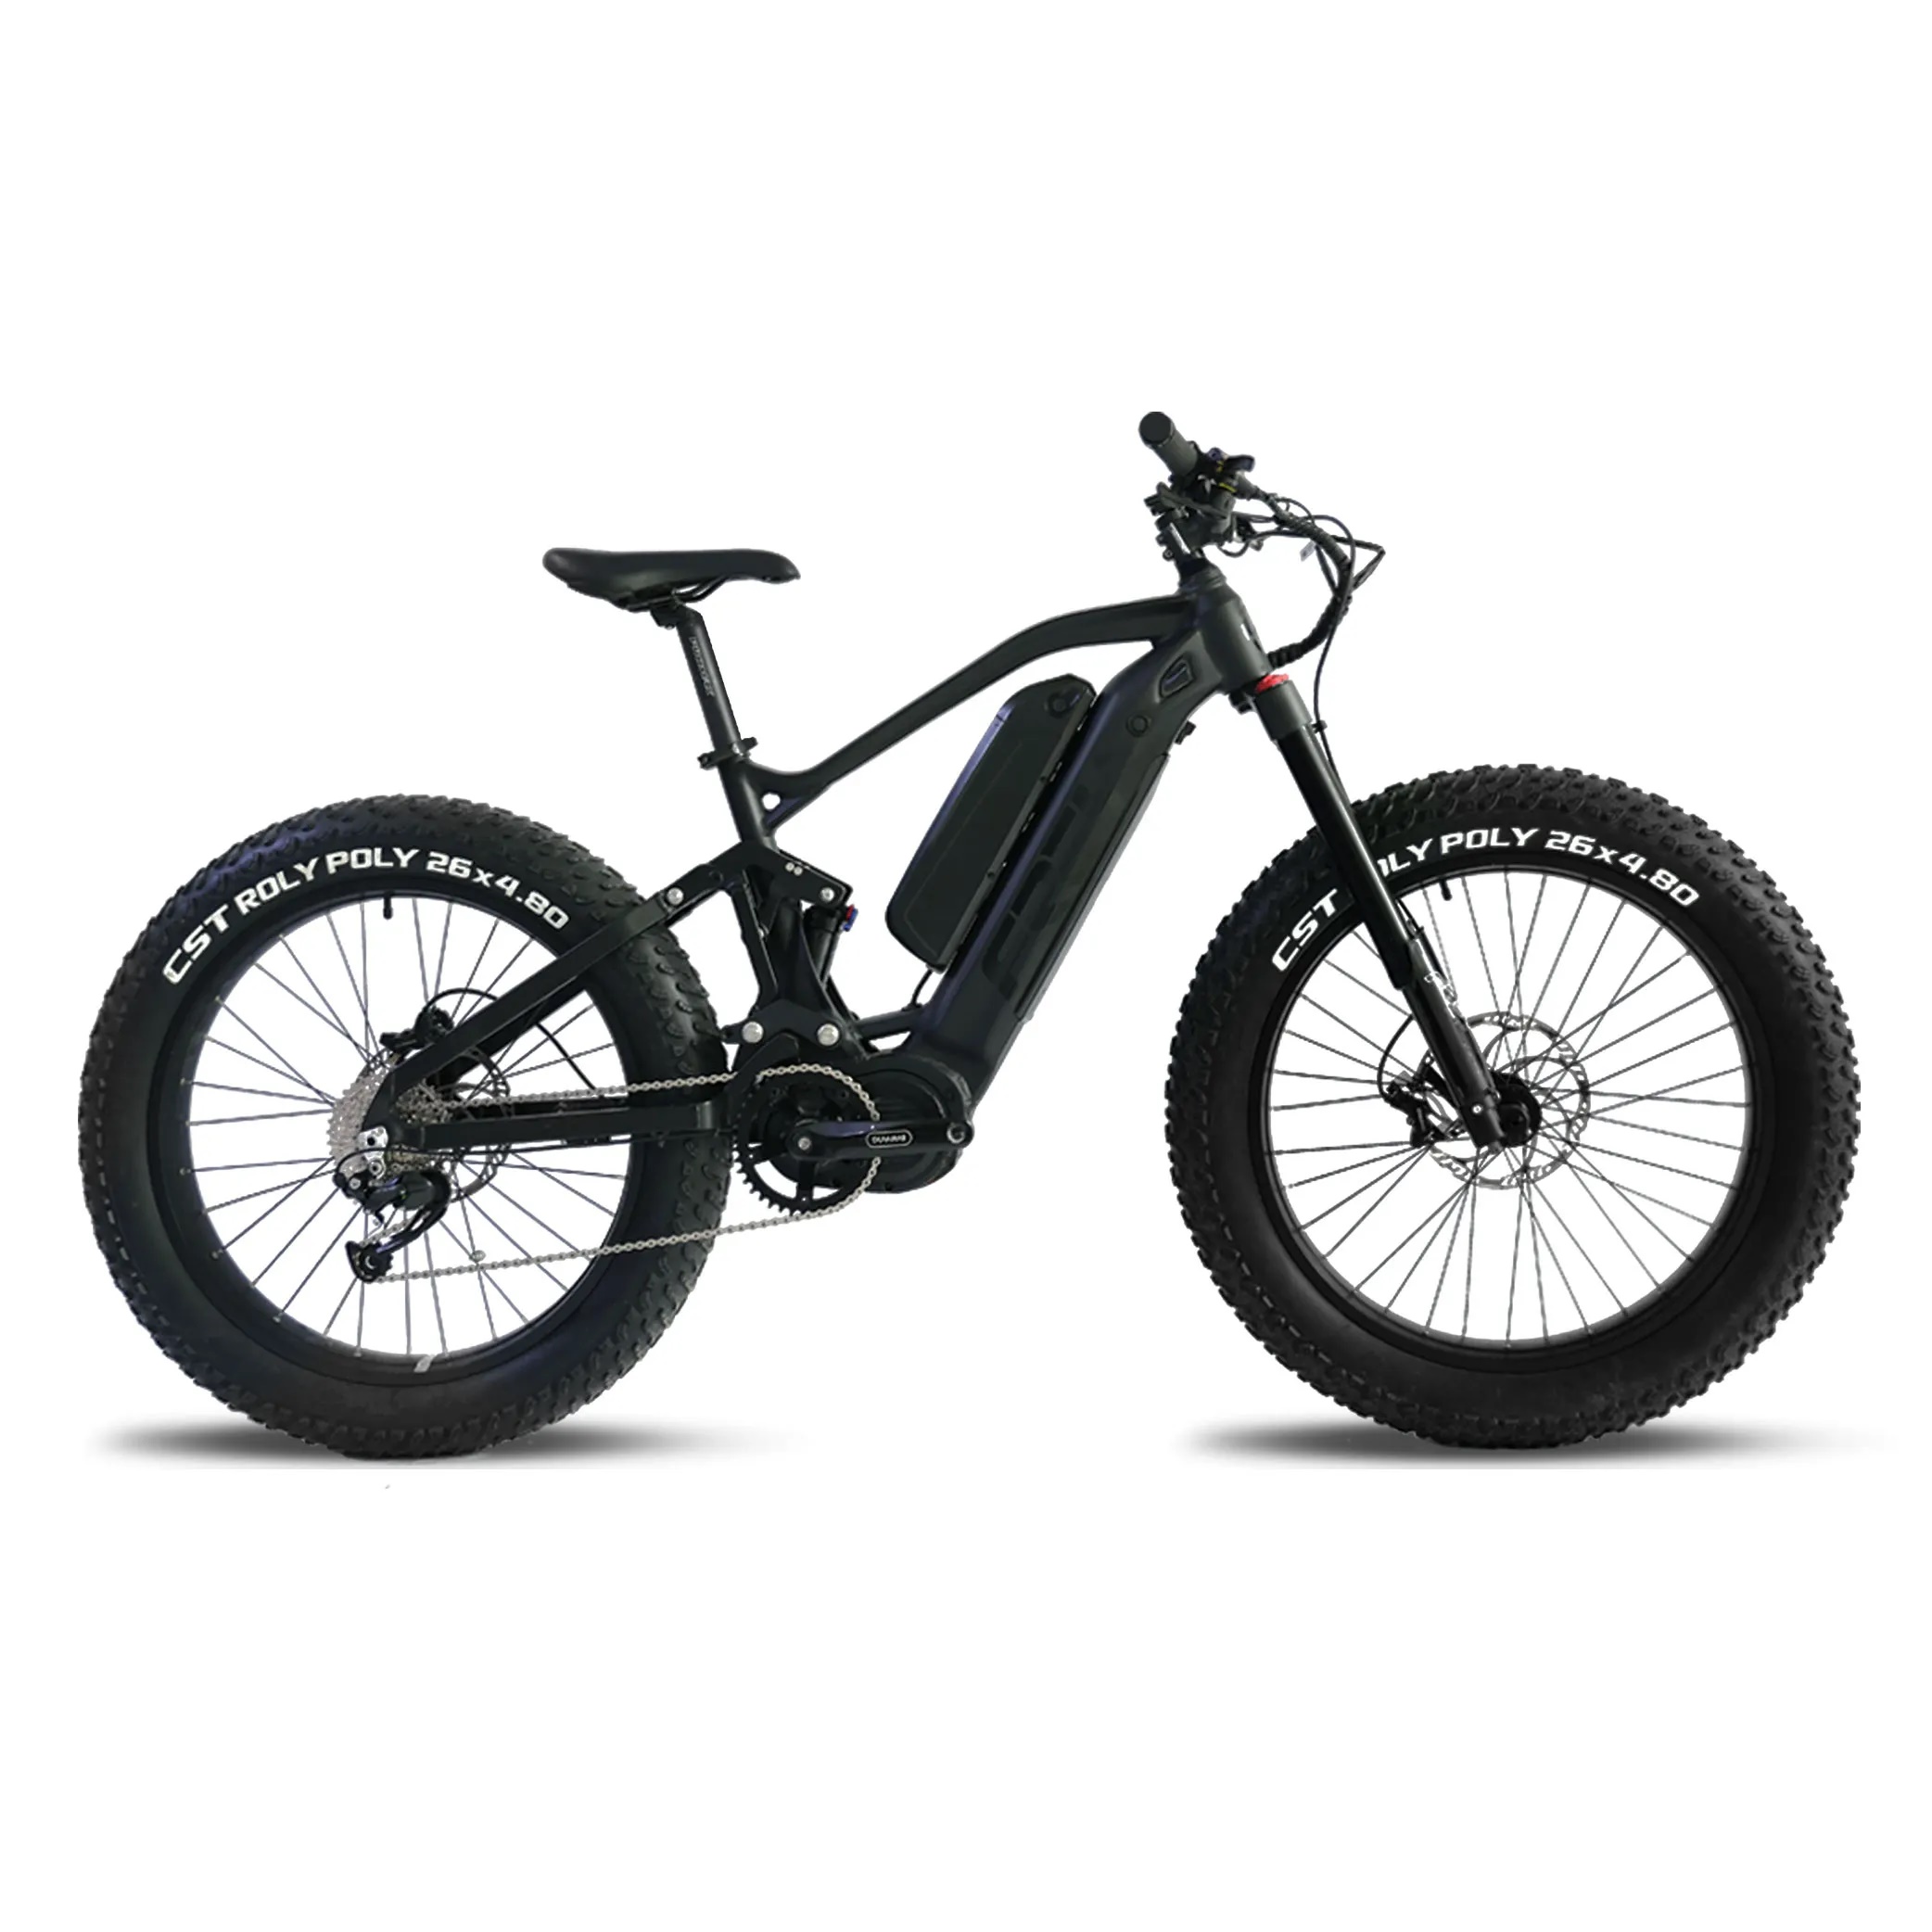
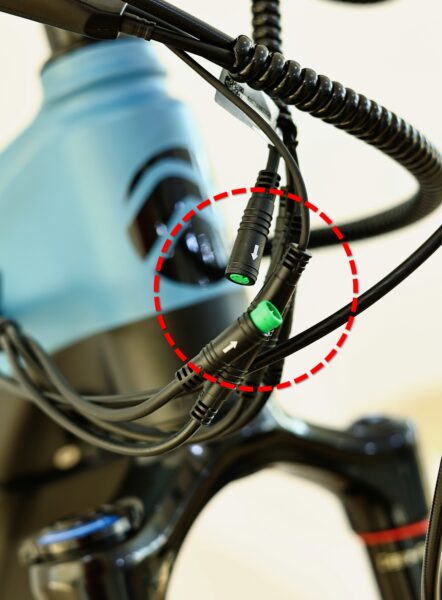
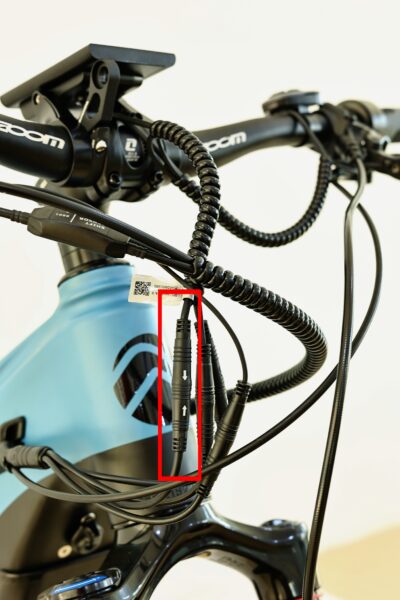
Locate the display cable connector terminals, as shown in the image below. It is situated at the front of the bike.
2.Precautions #
- Check that the pinholes are not blocked and the pins are not bent.
- When inserting or unpluging the connector, hold the connector body and avoid pulling on the cable to prevent damage to the cable and any potential chain reactions.
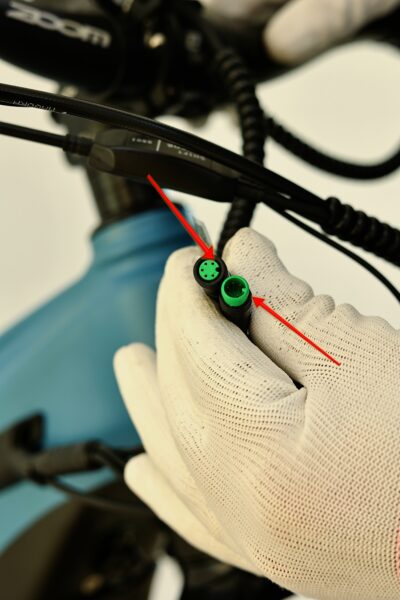
3.Assembly Method #
Align the arrows so that they face each other in a horizontal position at 180°. Make sure to avoid bending the pins or misaligning them during insertion.
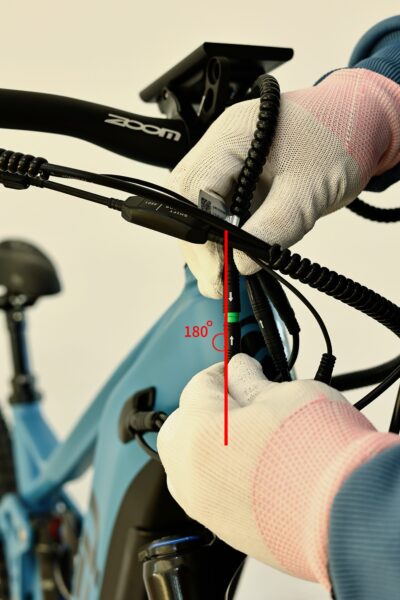
4.Assembly Completed Diagram #
The display cable is correctly connected, as indicated in below image.
5.Power-On Test #
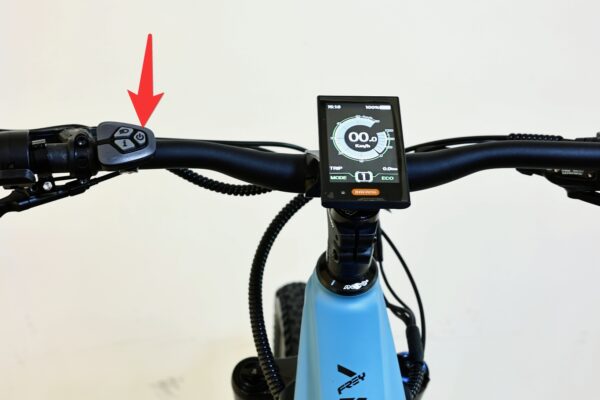
After completing the 4th step, ensure the battery is properly installed on the bike. Press and hold the power button for 3 seconds (the location of the power button is indicated by the red arrow in the image) until the display powers on. As shown in the image, the Assembly is completed and the power-on is successful!
If you’re unsure how to install the battery, please refer to the battery installation and removal instructions.
