I. Preparation #
To install the mountain bike rear aluminum mudguard, the tools you will need are as follows (as shown in the image).
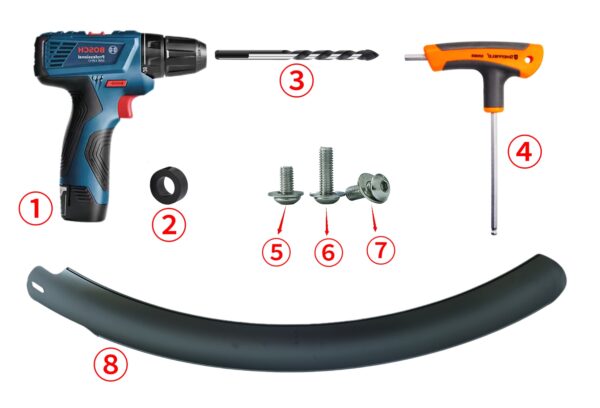
①, Electric drill
②, Spacer washer with an outer diameter of 9mm, inner diameter of 5mm, and width of 5mm
③, 5mm twist drill bit
④, 3mm Allen wrench
⑤, M5X8mm Allen round head screws (with flat washers)
⑥, M5X16mm Allen round head screws (with flat washers)
⑦, M5X14mm Allen round head screws (with flat washers)
⑧, Mountain bike rear aluminum mudguard
II. Precautions #
When installing the rear mudguard, you need to flip the bike upside down. Please pay attention to the following two points:
1、Safe Area: Choose a flat, clean, and obstacle-free area for the installation process. (As shown in the image)
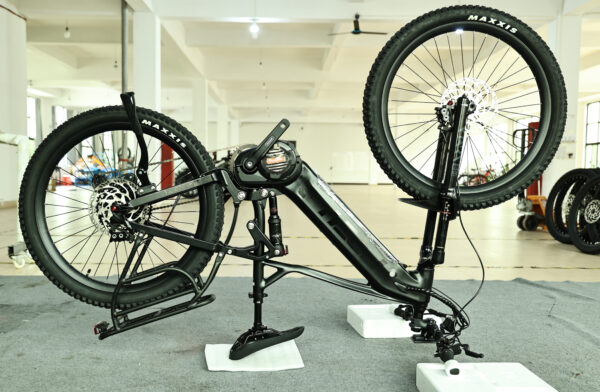
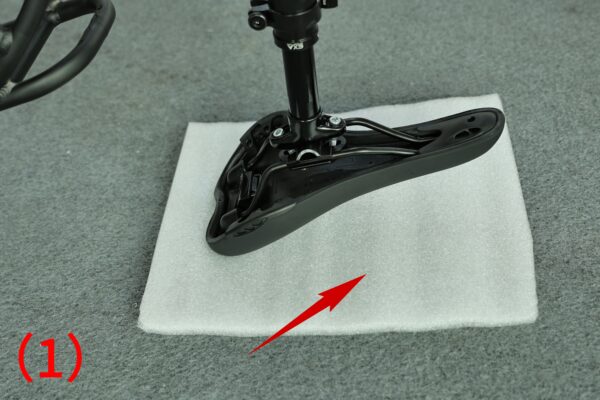
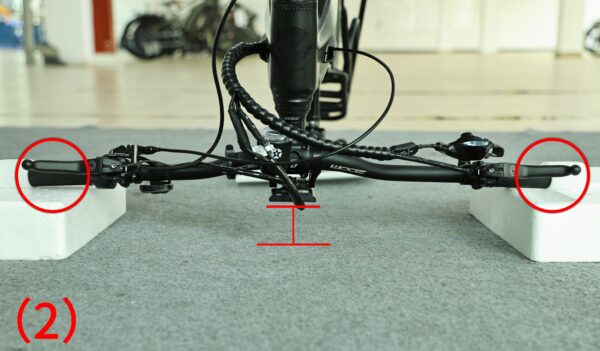
2、Protect the Saddle and Display: When flipping the bike upside down, the handlebars and saddle will make contact with the ground. To prevent dirt or scratches on the saddle, you can place a soft pad under the saddle (as shown in image 1). Place two relatively high foam pads on both sides of the handlebars to keep the display on the handlebars suspended, preventing any pressure damage during the installation process (as shown in image 2).
III.Remove the Rear Wheel #
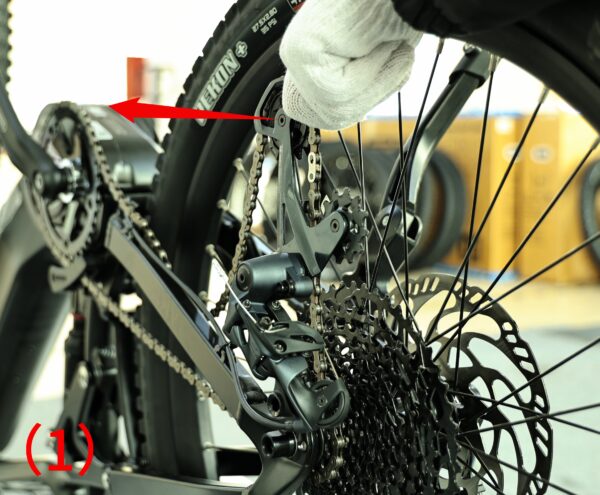
- Push the derailleur forward with your right hand (as shown in image 1).
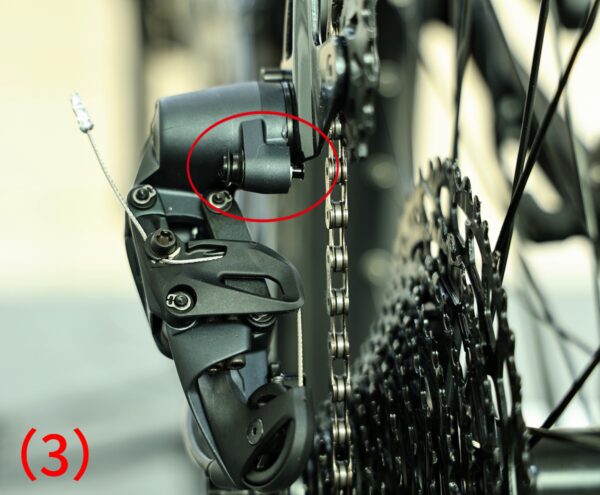
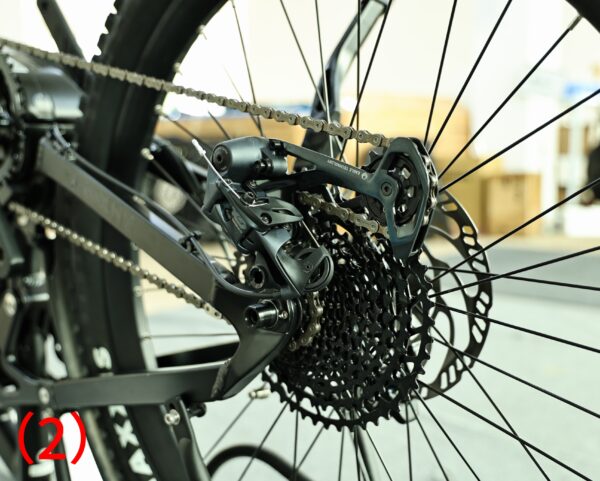
- Press the rear derailleur lock button with your left hand (as shown in image 2). The button will pop out. Once pressed, release the hand pushing the derailleur. This will lock the fixed guide plate (as shown in image 3).
- This will place the derailleur in an open position, making it easier to remove and install the wheel set and chain.

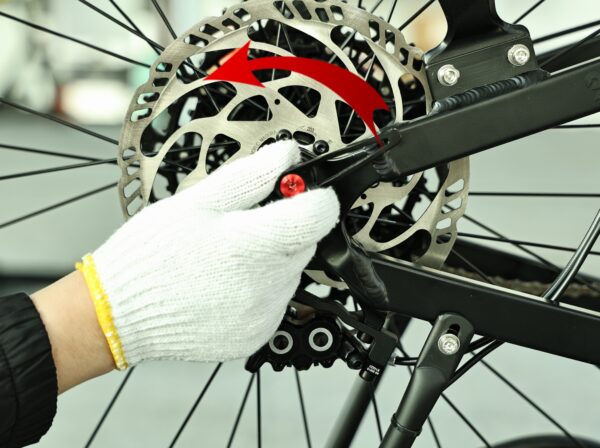
Rotate the axle nut in the direction of the arrow to loosen it and remove the rear wheel axle rod (as shown in the image). Afterward, remove the rear wheel and you can begin installing the rear mudguard.
IV.Mudguard Installation Steps #
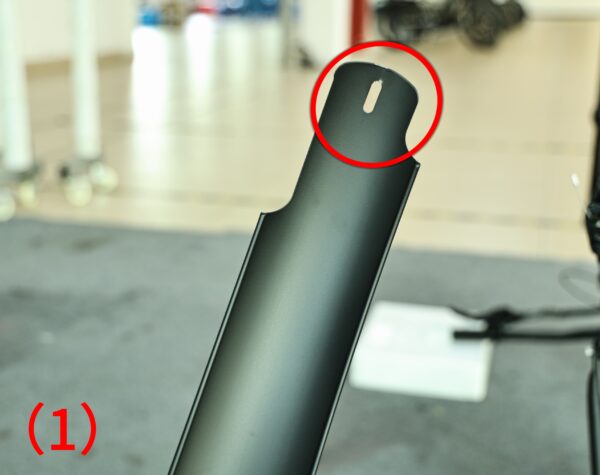
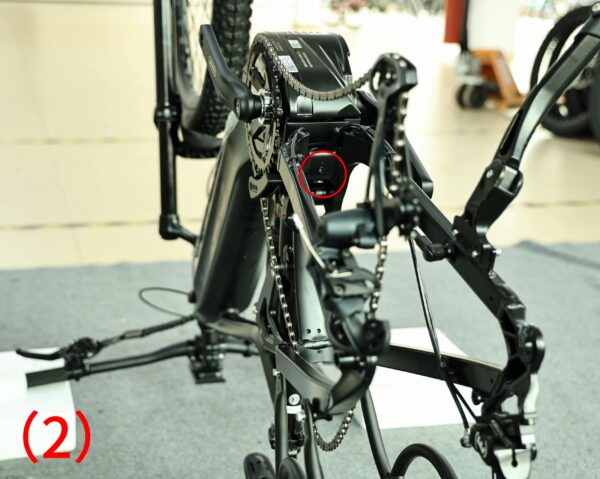
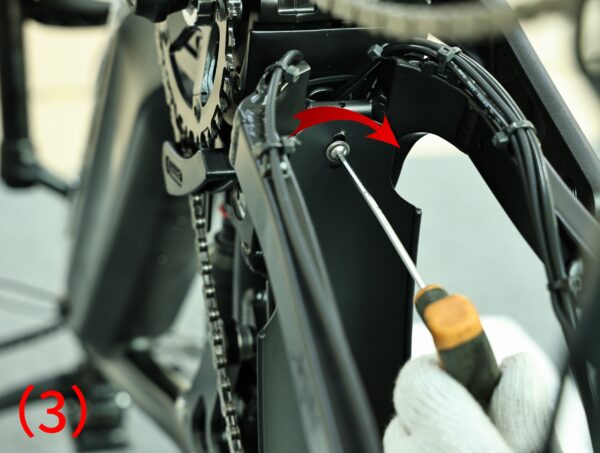
1、Install the first screw: Take the side of the mudguard with the oval-shaped hole (as shown in the image). Position it under the rear triangle, aligning with the screw hole (as shown in the second image). Use a 4mm hex wrench to rotate the M4X12mm screw in the direction of the arrow, and secure it in the center of the oval hole (as shown in the third image). Tighten the screw enough to prevent the mudguard from moving. This ensures that if there is any misalignment when drilling the second hole, you can loosen the screw for slight adjustments vertically.
2、Install a 5mm Twist Drill Bit into the Power Drill (as shown in the image).
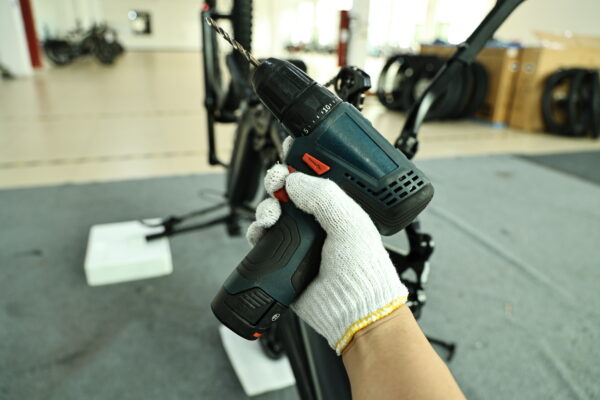
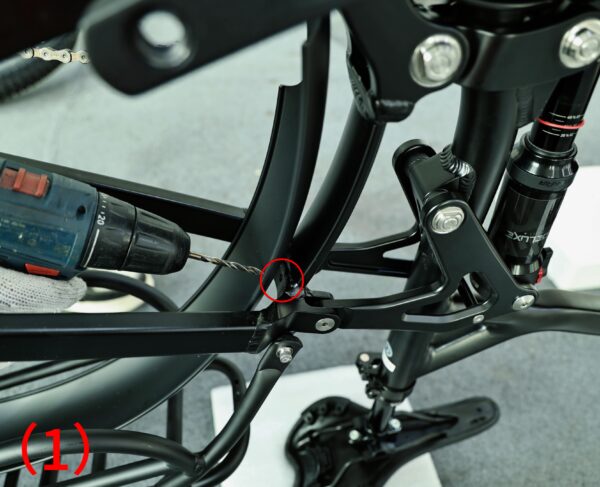
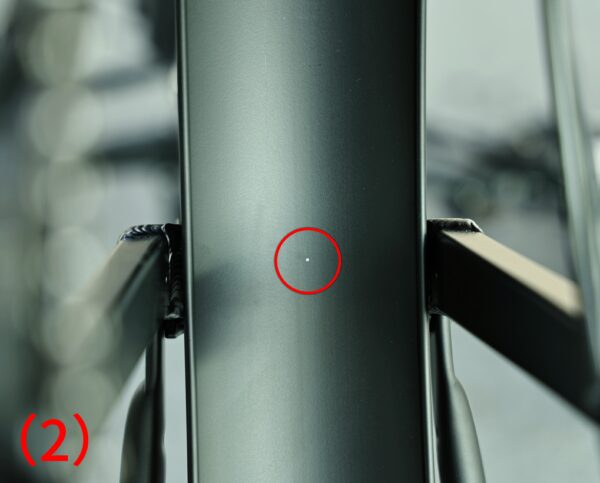
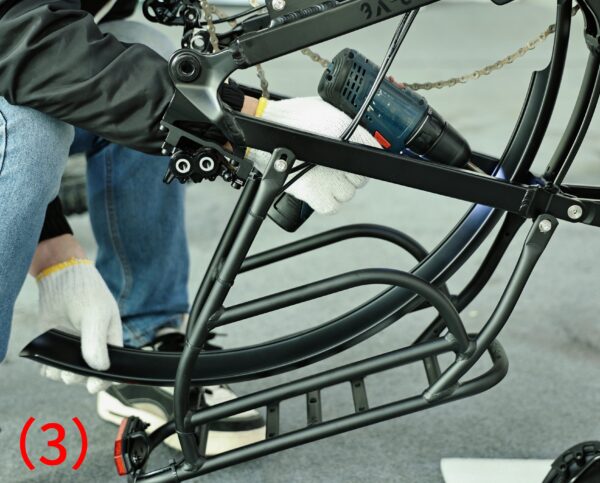
3、Drill the Second Hole: Use the power drill with the 5mm twist drill bit, and align it with the installation hole on the rear triangle (the location of the hole is shown in image 1). Mark the center position on the fender, as shown in image 2. Hold the fender with your left hand (keeping it away from the rear triangle to avoid excessive force when drilling and the drill bit making contact with the rear triangle). With your right hand, hold the power drill and start drilling at the marked location until the hole is fully drilled through, as shown in image 3.
4、Install the Second Screw at the Hole Position: Use the M4x18mm screw to pass through the second hole that was just drilled in the fender. Place a 5mm spacer washer between the fender and the rear triangle hole, as shown in image 1. (The reason for adding the spacer washer is that after tightening the screw, there will be a small gap between the fender and the rear triangle. Installing the spacer washer will cover the screw and improve the aesthetic appearance. Additionally, the washer helps stabilize the fender on the rear triangle). Use a 4mm hex wrench to rotate the screw in the direction of the arrow to install it at the second hole position of the fender, as shown in image 2. The screw should not be tightened too much to allow slight adjustment when drilling the third hole. (If the second screw doesn’t fit, it means there was a deviation when drilling. In this case, loosen the first screw slightly and adjust the position up or down until the second screw can be installed. Once done, tighten the first screw again).
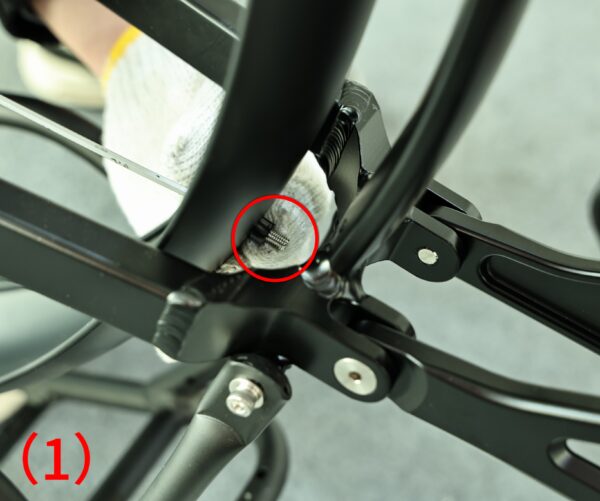
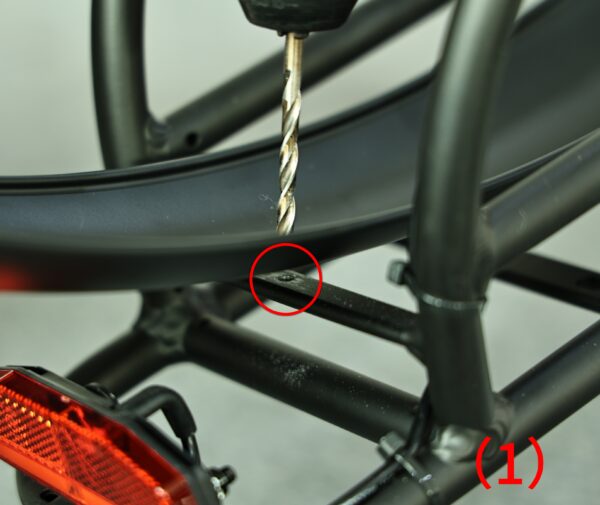
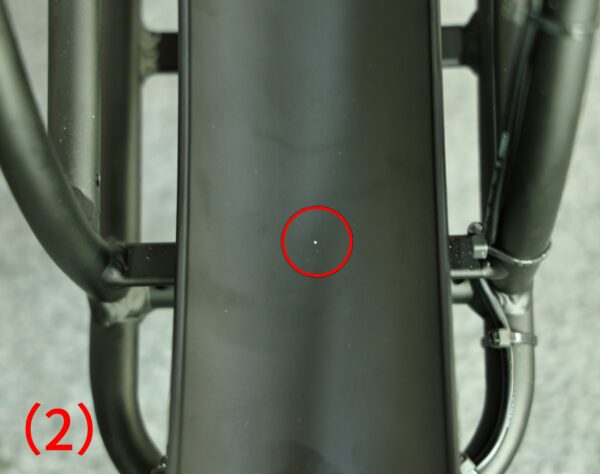
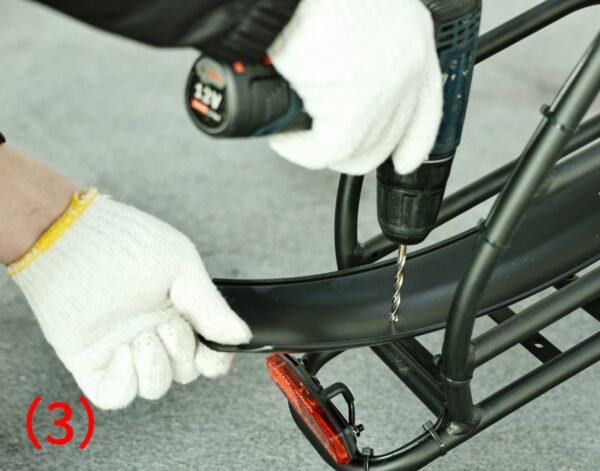
5、Drill the Third Hole: Use the electric drill to align with the rear hanger fender mounting hole (the hole position is shown in image 1) and mark the center of the fender, as shown in image 2. (The mark and the rear hanger fender mounting hole should be in a straight vertical line to reduce drilling deviation). With your left hand, hold the fender (keeping a distance between the fender and the rear hanger to prevent the drill bit from damaging the rear hanger when drilling). With your right hand, hold the electric drill and start drilling at the marked position until the hole is drilled through, as shown in image 3.
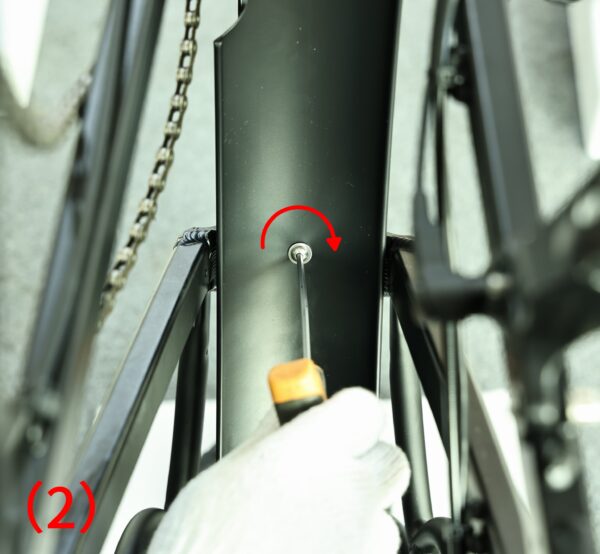
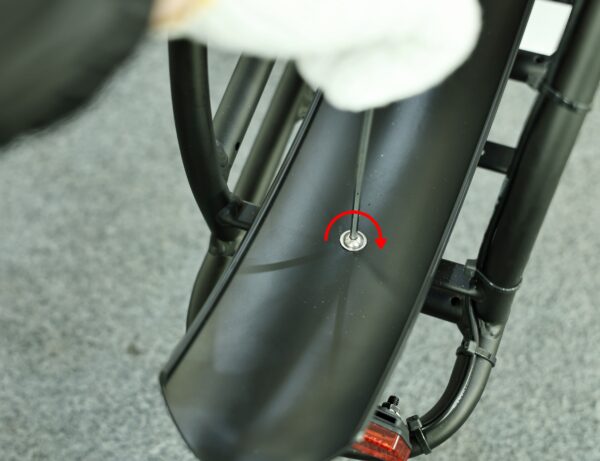
6、Install the Third Hole Screw: Insert the M4X10mm screw through the fender and use a 4mm hex wrench to tighten it by rotating in the direction indicated by the arrow, securing it to the hanger (as shown in the image). (If you cannot install the screw in the third hole, it means there was a deviation while drilling. In this case, you will need to slightly enlarge the fender hole towards the rear hanger fender mounting hole to allow the screw to fit.)
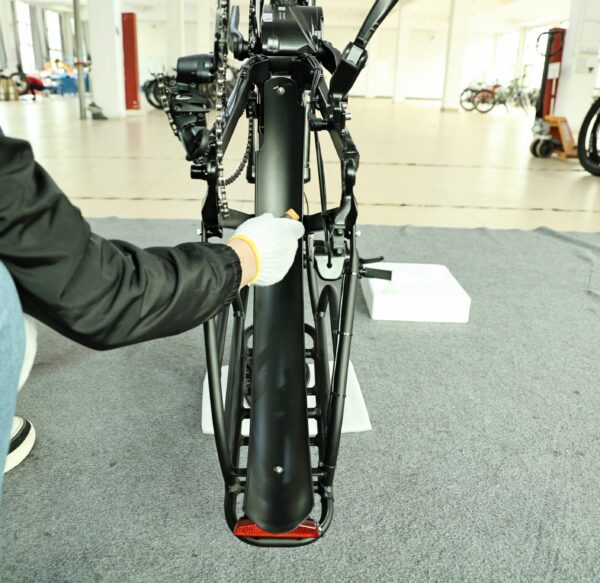
7、Tighten the Screws: At this point, all three screws on the fender have been installed (as shown in the image). You can now tighten each screw. The tightening torque should be between 3-5 N.m, which is approximately 0.306 to 0.51 kgf.
V.Install the Rear Wheel #
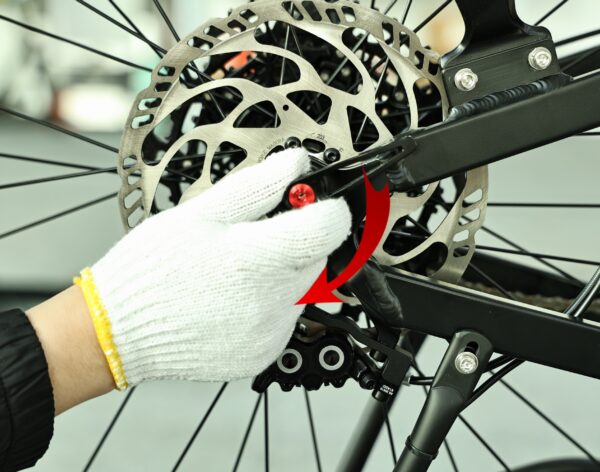
1、After tightening the fender screws, insert the rear wheel. Insert the rear axle rod and rotate it in the direction of the arrow to tighten the rear axle rod (as shown in the image).
2、Gently push the derailleur forward with your hand (as shown in the image). The rear derailleur lock button will automatically rebound and retract. At this point, release your hand, and the derailleur will return to its normal operating position (as shown in the image).

VI.Completed Mudguard Installation Diagram #
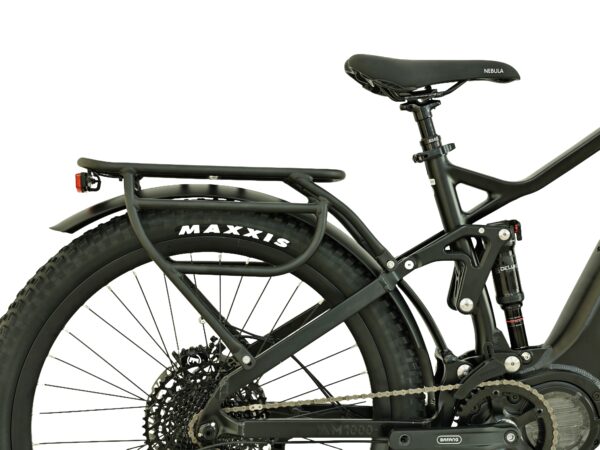
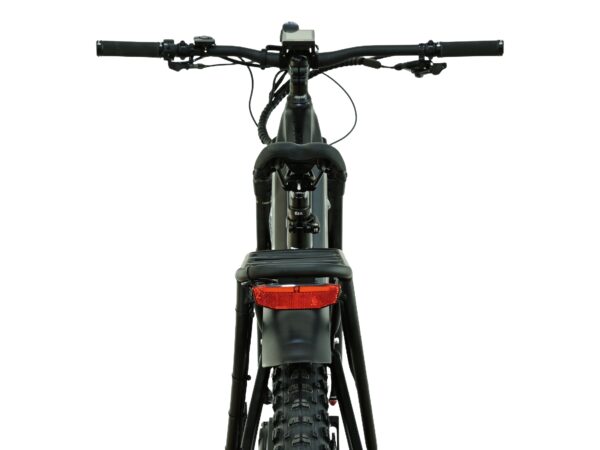
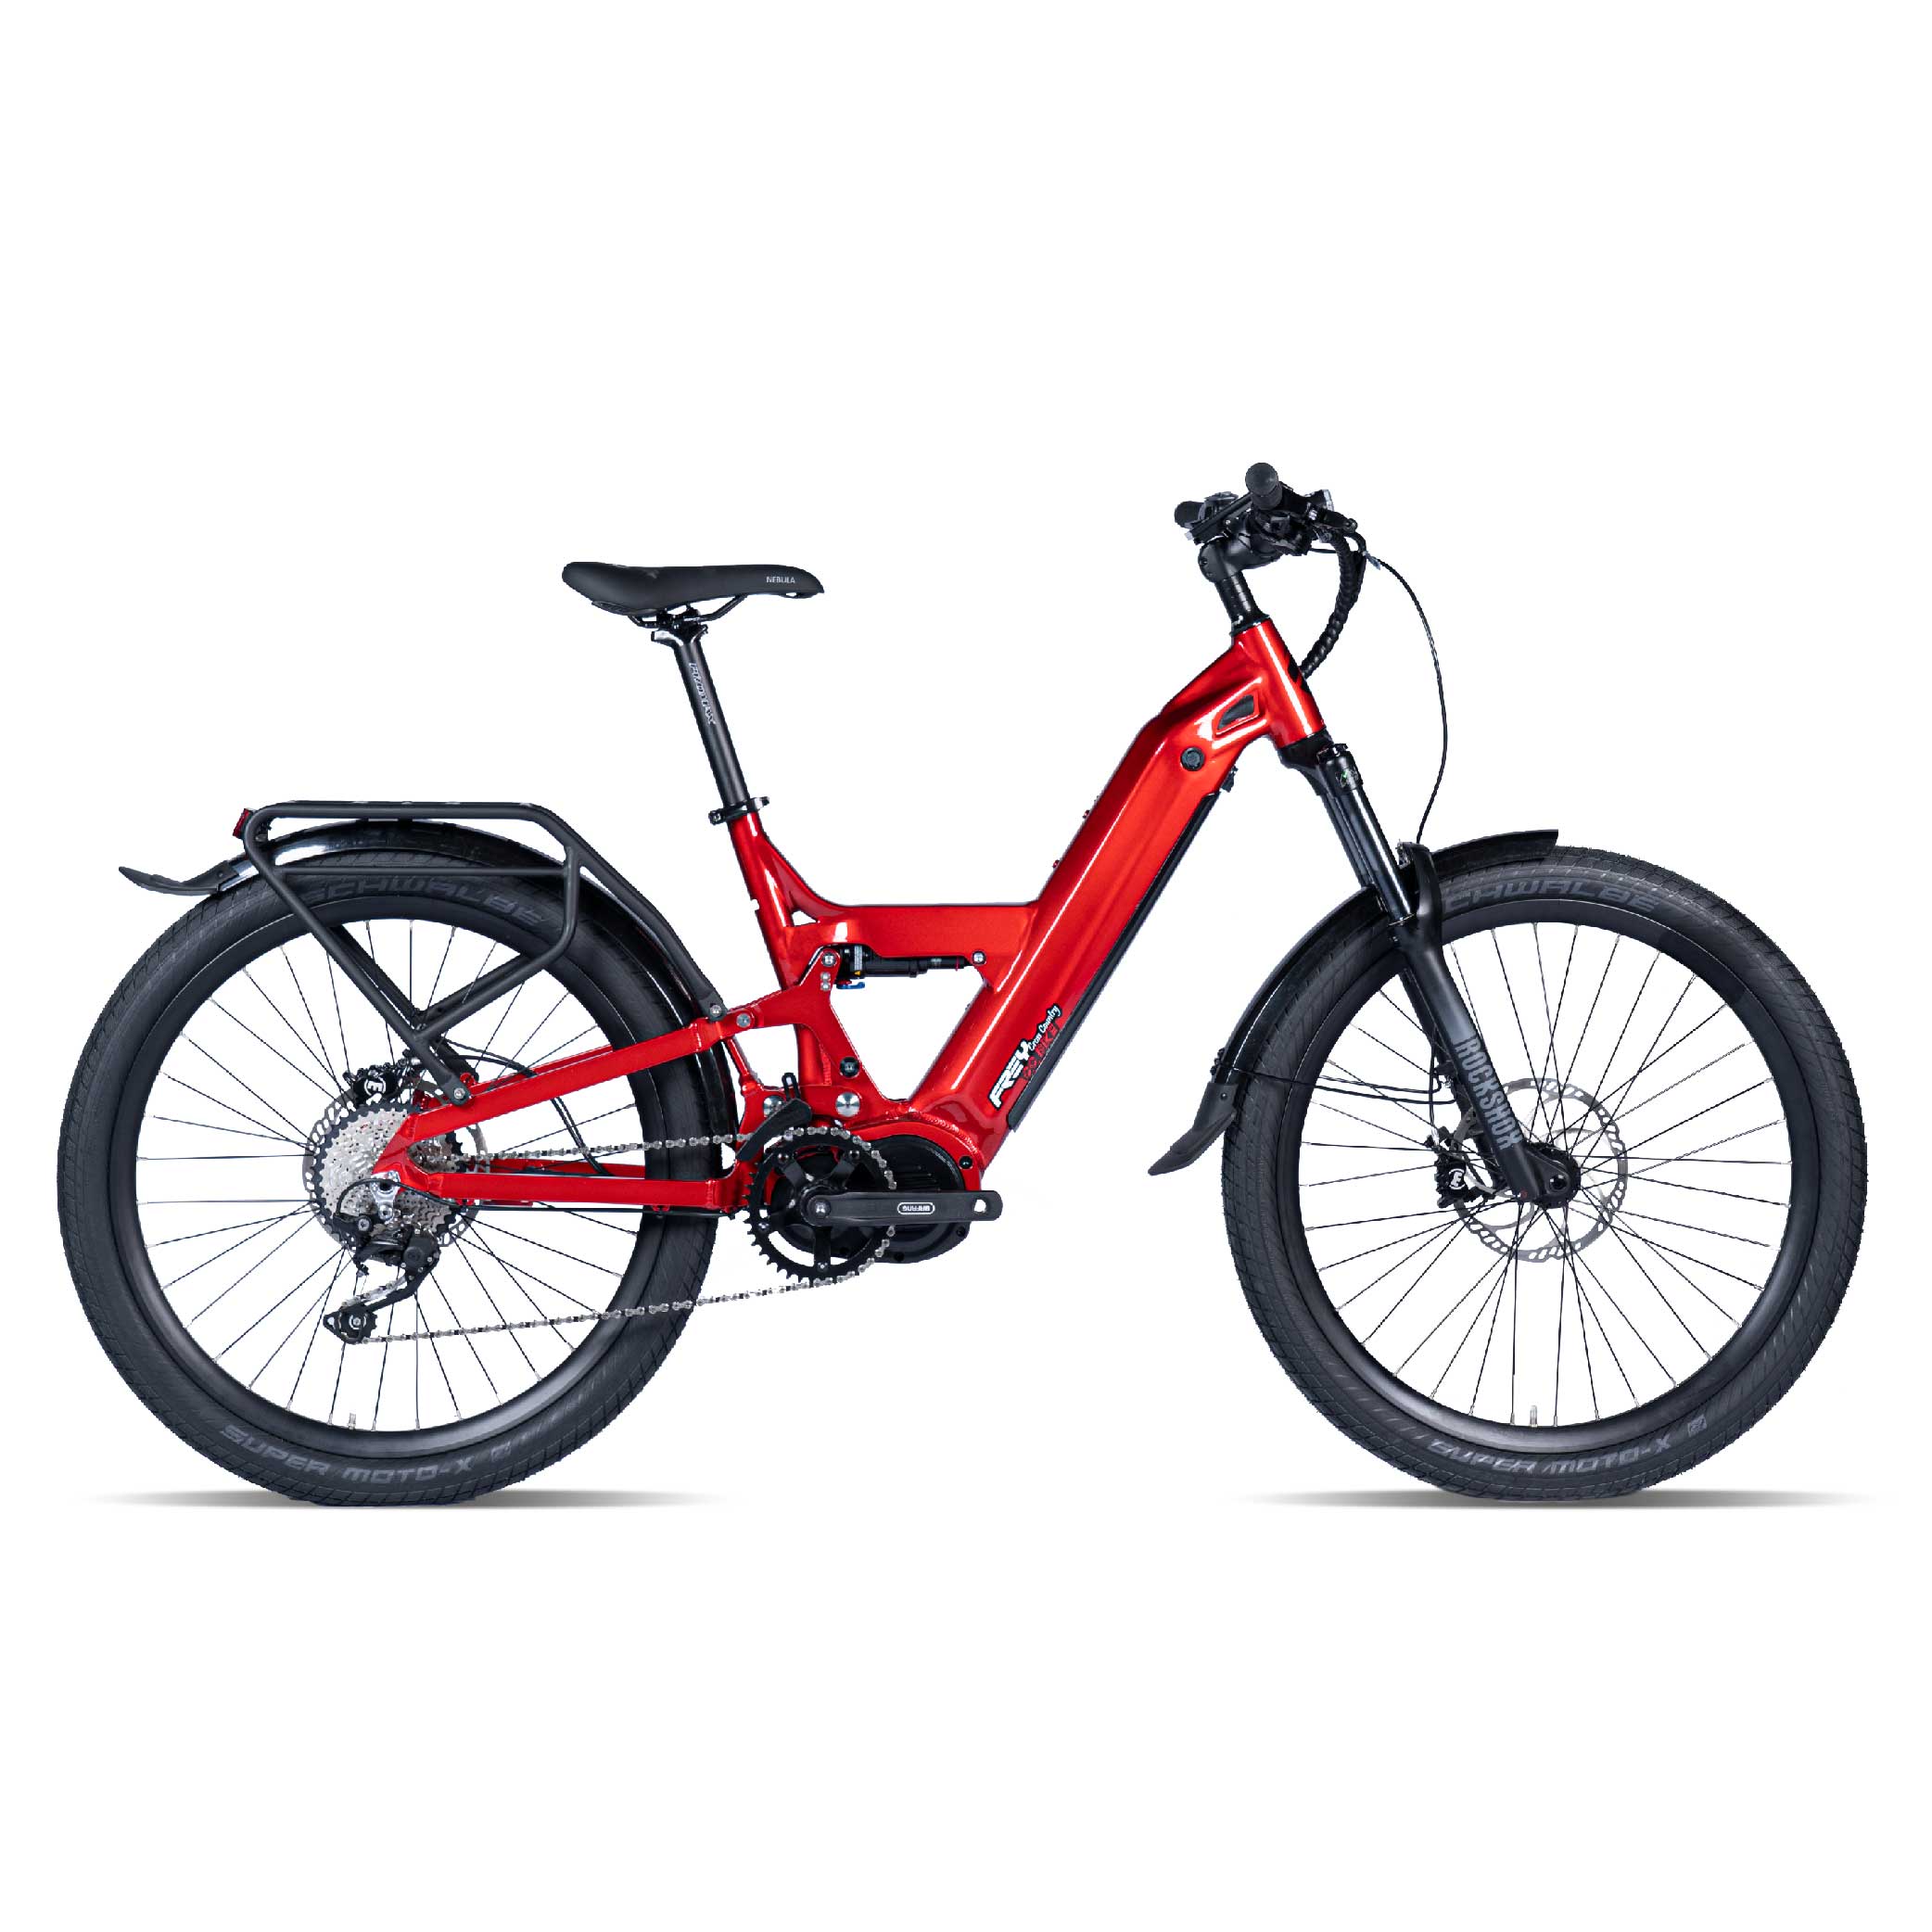
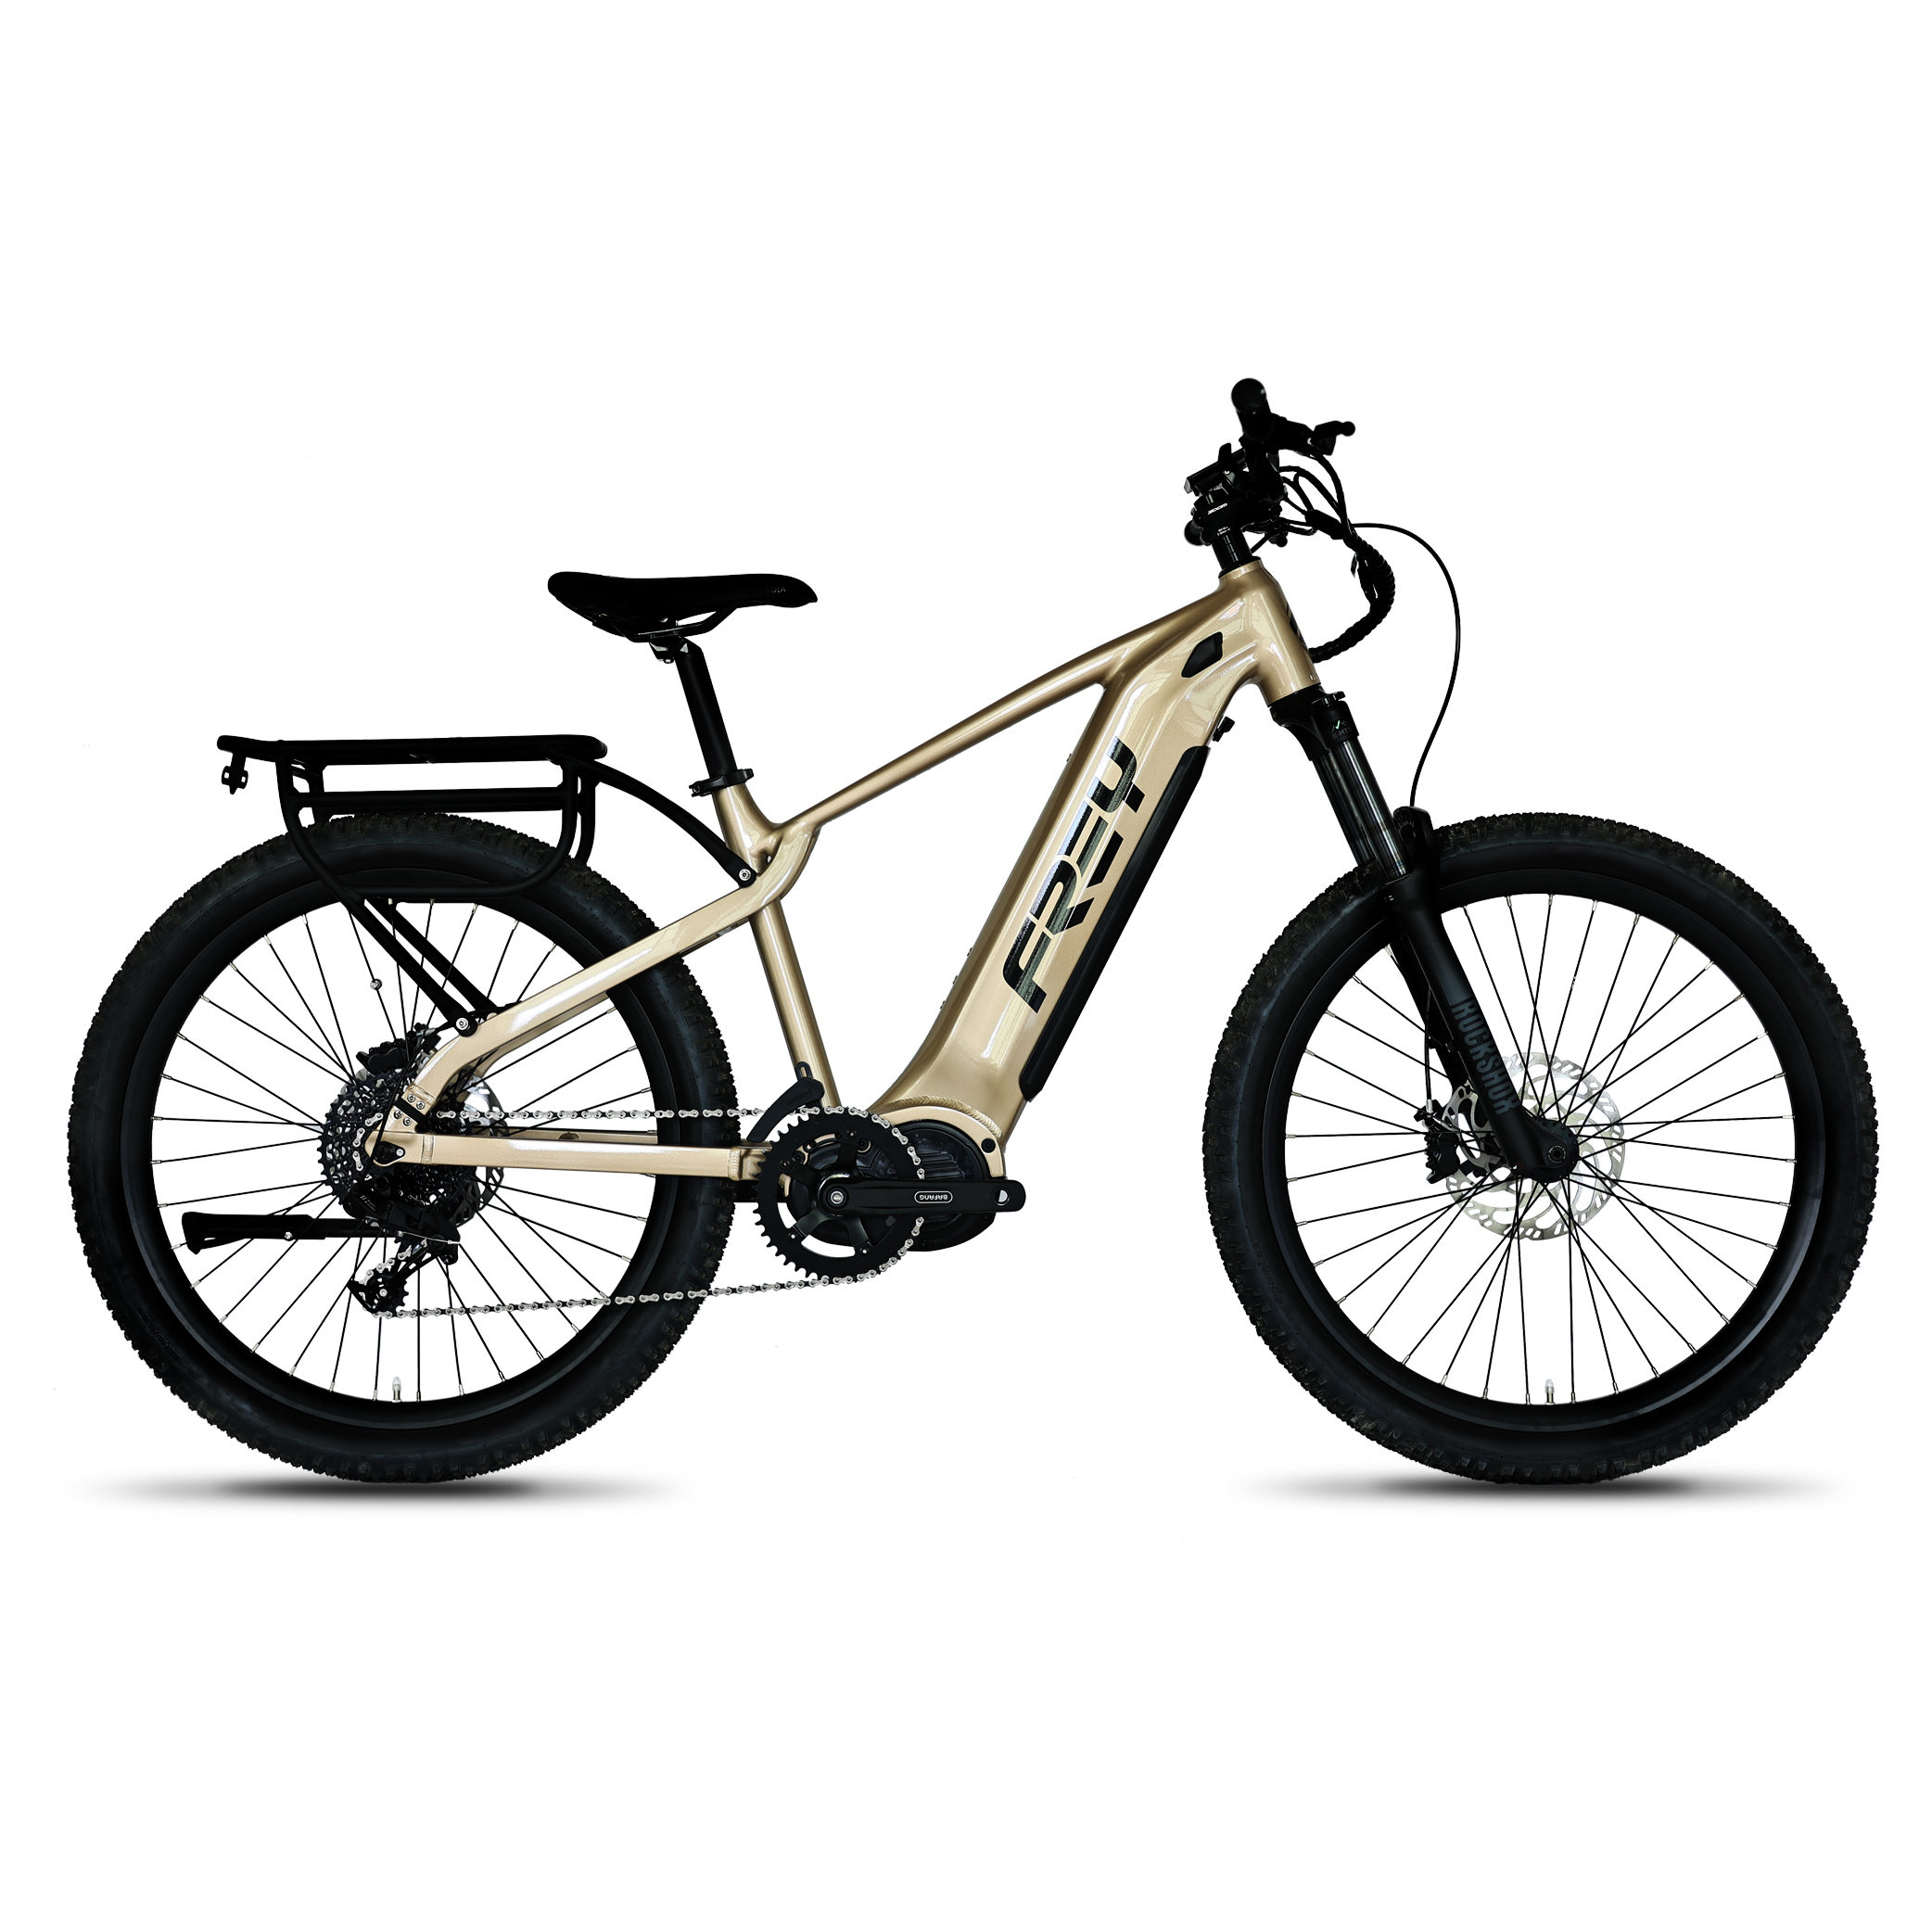
Finally, flip the bike back to its upright position, and the mudguard installation process is complete. Below is the diagram showing the completed installation of the mudguard:
