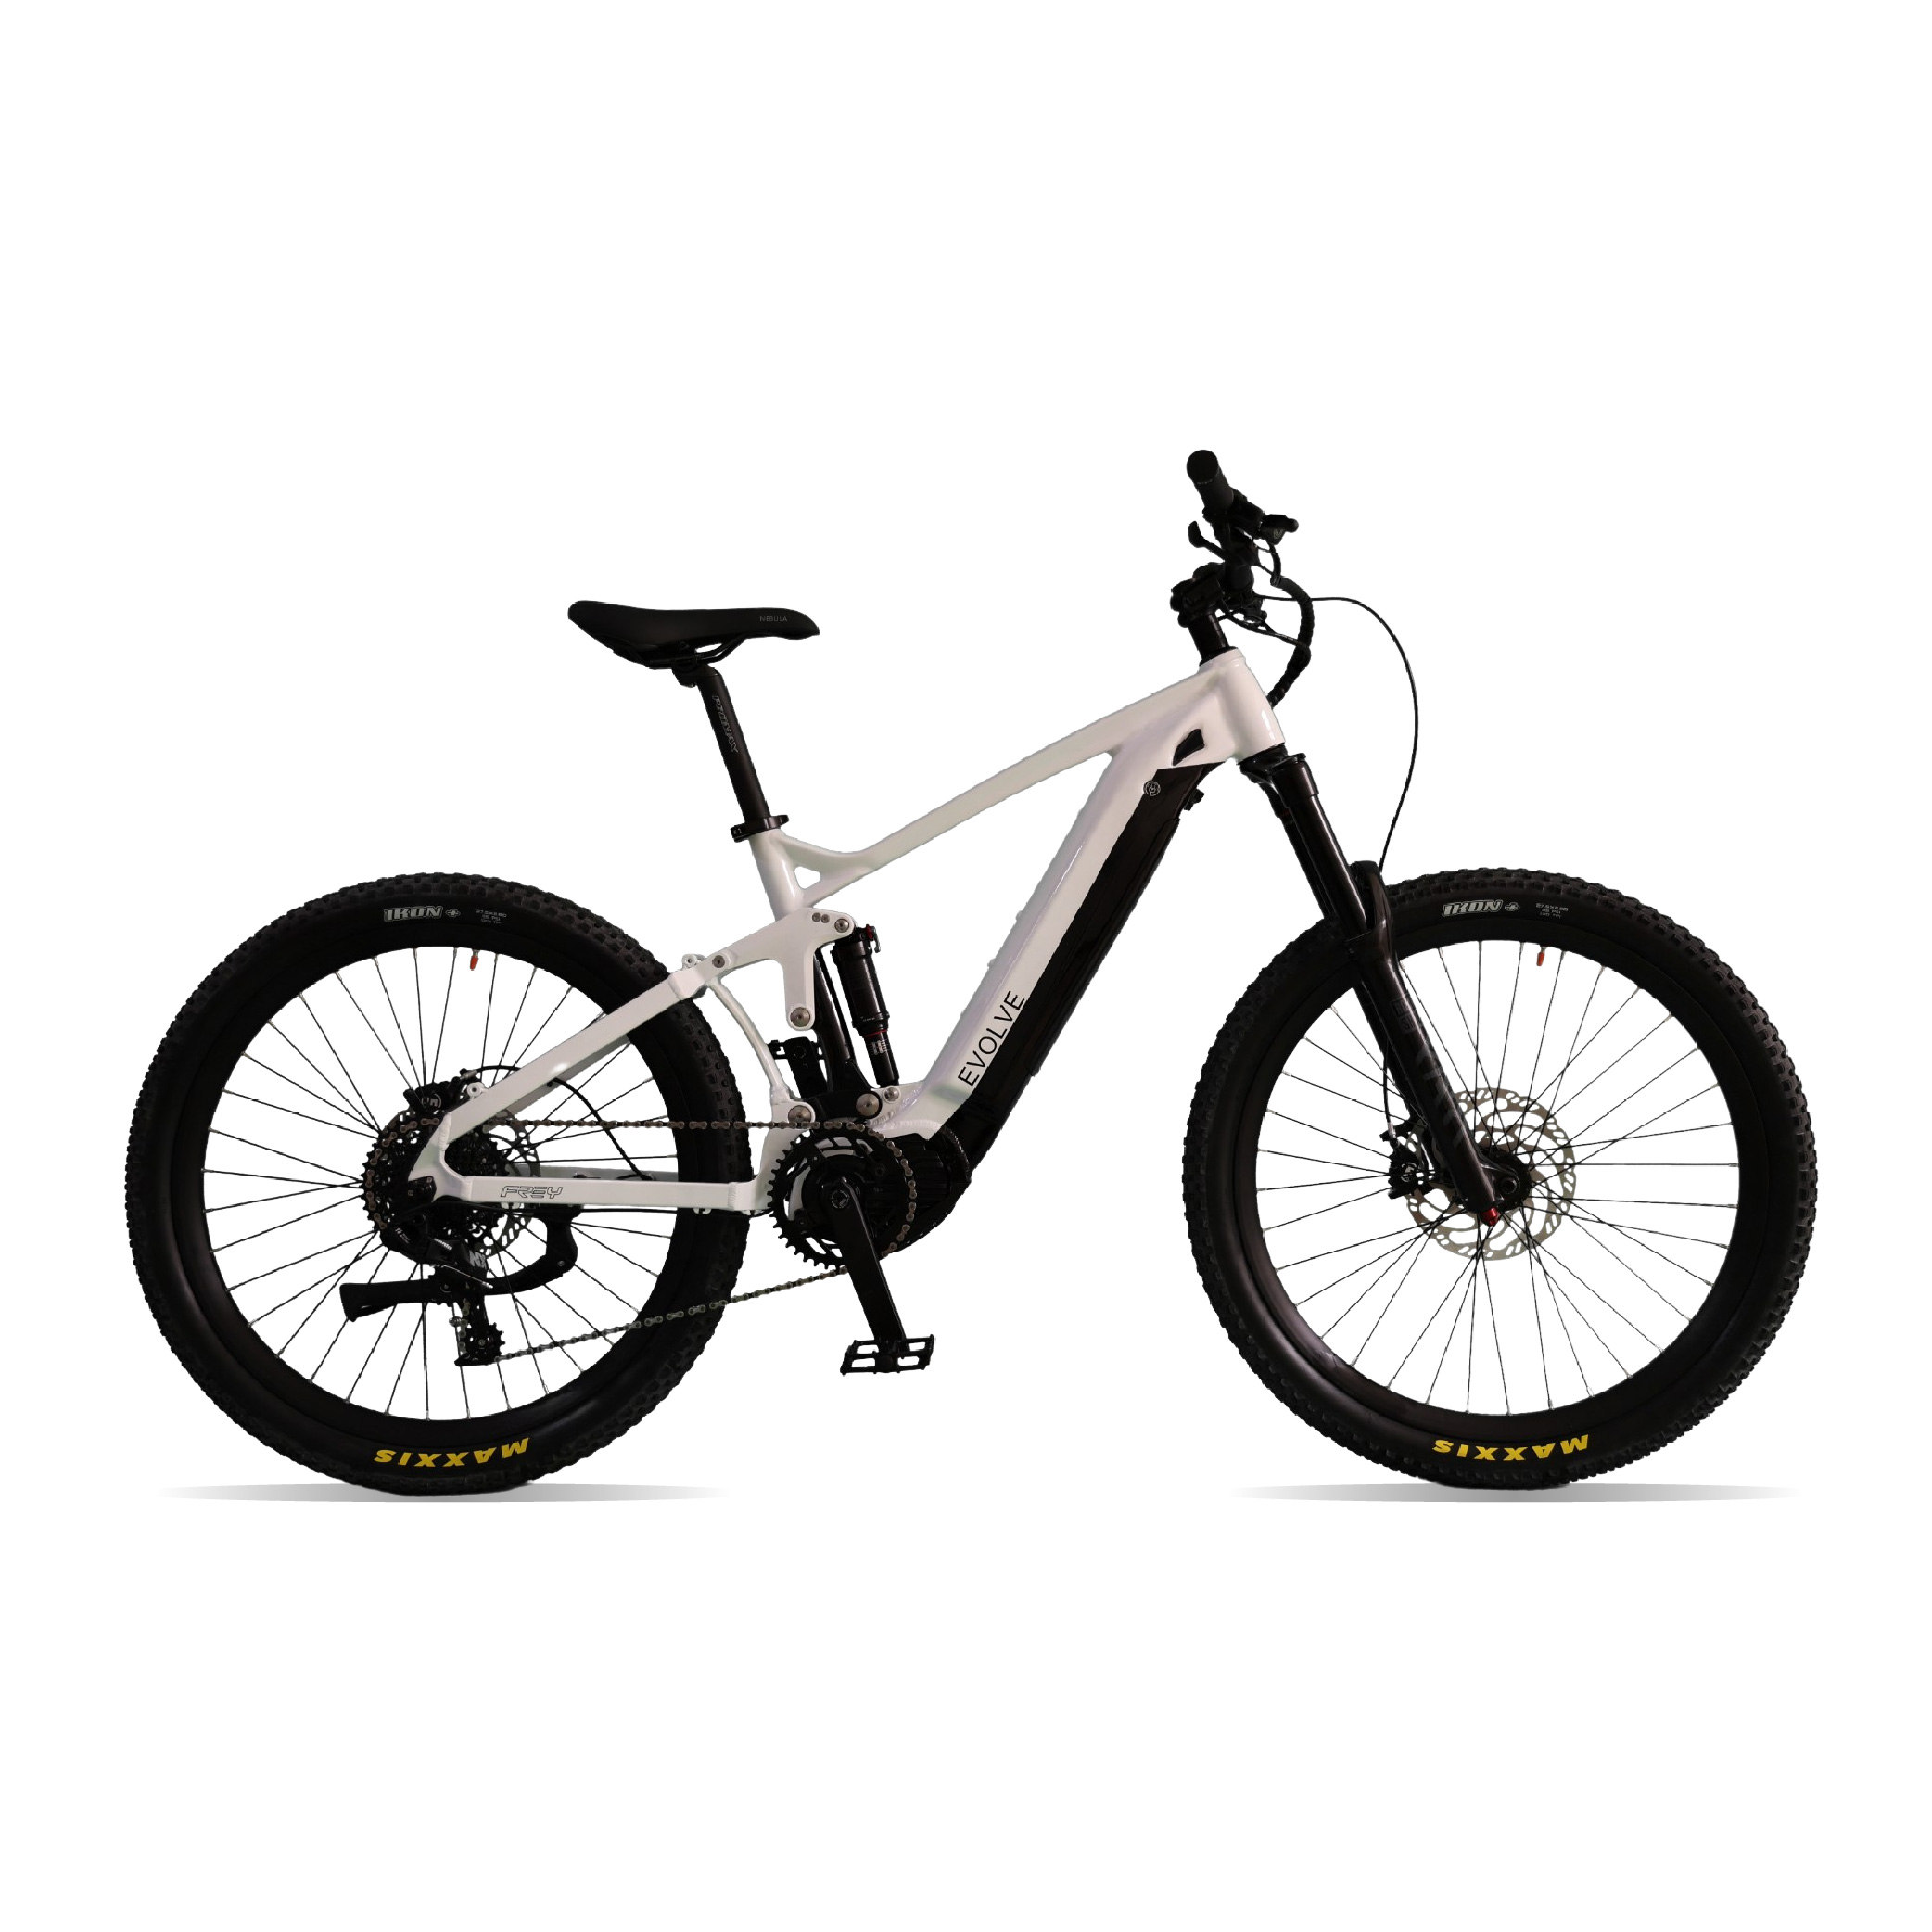
I.Preparation of Tools #
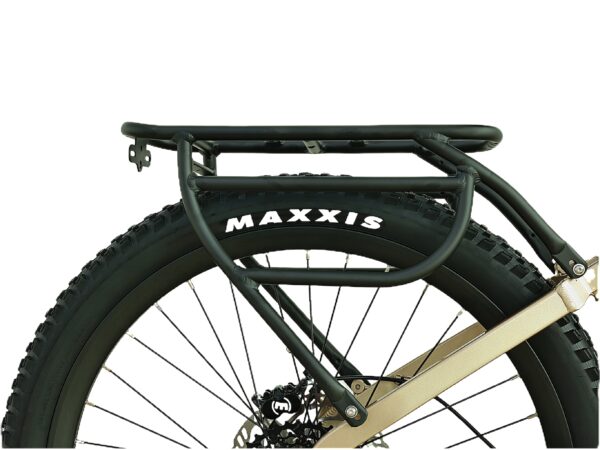
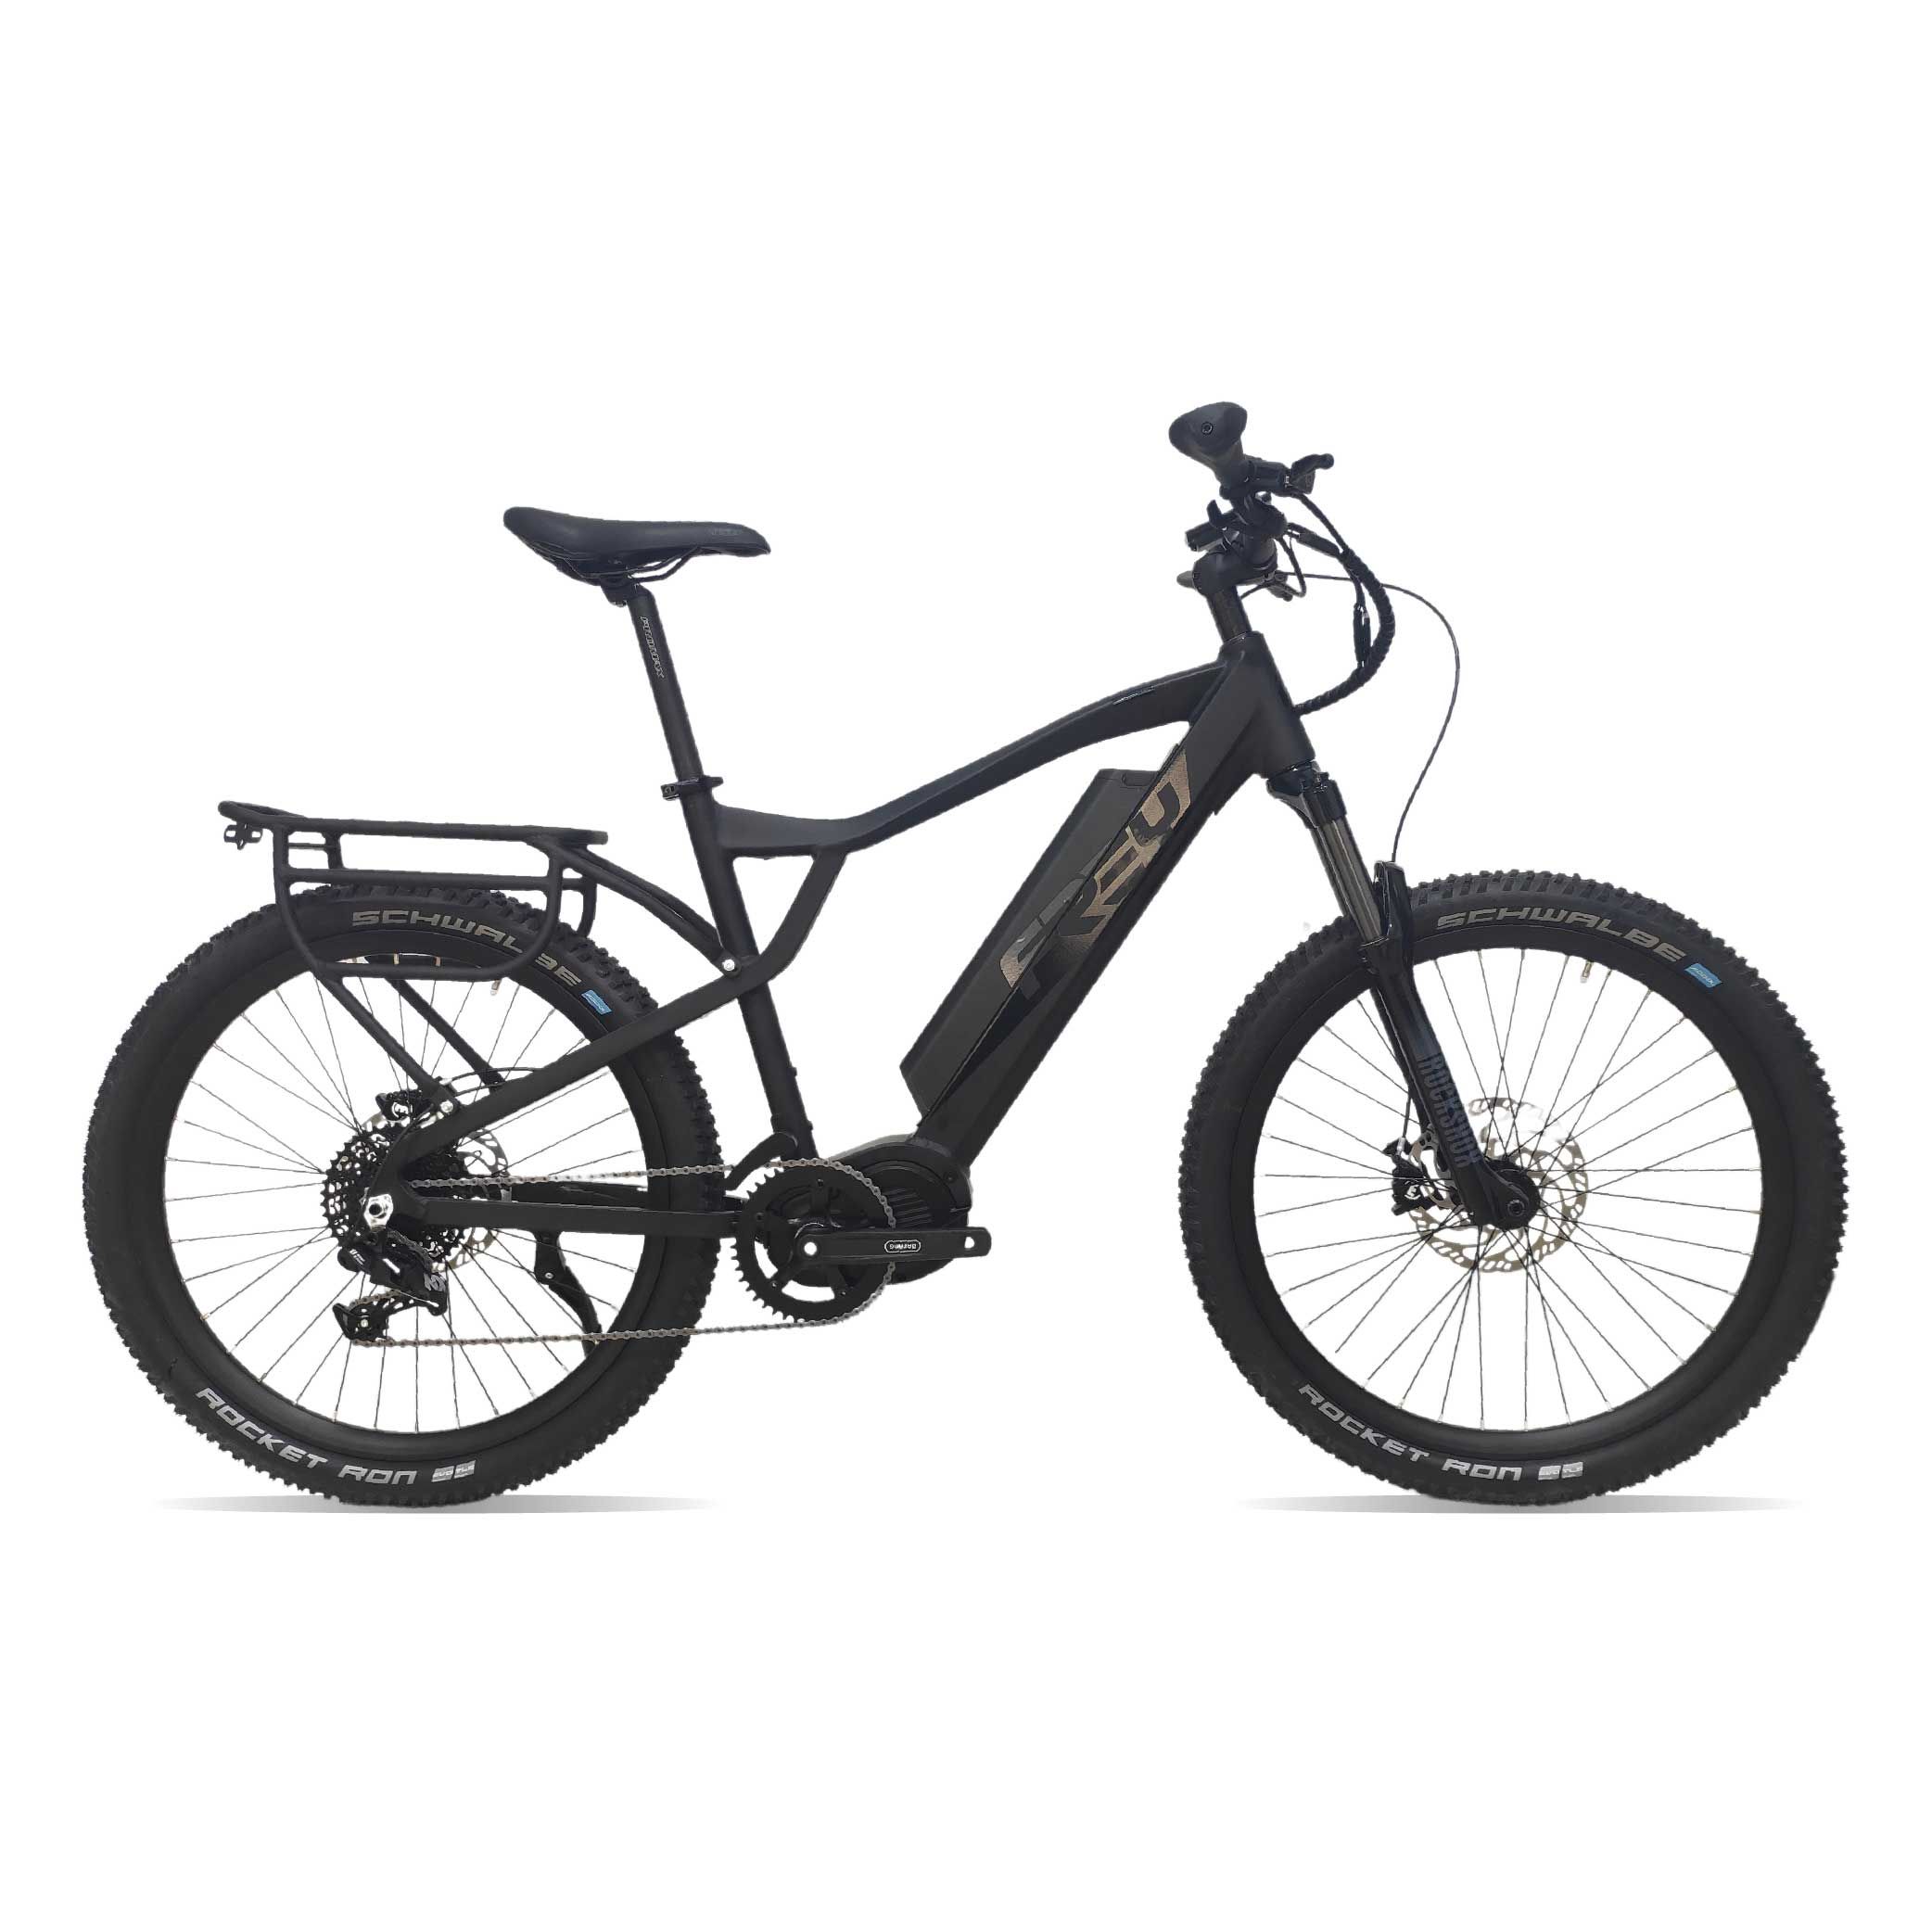
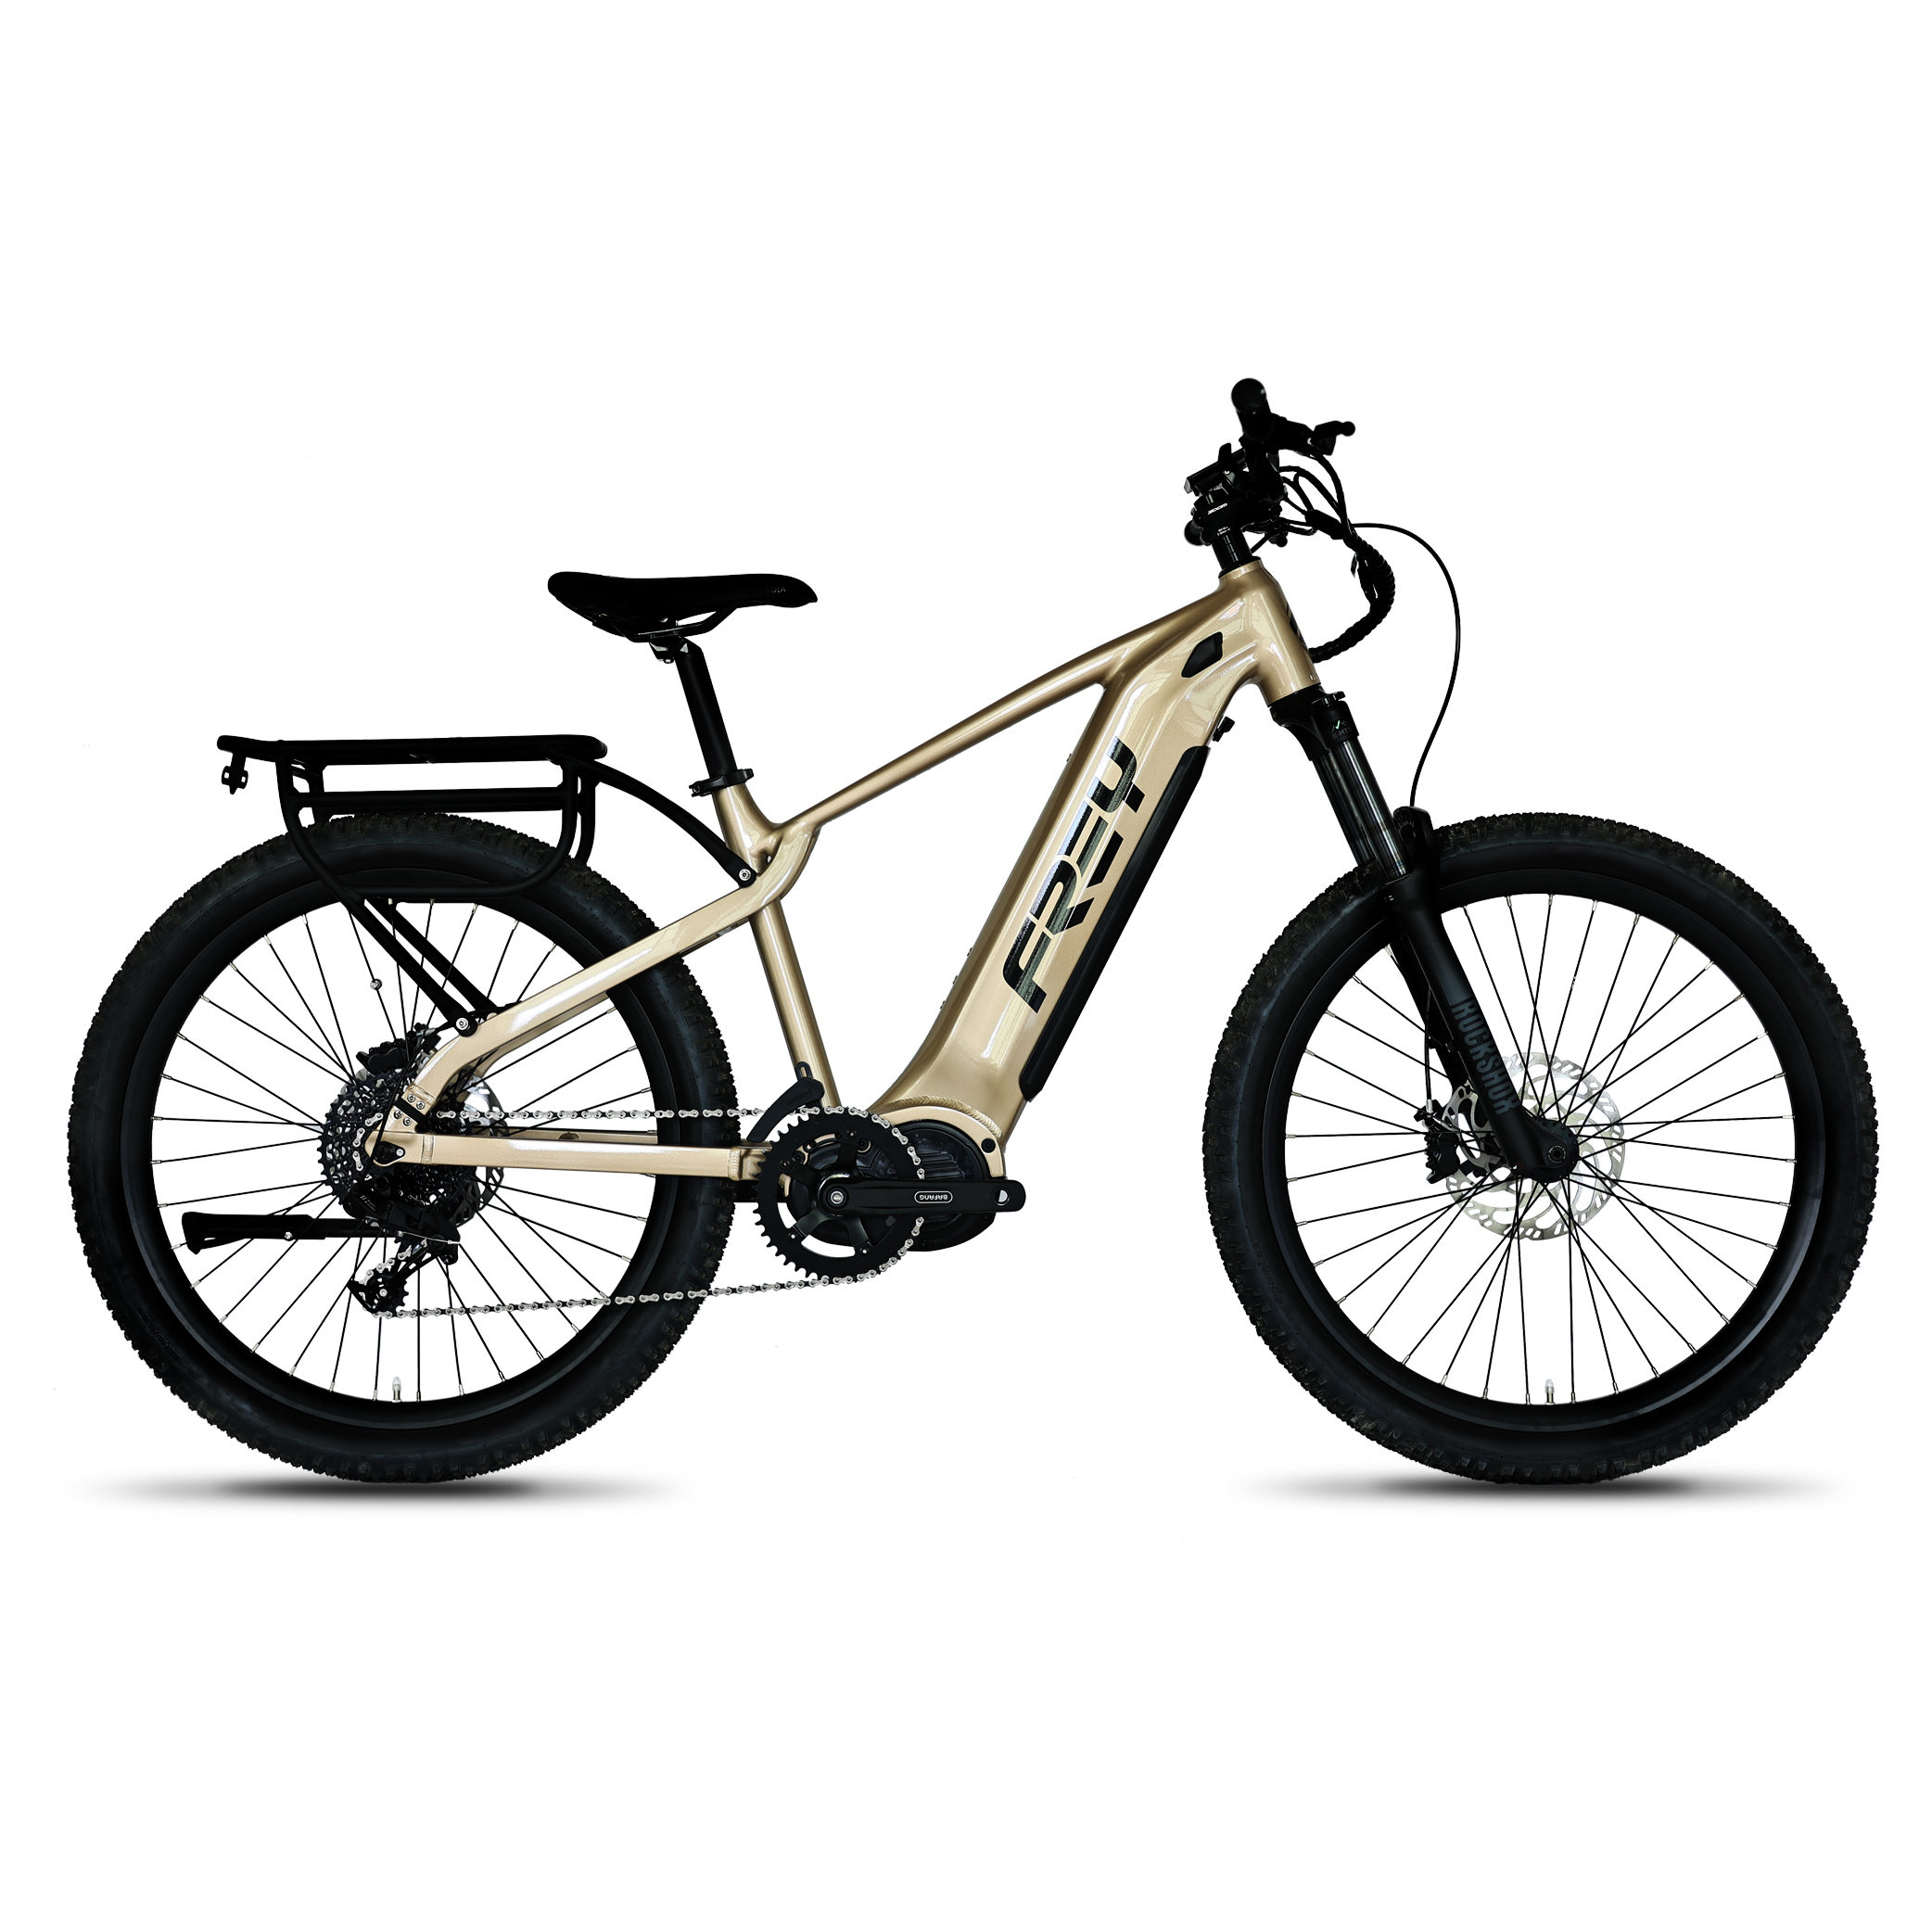
To install the rear rack, you will need the following tools (as shown below).

① Rear Rack
② 3mm Allen Wrench
③ M5X25mm Round Head Screws x4 (with Flat Washers)
II. Important Notes #
1、During installation, ensure the ebike is stable and securely placed on the ground to avoid tipping over and causing injury.
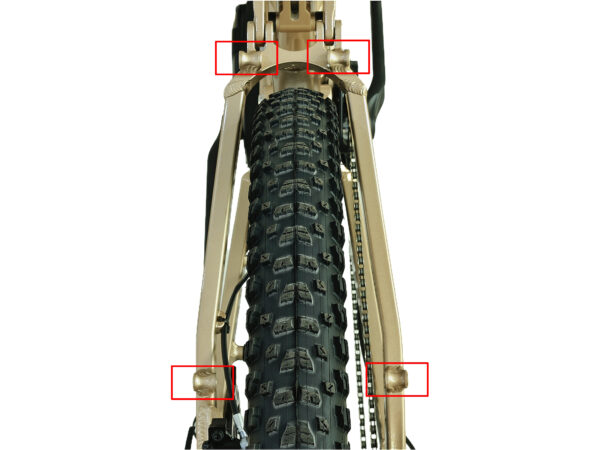
2、Check both sides of the ebike’s rear wheel to ensure there are four pre-drilled mounting holes for the rear rack (as shown below).
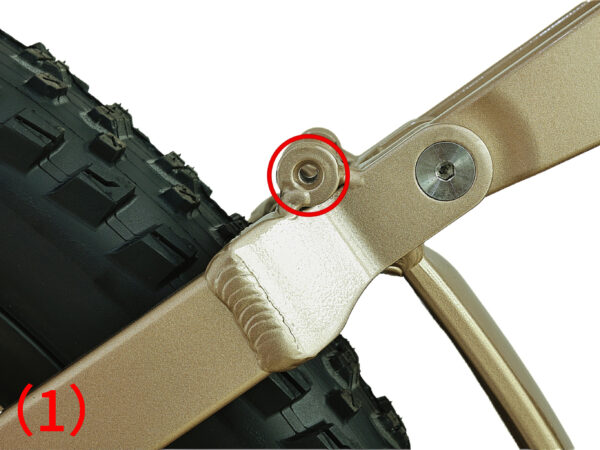
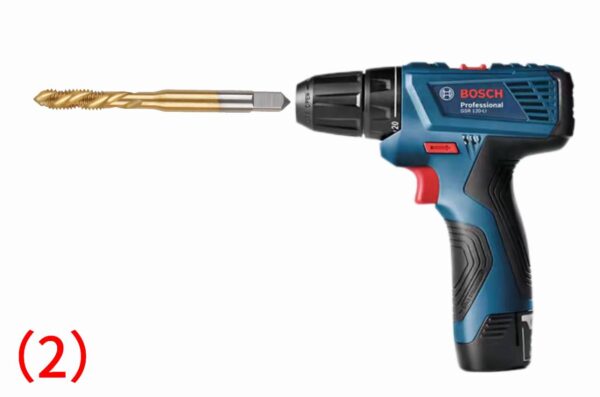
3、Inspect the mounting holes for any debris, as shown in the image (1). Check if the internal threads of the mounting holes are clear and smooth. If the threads are not clear or smooth, to prevent thread stripping during installation, use a 5mm tap (as shown in image (2)) to clean the threads first.
III. Installation Steps #
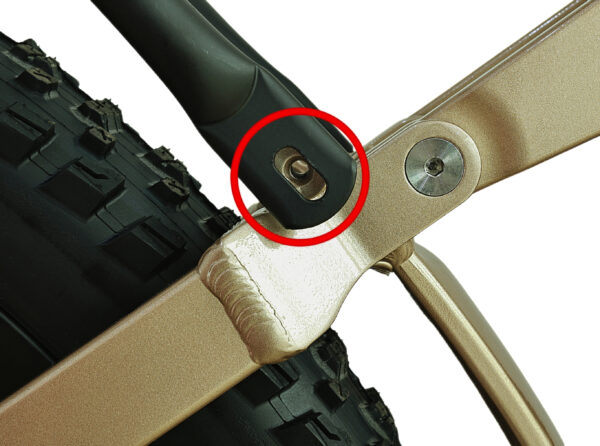
1、Align the rear rack with the 4 mounting holes on both sides of the ebike’s rear wheel, as shown in the image below.
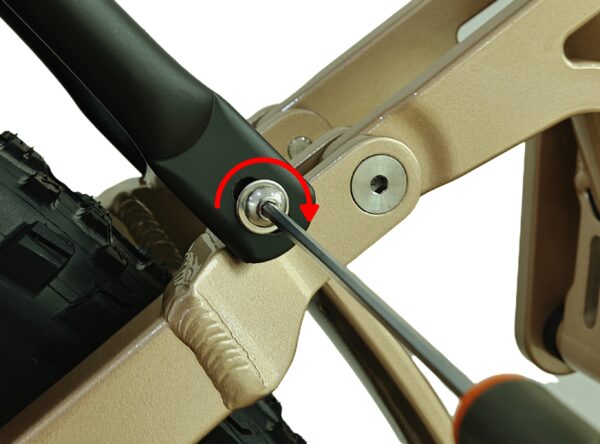
2、Use a 3mm Allen wrench to install the M5X25mm round head screws by rotating them in the direction of the arrow, as shown in the image below. Tighten the screws until they are snug, but do not fully tighten them at this stage. (Repeat this process for the remaining 3 screws and install them into the reserved mounting holes on both sides of the ebike’s rear wheel).
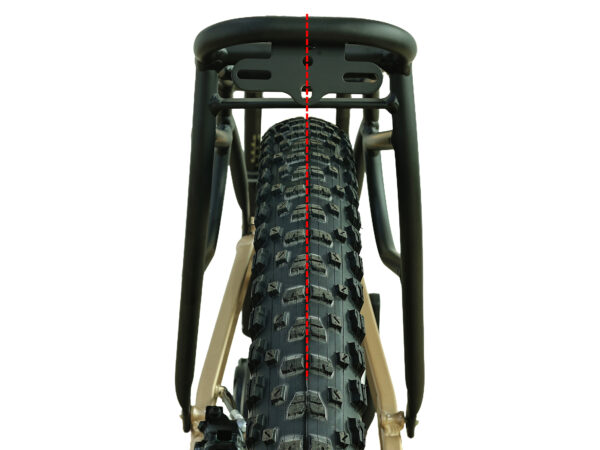
3、After all 4 screws are installed, check if the center of the rack is aligned with the center of the rear wheel, as shown in the image below. (If they are not aligned, you can loosen the screws and adjust as needed).
4、Once the center of the rack is aligned with the center of the rear wheel, use a 3mm hex wrench to tighten the 4 M5X25mm round-head screws by turning them in the direction of the arrow, as shown in the image below. The tightening torque should be 3-5 N.m, approximately 0.306 to 0.51 kg-force.

IV.Rear Rack Installation Completed Diagram. #
