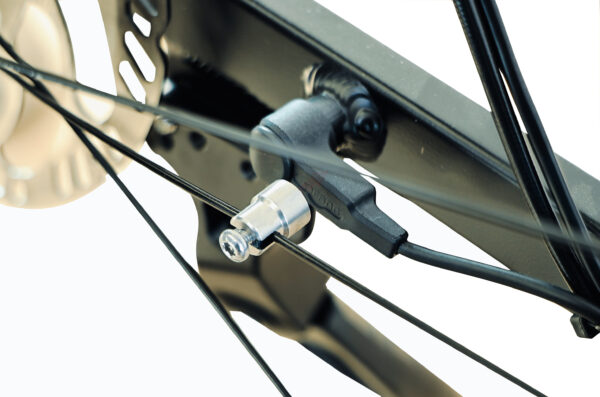
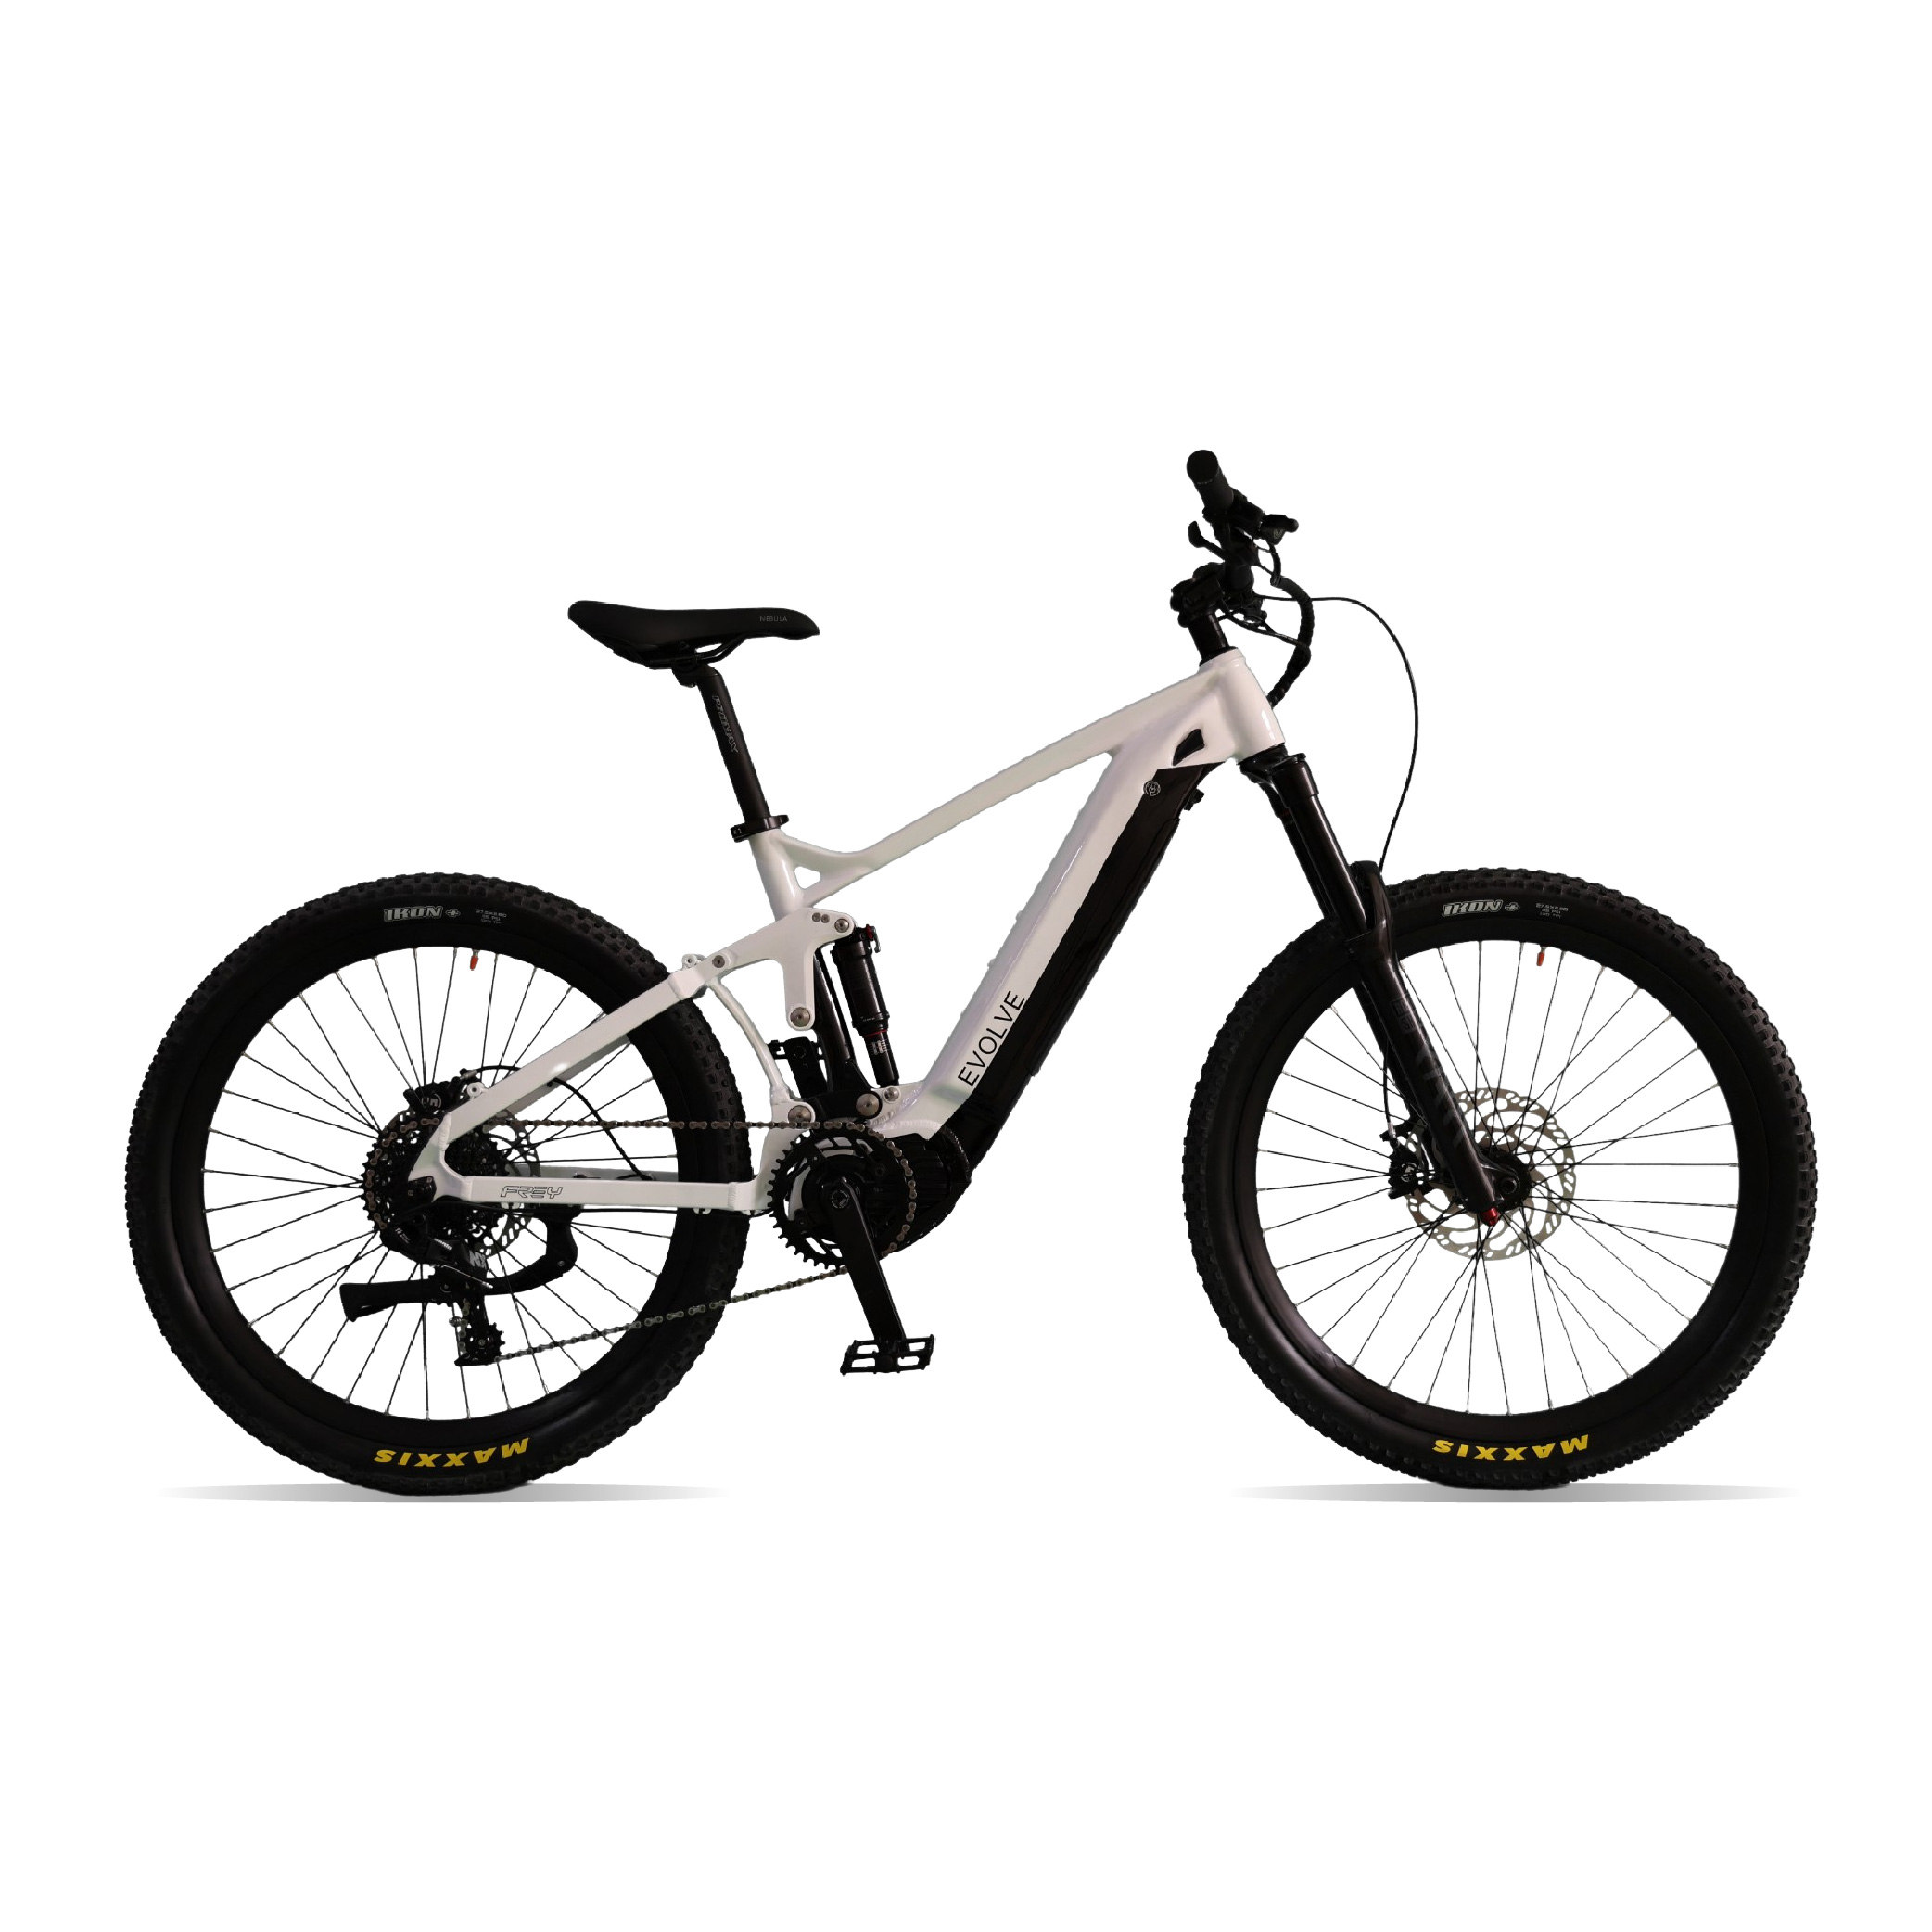
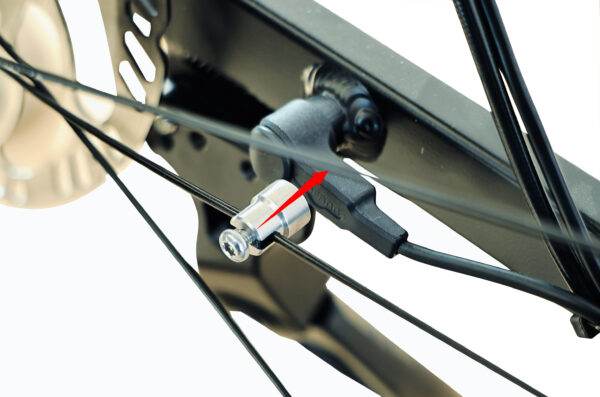
When riding, if the motor provides no assistance, the display shows no speed, and error code 21 appears, it may indicate an issue with the speed sensor. In this case, you should first check and confirm whether the speed sensor and the magnet on the rear wheel are properly aligned. (The correct alignment of the magnet with the sensor is shown in the image below.)
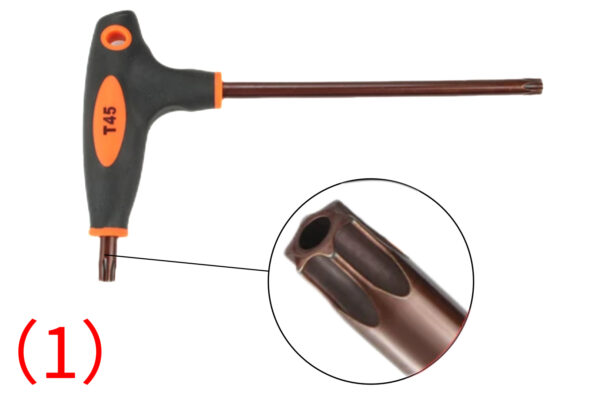
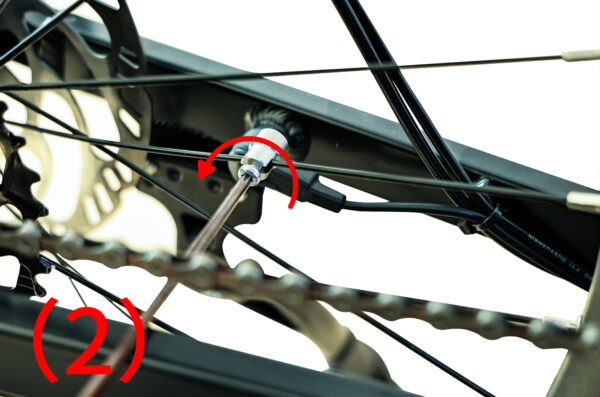
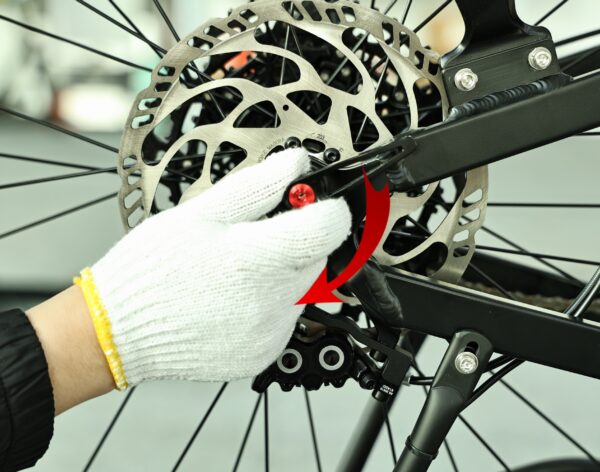
If the speed sensor is not aligned with the magnet, use a T45 wrench (as shown in Figure 1) to loosen the screw on the magnet by rotating it in the direction of the arrow (as shown in Figure 2). Manually adjust the magnet to align it with the speed sensor, then tighten the screw on the magnet by rotating in the direction of the arrow (as shown in Figure 3). Tighten to a torque of 3-5 N·m, approximately 0.306 to 0.51 kgf. Finally, restart the display and ride to check if the motor assistance operates normally and if the error code on the display reappears.
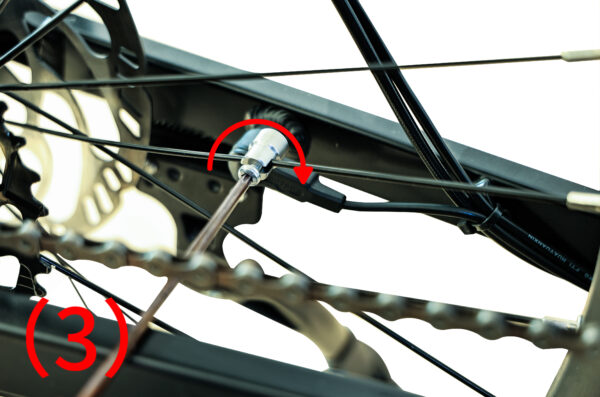
If, after inspection, the magnet is correctly aligned with the speed sensor or you have manually adjusted it but the motor still does not provide assistance and the error code reappears on the display, this indicates that the speed sensor is faulty. You can contact our after-sales service for support and follow the steps below to replace the speed sensor.
I.Preparation #
To replace the speed sensor, you will need the following tools (as shown in the image):
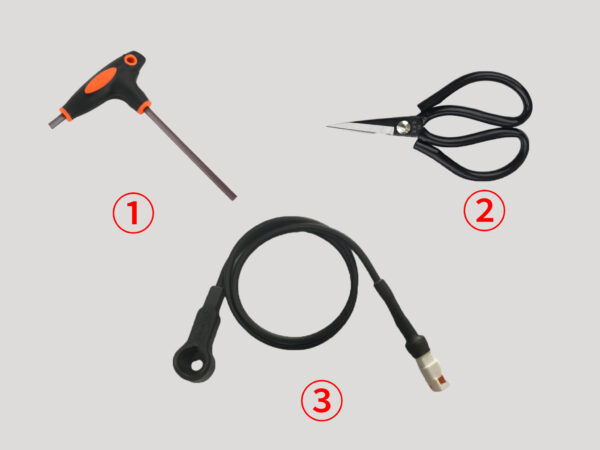
① 4mm Allen wrench
② Scissors
③ New speed sensor
II.Notes #
Replacing the speed sensor may require removing the motor on some models. For detailed motor removal and installation instructions, refer to:https://www.frey-bike.com/docs/motor-failure-replacement/
III.Disassembly Steps #
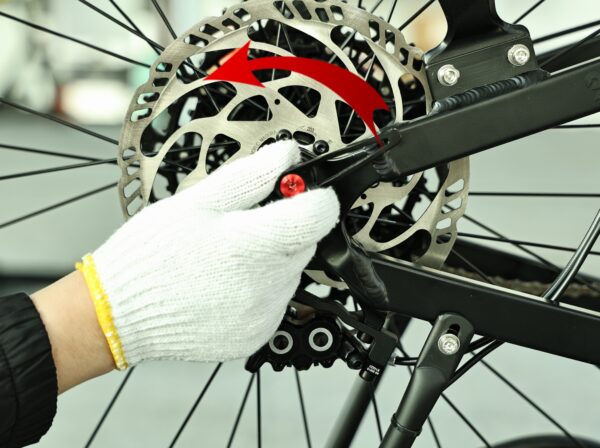
1、Remove the rear wheel by rotating the rear axle in the direction of the arrow (as shown in the image) and take out the rear wheel.
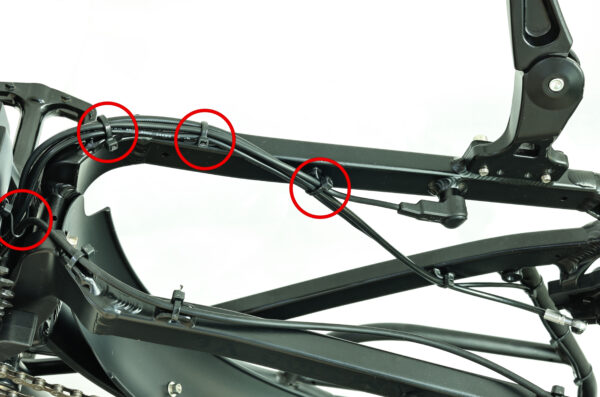
2、Use scissors to cut off the following zip ties.
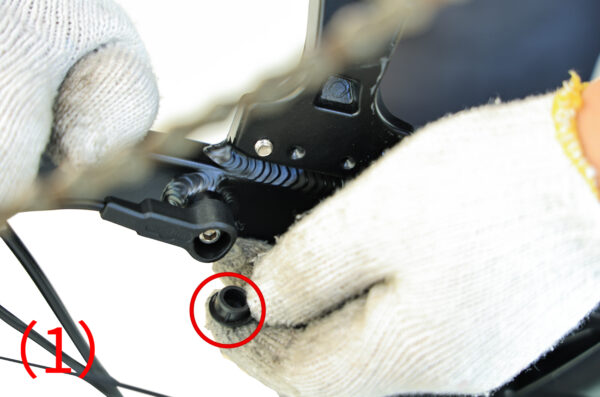
3、Remove the speed sensor rubber plug, as shown in Figure (1). Use a 4mm hex wrench to rotate in the direction of the arrow and remove the speed sensor fixing screw, as shown in Figure (2). Take out the old speed sensor.

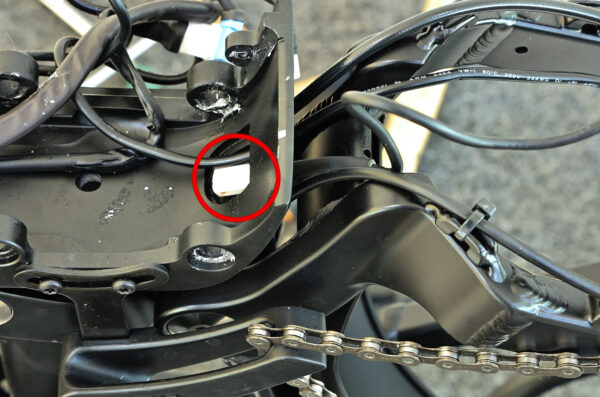
4、 Remove the motor and peel off the aluminum foil tape covering the motor wires. Pull the speed sensor out from the cable pass hole on the motor base, as shown in the figure below.
IV. Installation Steps #
1、Thread the connector of the new speed sensor through the motor base (as shown in the figure below), then reinstall the motor.

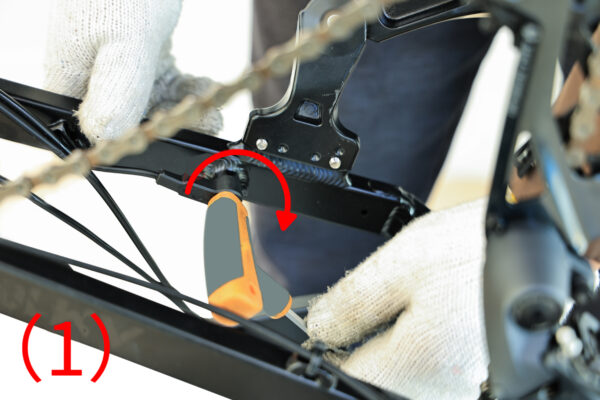
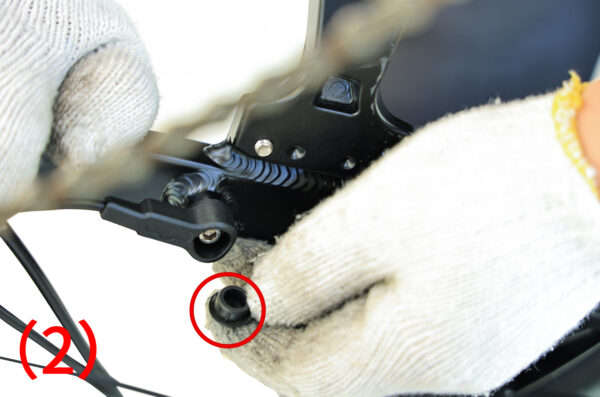
2、Use a 4mm hex wrench to tighten the speed sensor fixing screw by rotating it in the direction of the arrow. Tighten with a torque of 3-5 N·m, approximately 0.306 to 0.51 kgf (as shown in Figure 1). Install the speed sensor rubber plug (as shown in Figure 2).
3、Reattach the zip ties at the indicated positions (as shown in the image below).

4、Install the rear wheel and tighten the axle by rotating it in the direction of the arrow (as shown in the image below).
V.Installation Completion Diagram #
